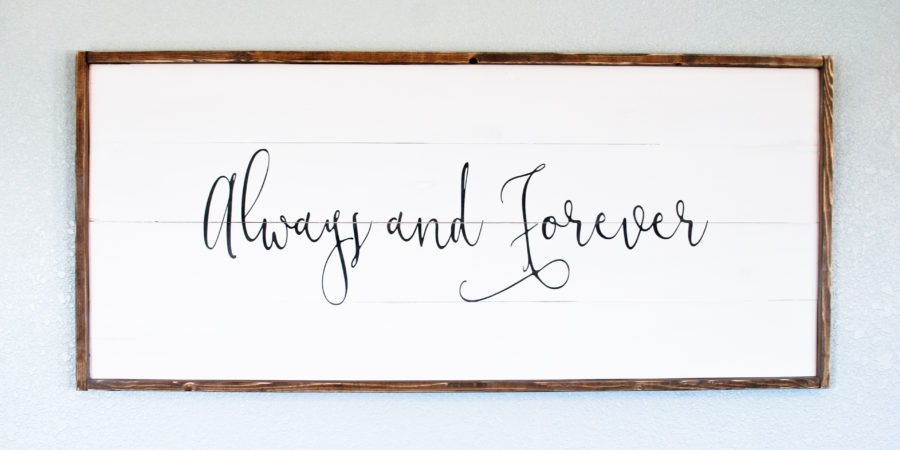
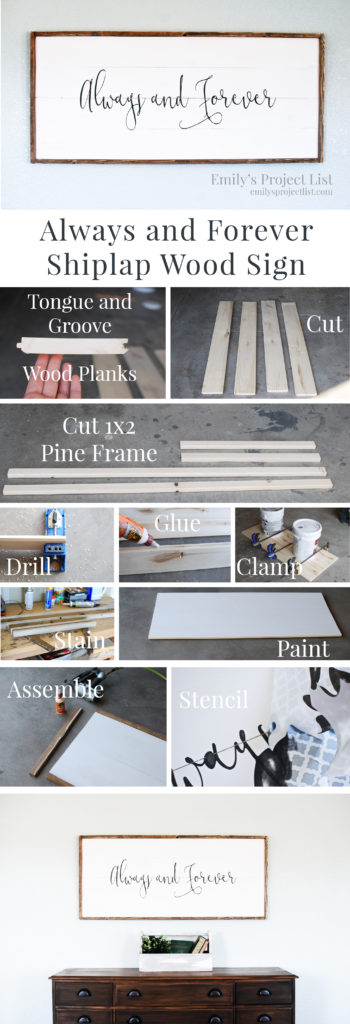
After taking a small break from the DIY Wood Sign series, I am back at it! I am calling this one the Shiplap Wood Sign, because of the look and materials used. This is DIY Wood Sign #4 in my Sign Series!
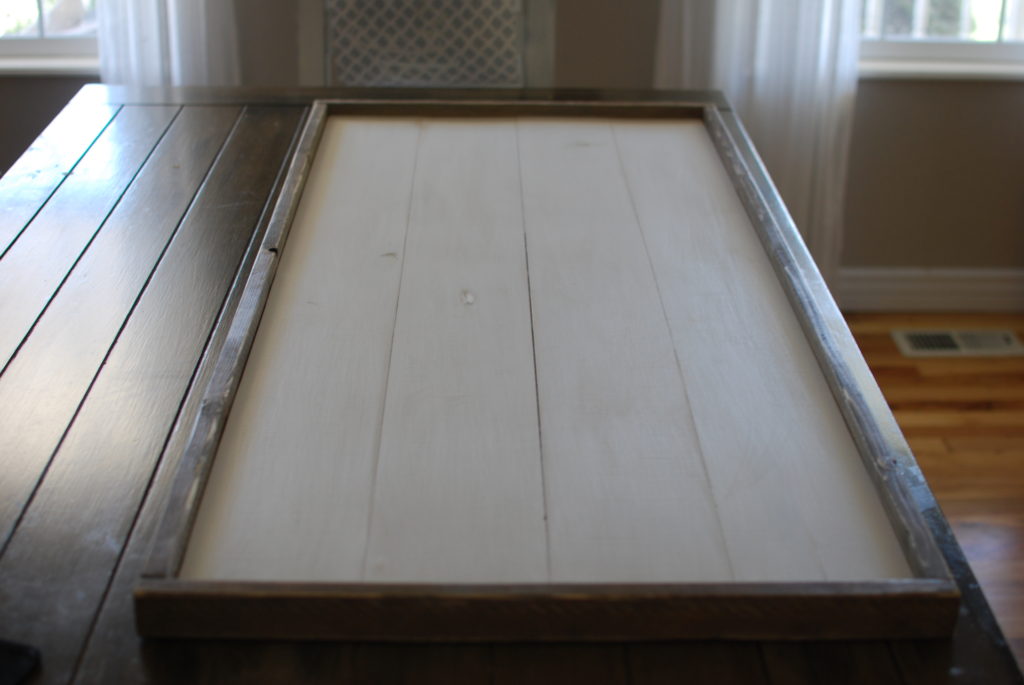
The frame is similar to other frames I have made, but the main portion of the sign is made of 4 tongue and groove planks, glued and screwed together, to create a shiplap look! Due to the thickness of the planks, the outer frame can be nailed directly to each edge! Awesome!
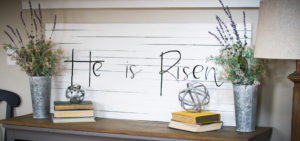
If you missed any of the previous tutorials in the Wood Sign Series you can check them out here by clicking on the pictures!


Okay let’s get started!
DIY Wood Sign #4
Materials/Supplies:
- (2) 1x6x 8′ tongue and groove wood (you can check out a picture of what I am talking about below)
- (2) 1x2x8′ pine
- Paint (for background-I used Annie Sloan Pure White)
- Paint (for lettering-depending on which method you use)
- Stain- Minwax Classic Gray and Minwax Dark Walnut (or whatever stain you prefer)
- Kreg screws 1 1/4″
- Wood glue
- Contact Paper (depending on lettering method)
- Finishing nails 1 1/2″
Tools:
- Saw
- Clamps
- Kreg jig
- Measuring tape
- Paint Brush
- Sandpaper
- Nail gun or hammer/nails
- Sharpie (depending on lettering method)
- Makeup Sponge (depending on lettering method)
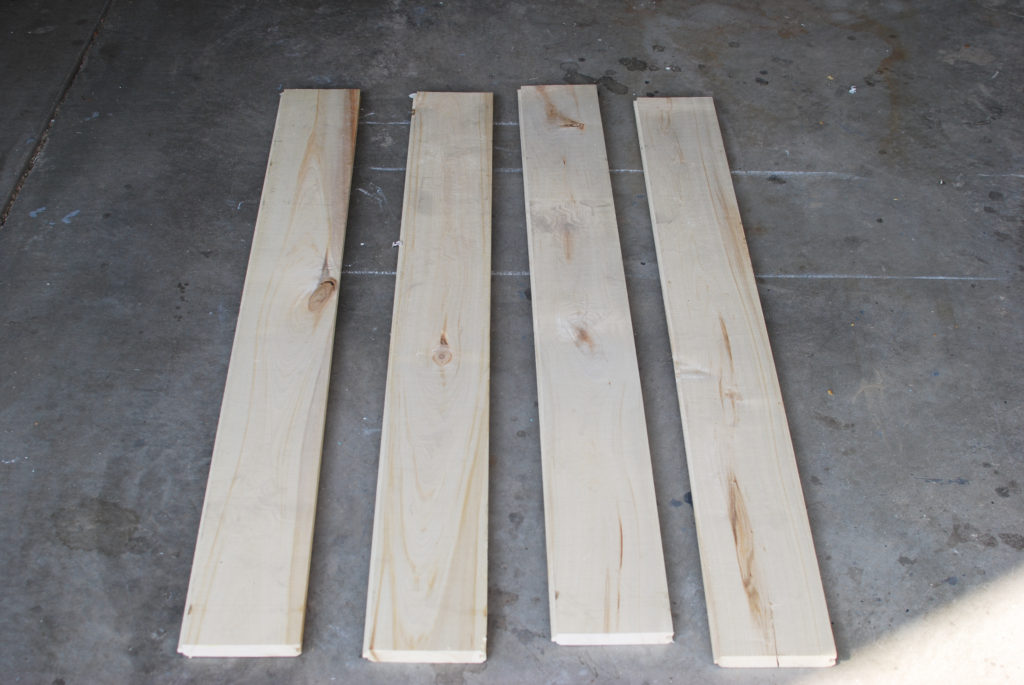
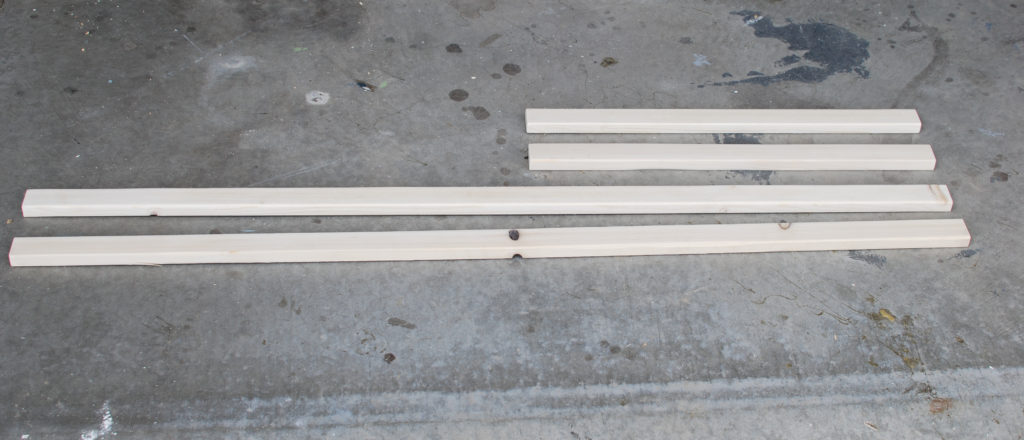
Step 1: Cut wood
- Cut 1x6x8 planks to 4′ pieces (4 total)
- Cut 1x2x8′- (2) 22″ and (2) 48″ (frame pieces)
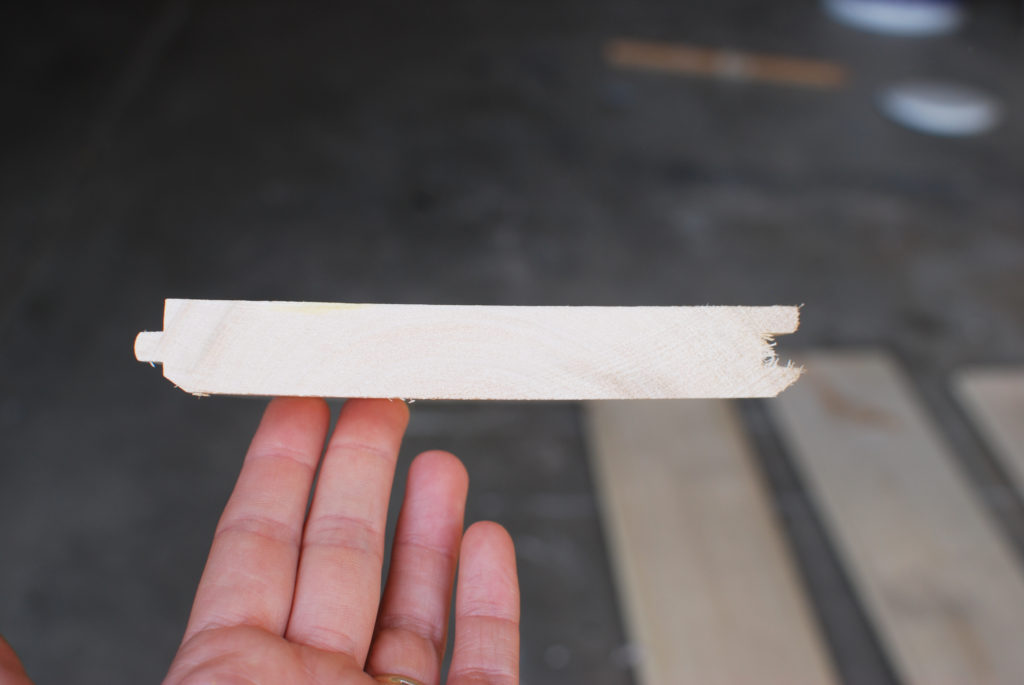
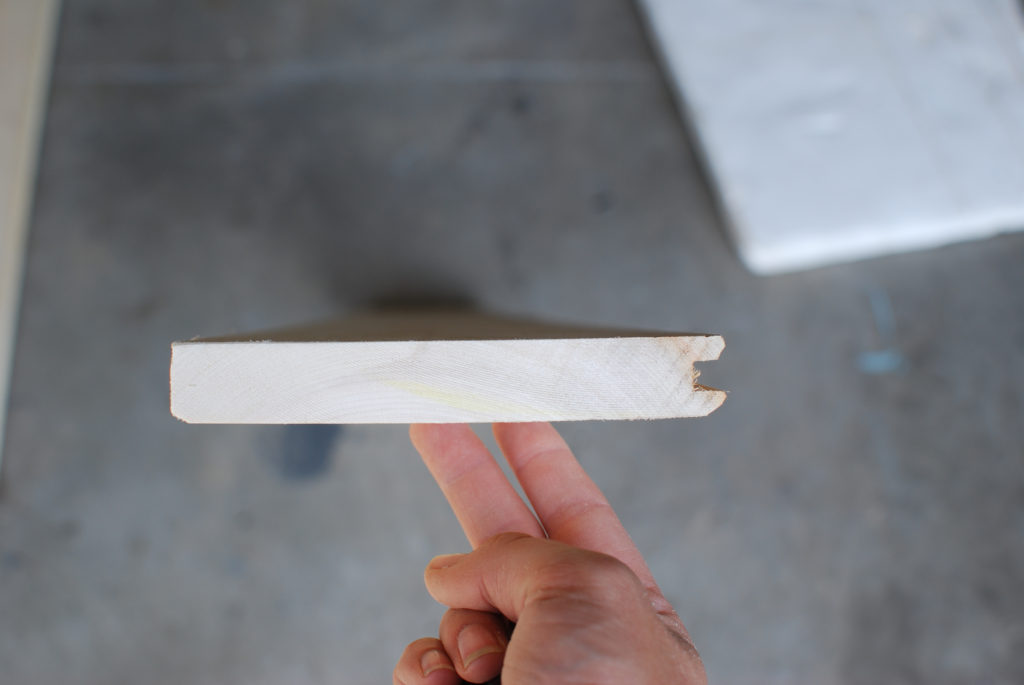
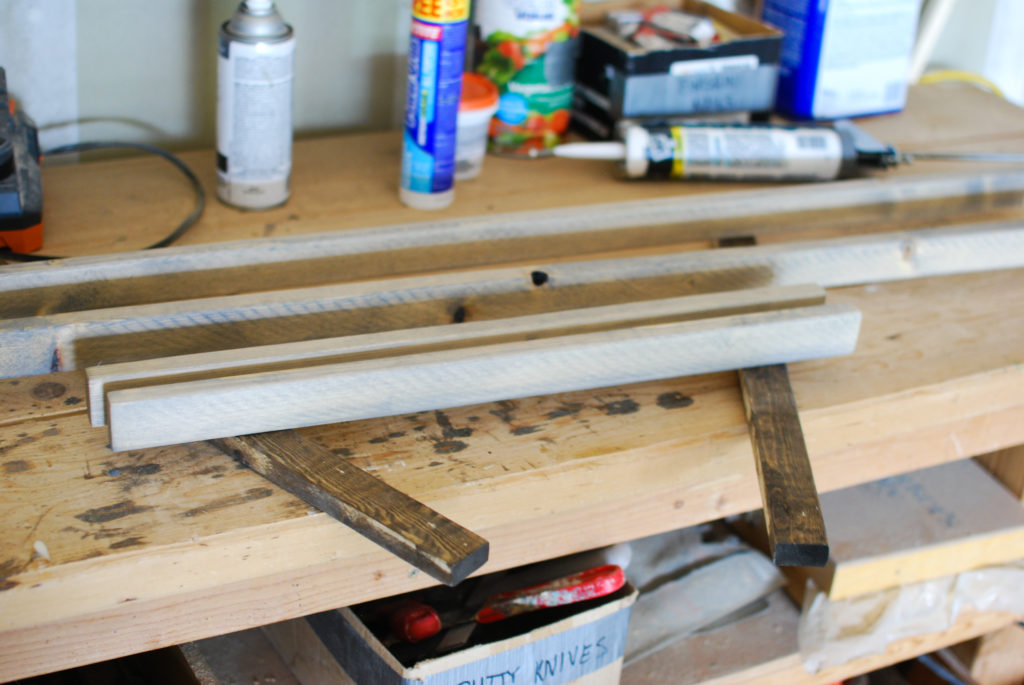
Step 2: Cut off tongue on one plank
I used my circular saw to cut off the tongue, to provide a flatter edge to attach the frame too. The first picture shows the plank profile before and the second shows after I cut.
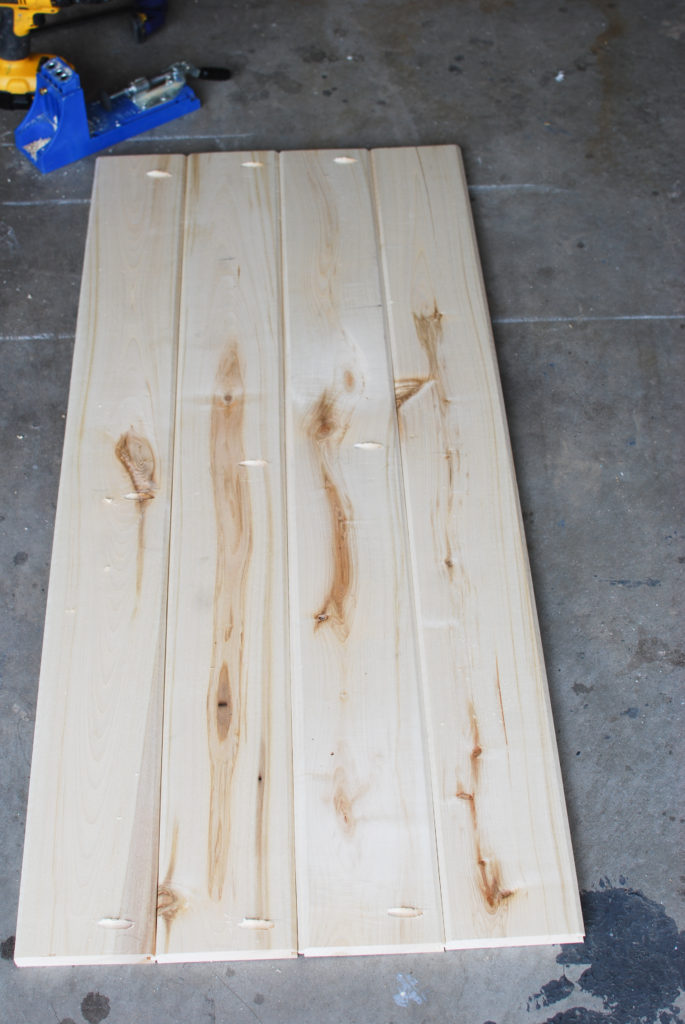
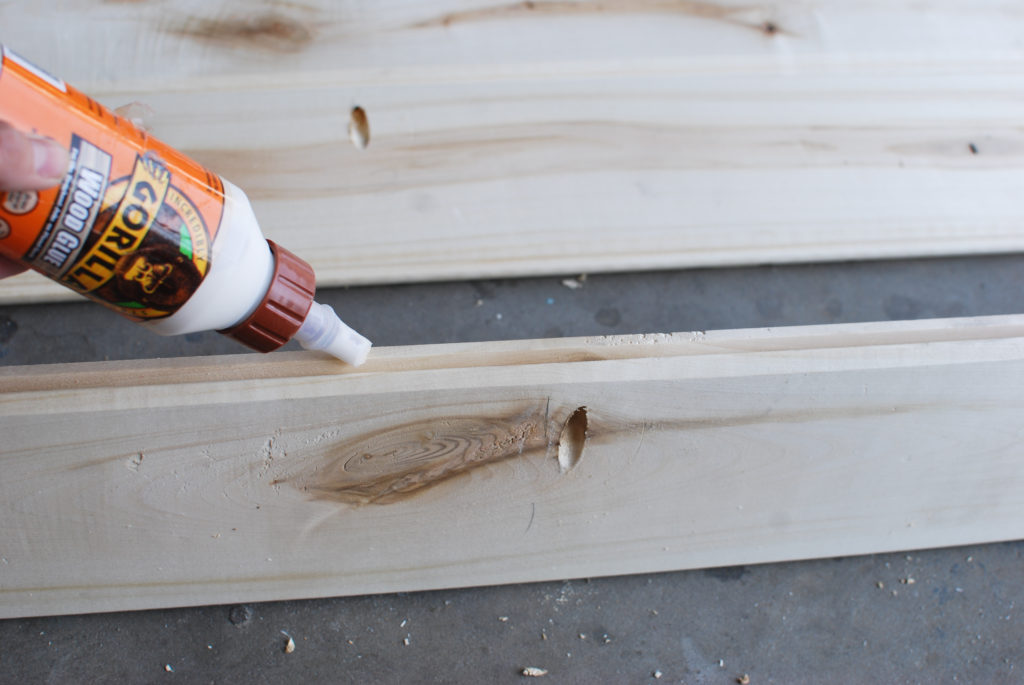
Step 3: Assemble planks
- Drill pocket holes in the backside of 3 of the planks, using a Kreg jig. I drilled 3 holes in 3 planks
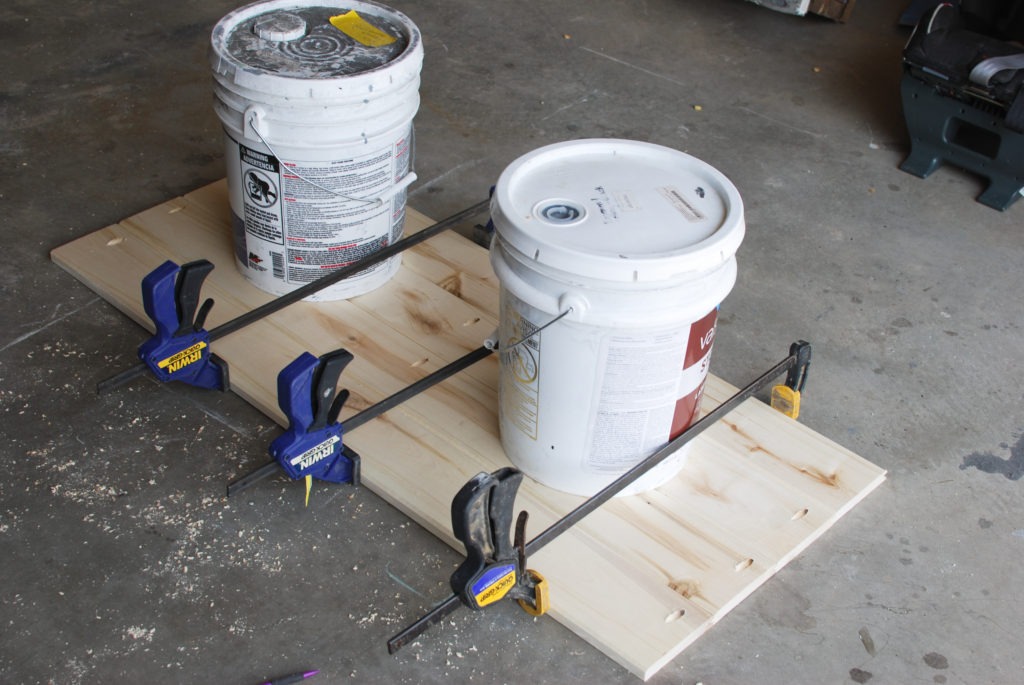
- Run a bead of glue along the edges and clamp together.
- Use some heavy containers to apply some pressure on the backside and prevent the wood from buckling up, once you clamp the planks.
Two options for the planks:
There are 2 ways you could assemble the planks due to the tongue and groove. You could have the V groove on the front or choose the flat side. I chose to have the V groove on the backside.
If you are confused about what I am talking about, check out the picture above. On the right side the top notch is flat and the bottom is angled (so when connected with another plank, it makes a V)

 Step 4: Stain Frame
While the planks are drying, stain your frame pieces! I used Minwax Classic Gray for the first coat and then a 2nd coat of Minwax Dark Walnut.
Step 5: Paint planks
While the stain is drying, use this time to paint the planks. I used Annie Sloan Chalk Paint in Pure White, but any white paint should do the job! After the paint dried I distressed some spots with sandpaper.

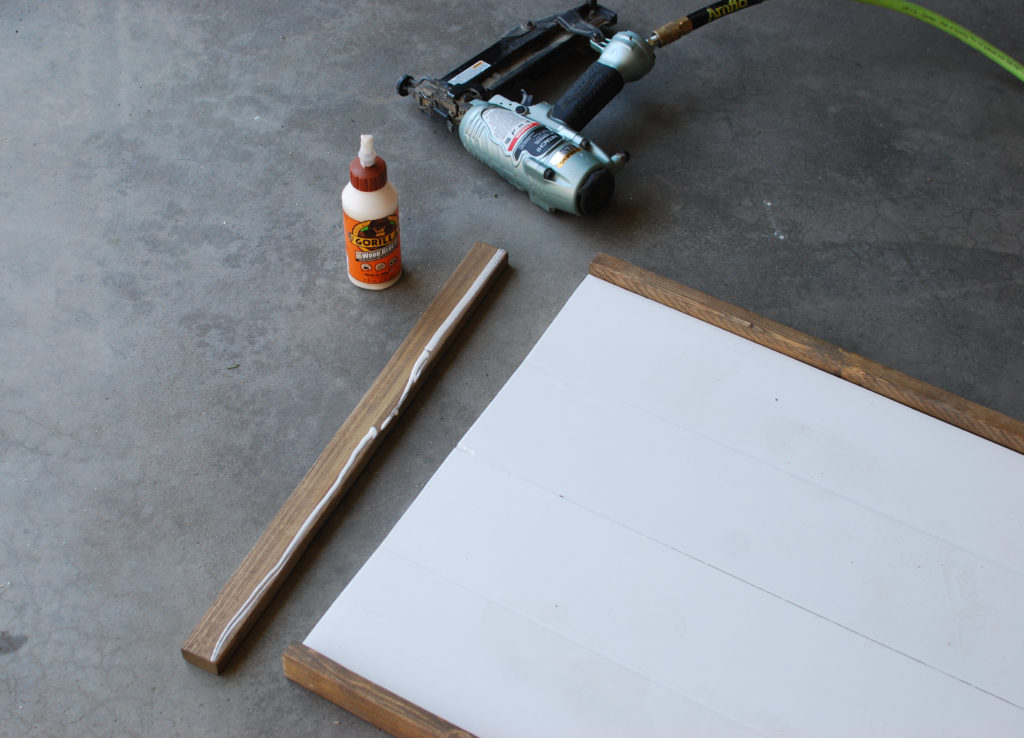
Step 5: Attach frame
Next step is attaching the frame. I used wood glue and finishing nails to attach the 4 frame pieces to the planks. I used sandpaper to distress the edges of the frame, to add a little more character.
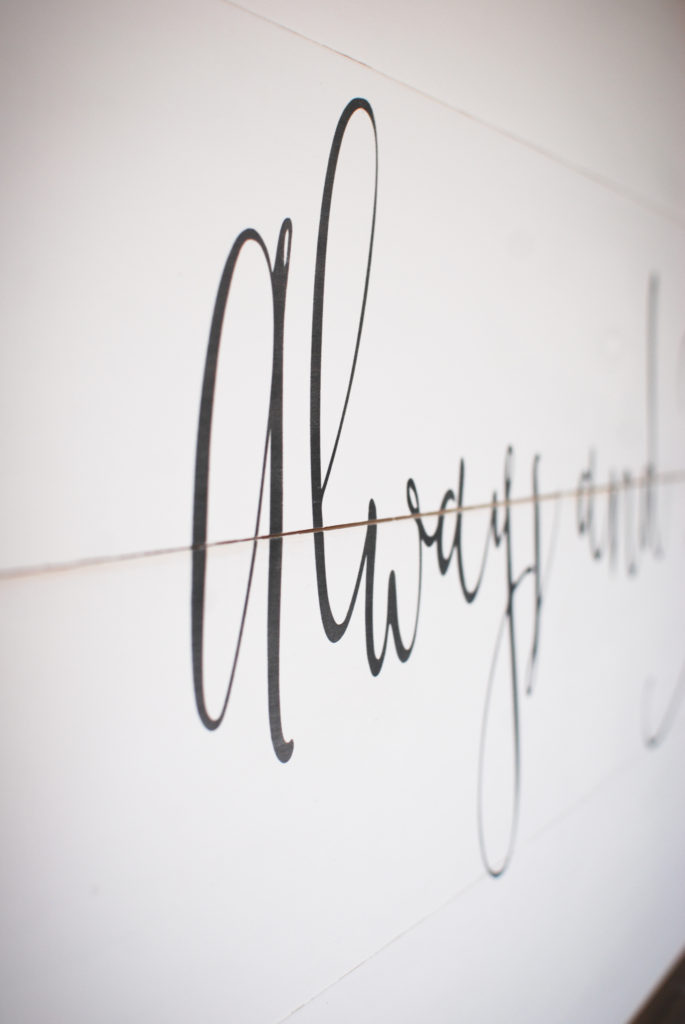
 Step 6: Add lettering
Finally, it is time to add your lettering! I have this awesome machine called a Silhouette Cameo! I LOVE it! It cuts vinyl, paper and stencils for me! I use it all the time!
I know most people do not have a fancy cutting machine! So, you can use the print out and trace technique. I have a video below showing this technique.
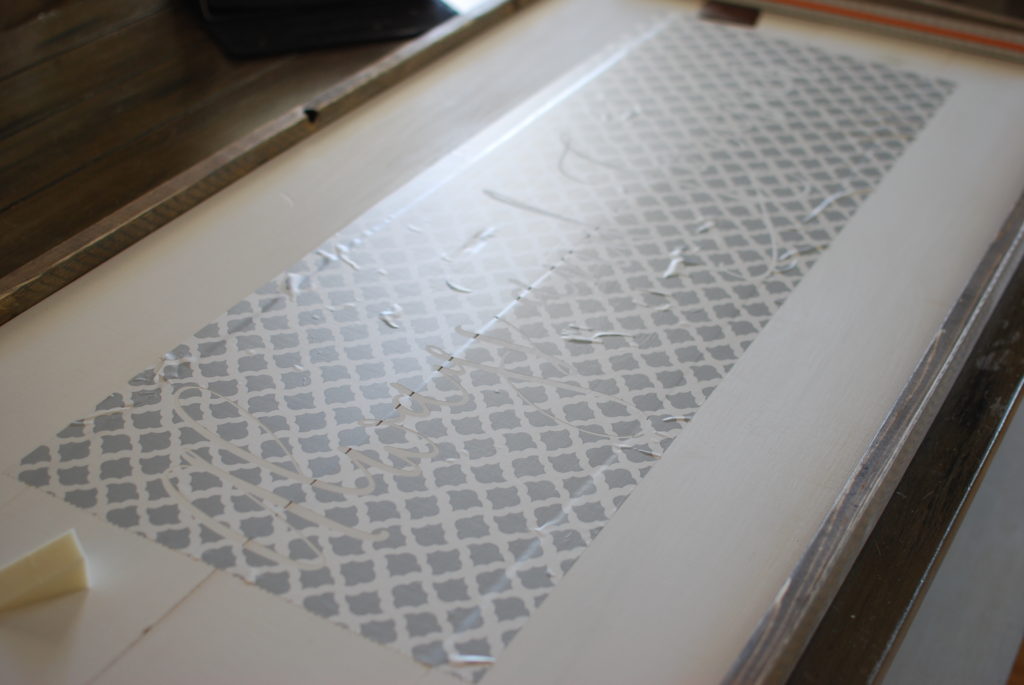
Here is how I use contact paper as a stencil.
- Cut stencil out of contact paper: Click here for silhouette file (there is no preview-just click on the download)
- Measure out some guidelines to make sure you stick the stencil on straight
- Stick the stencil and smooth out any wrinkles
- Paint over the words with mod podge (optional). I do this to ensure I get crisp lines when I pull off the contact paper. Sometimes paint will bleed under. The mod podge just seals any edges.
- Paint the letters, using a makeup sponge. Dab the sponge in a little paint then gently dab the paint over the stencil. Less is more!
- Rip off contact paper
- Erase any pencil lines

Okay, for those who do not have a stencil cutting machine…you can use this method for any of your wood sign projects:
- Print off your lettering on regular copy paper.
- Tape together pieces of paper if you need
- Center and tape to planks
- Follow the instructions in the video.
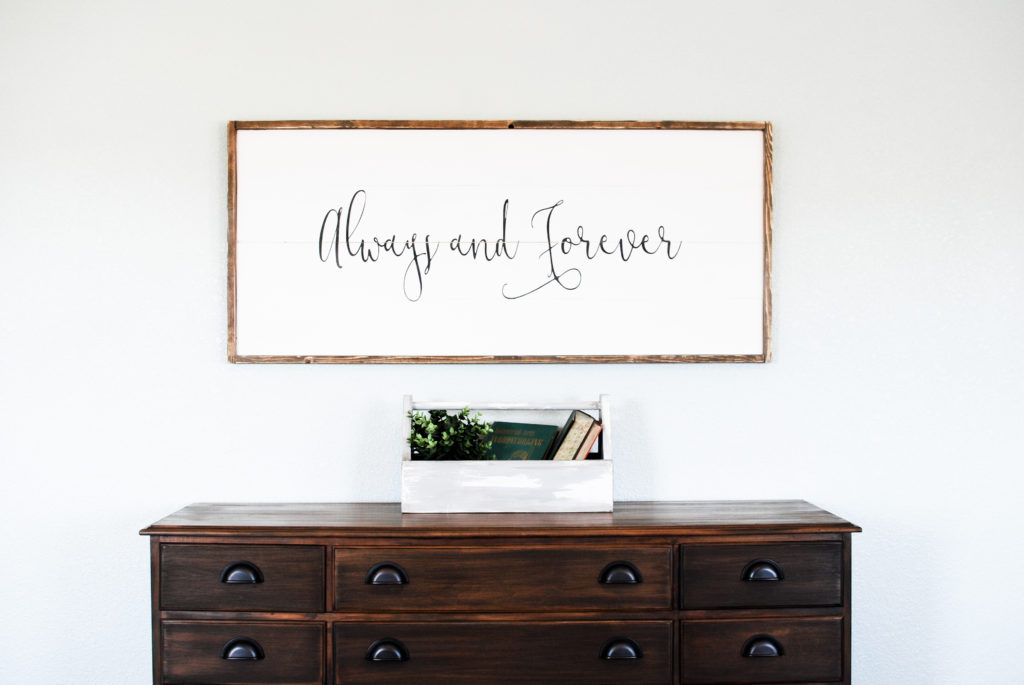
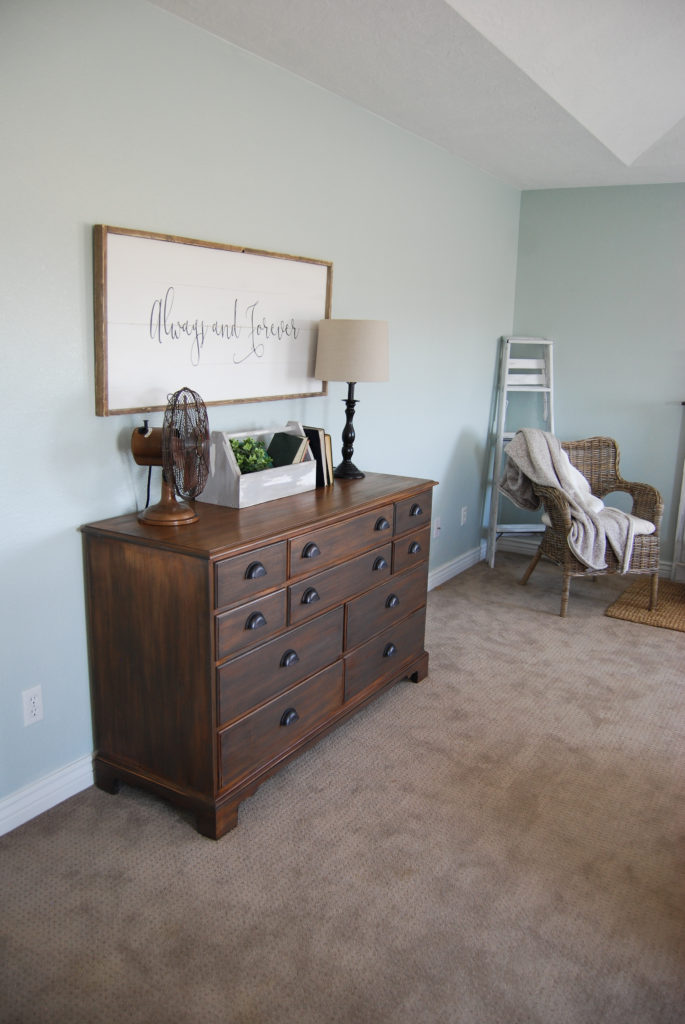
Want to see more about the dresser above? Check out my post: Dresser Refinishing Project
Thanks for stopping by!
Emily
Why did you drill holes with your Kreg Jig?
I wanted to add extra support to the planks. Glue might be enough but I didn’t want them to warp or bed at the joints while moving it around or attaching the frame. Pocket holes were an easy way to attach the planks together. Let me know if that doesn’t make sense.