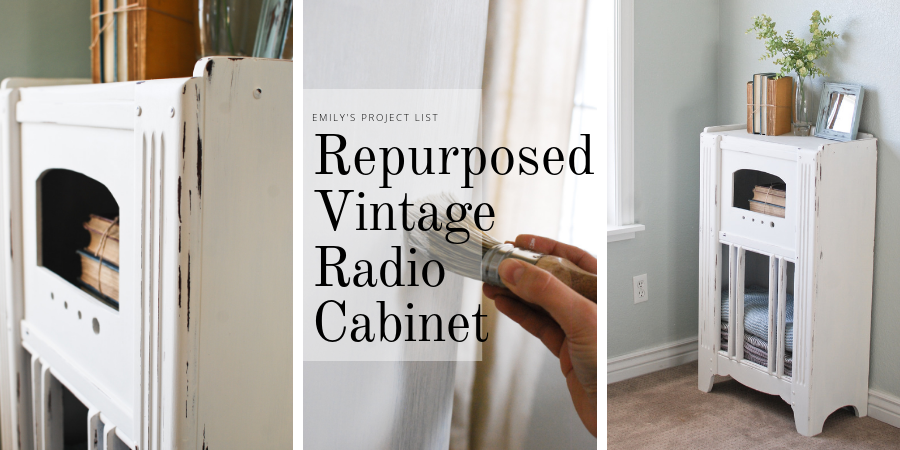
I love antiques and unique furniture pieces, so I am very excited to share my repurposed vintage radio cabinet today. I shared back in December how I repurposed an old post to a coat rack. You can check that out here!
This was a piece I picked up almost 8 years ago, intending to get the radio in working condition. However, I have a habit of collecting furniture with intentions of refinishing them, but ultimately life has interruptions and the pieces sit around for months/years waiting for my attention.
For example, I shared about this secretary desk that moved around with us for years until I finally got around to refinishing it.
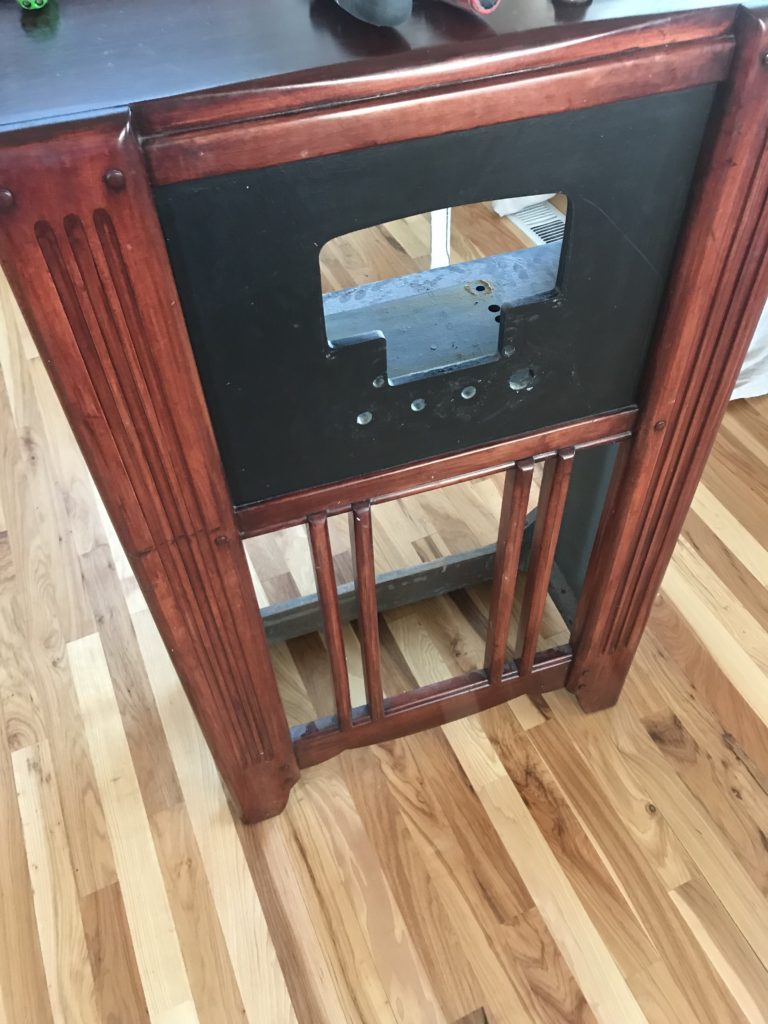
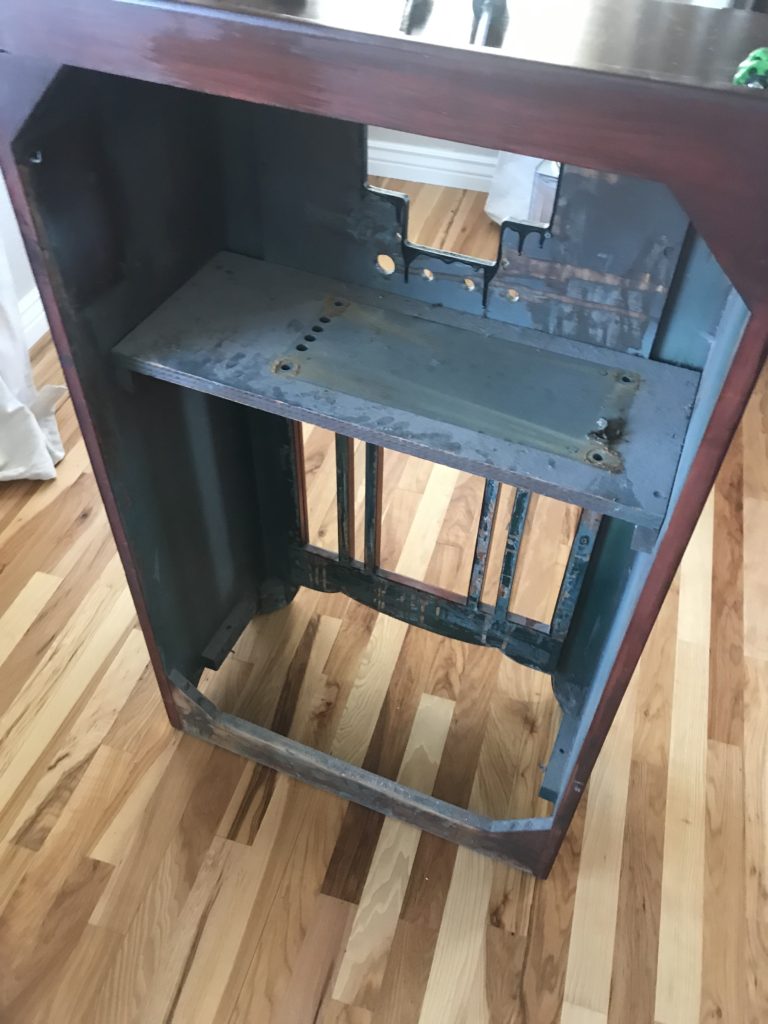
Before pictures…
Repurposed Vintage Radio Cabinet Steps
- First, remove the radio and speaker
- Next give everything a good cleaning/wipe down
- After that, measure and cut a bottom shelf from scrap wood
- Then cut a piece of 5mm hardboard for a back piece.
- Paint with Crisp Cotton Chalk Paint. You can buy your own chalk paint here from Vintage and Restore by K. I have been very happy with the results.
- Lastly, apply natural wax with a lint free cloth.
This post contains affiliate links for your convenience. Which means if you make a purchase after clicking a link, I will earn a small commission. The great thing is, it won’t cost you a penny more!
Quick note on why I use chalk paint…
- Firstly, and my favorite reason for using chalk paint is that it minimizes prep work. No sanding and priming! Yes!
- Great coverage! A little goes a long way!
- In addition to great coverage, it is easy to distress (if desired)
- Above all, anyone can do it!
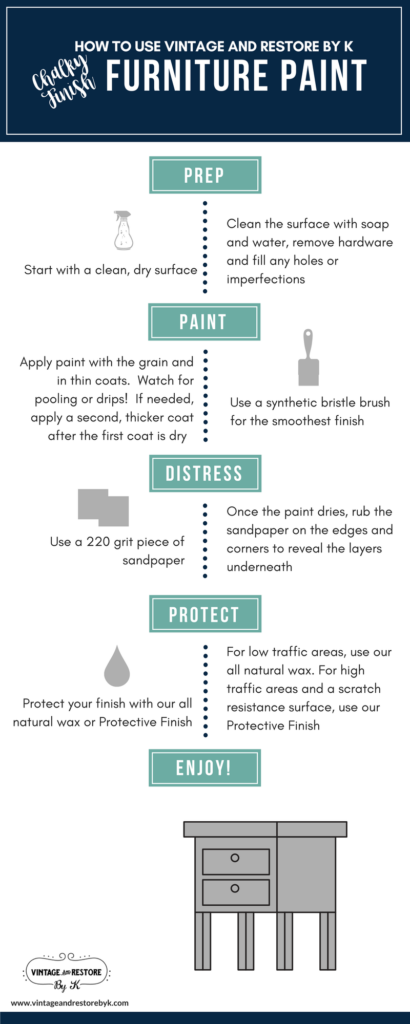
Check out the infographic below from Vintage and Restore by K and see how easy it is to paint furniture. If you have a project that has been sitting around waiting for you to be inspired this paint is certainly worth checking out.
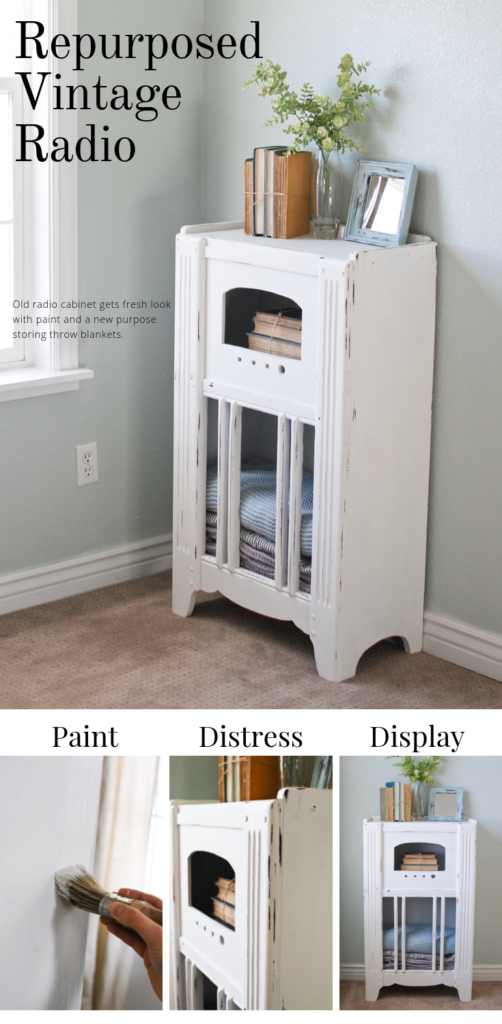
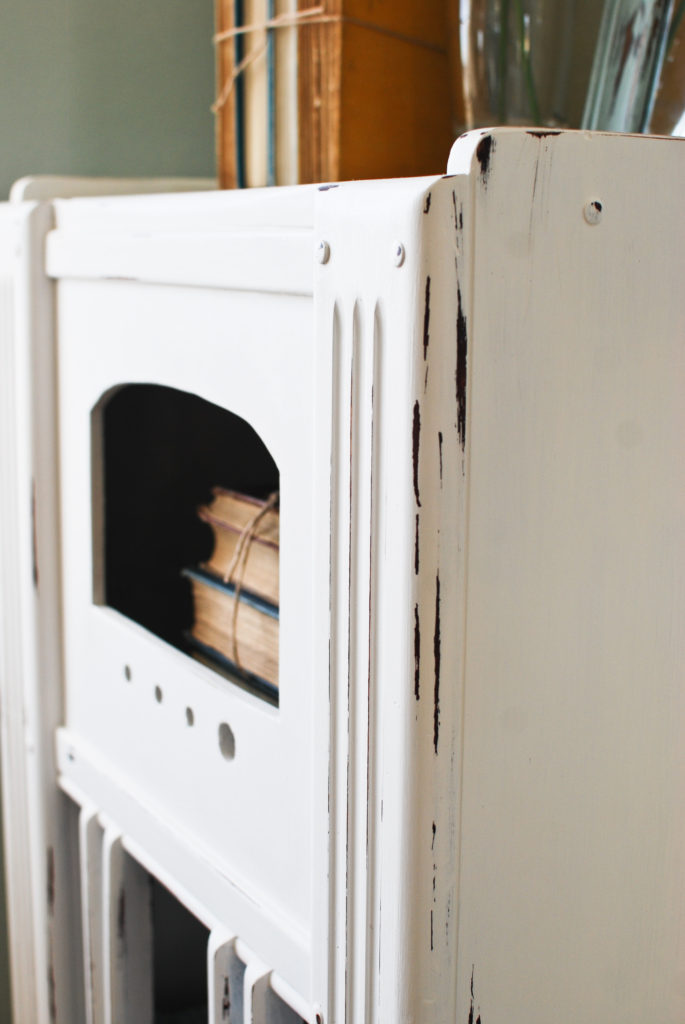
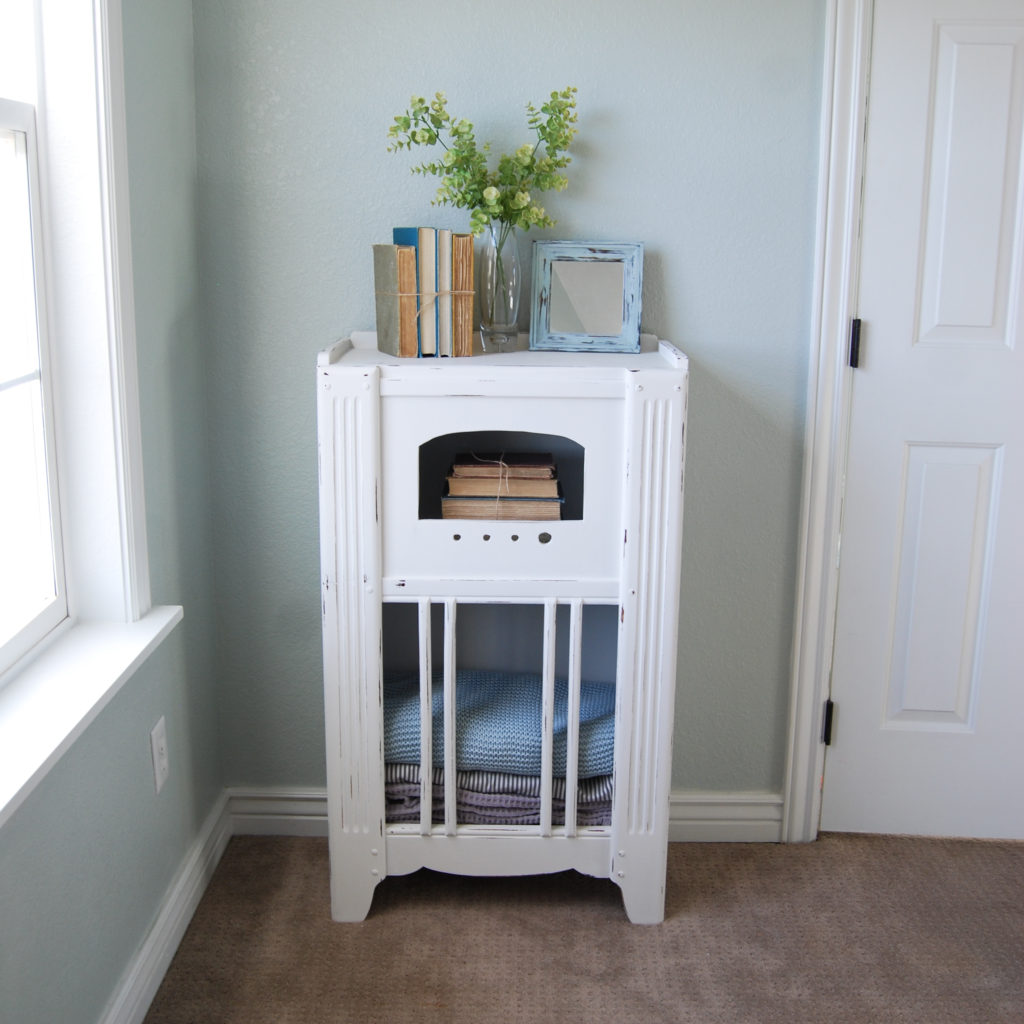
Results of my repurposed vintage radio cabinet…
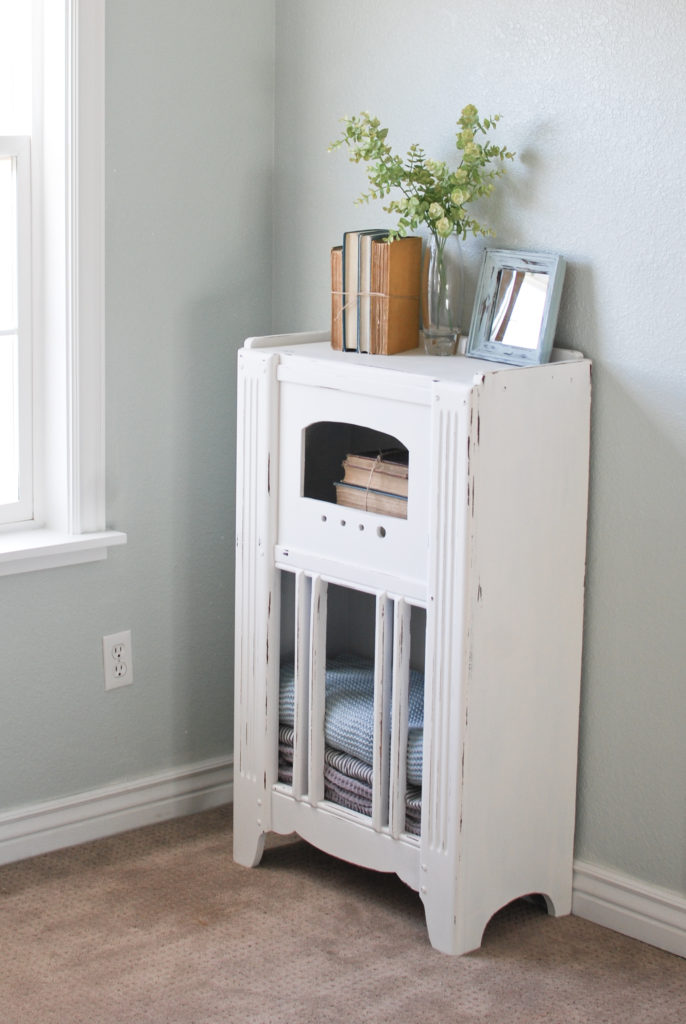
Currently, I have this in our Master Bedroom. How long it will stay there is yet to be determined. Moving furniture around is a bit of a pastime of mine.
Our Master Bedroom, much like the rest of our house is in constant process. You can check out how I framed our windows, updated paint and a new mirror here.
Change is a process. It does not happen over night. There are still so many more projects I would like to get checked off my list. BUT it is nice to look back and see the progress I have made. Just this tiny corner of our bedroom has changed so much!
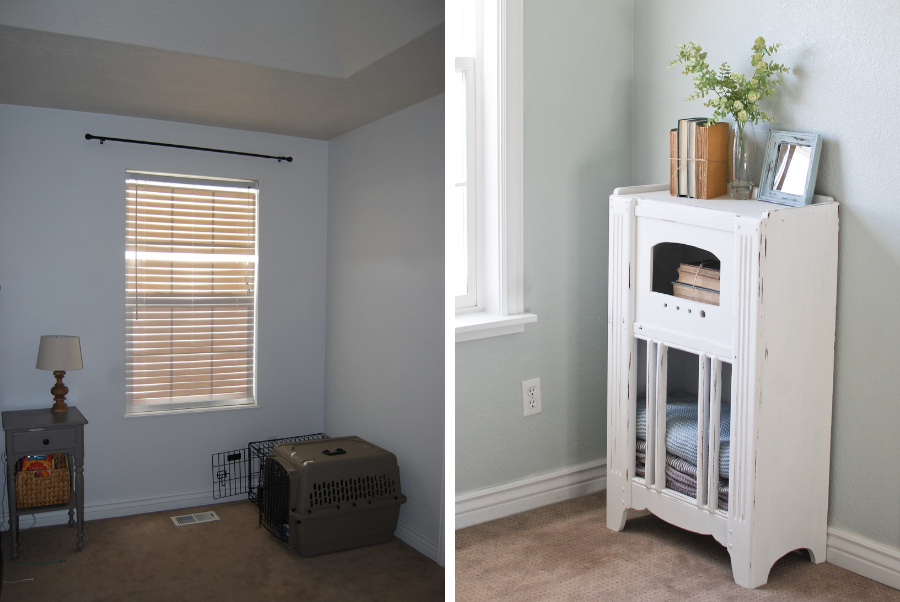
What do you think? Is my repurposed vintage radio cabinet an improvement over the dog kennels? Ha!
What is so great about this project was being able to give a new look and purpose to a piece of furniture I have always loved.
Emily
It’s beautiful! I’m going to have to check out the chalk paint.
Yes! I love products that make a project easy and give you great results!
Did this cabinet have a door? I have something similar and no door, so it may be awkward getting things in and out. Just wondering…
It did not have a door. I added a back to it because it was just open. It takes a little wiggling to get the blankets out the front (between the vertical wood pieces) but it works out okay for us.
A couple years ago I repurposed a vintage radio cabinet into a bar cabinet. I cut a door and added hinges and a magnetic pop closure. It’s one of my favorite peices..
That sounds really neat. I love repurposed and unique pieces.
John, I have a radio cabinet that I wanted to make the front into a door as well. Do you have suggestions on making a clean, straight cut?
Neat! Do you mean make a straight cut into the cabinet? Hard to know exactly without seeing a picture, but you may be able to clamp a straight edge to the radio to guide your saw straight.
Hi John,
I’m trying to figure out how to do this exact same thing! Would you possibly be willing to share how you did it?
I noticed that you cut the front of the cabinet, where the radio was placed. You didn’t show or mention that process. Did the wood splinter when you cut?
I did cut the front out with a jig saw. I had no trouble with the wood splintering.