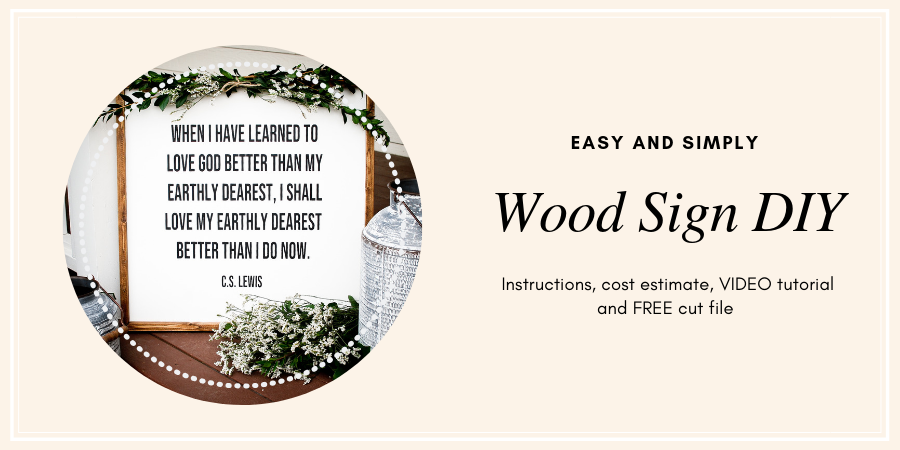
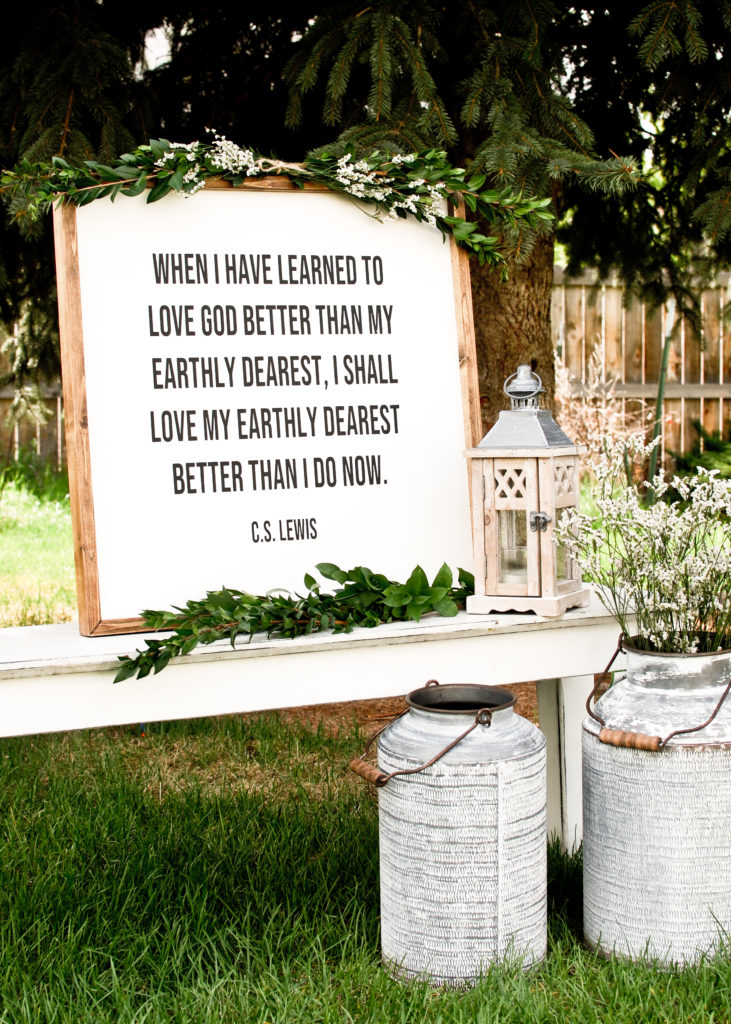
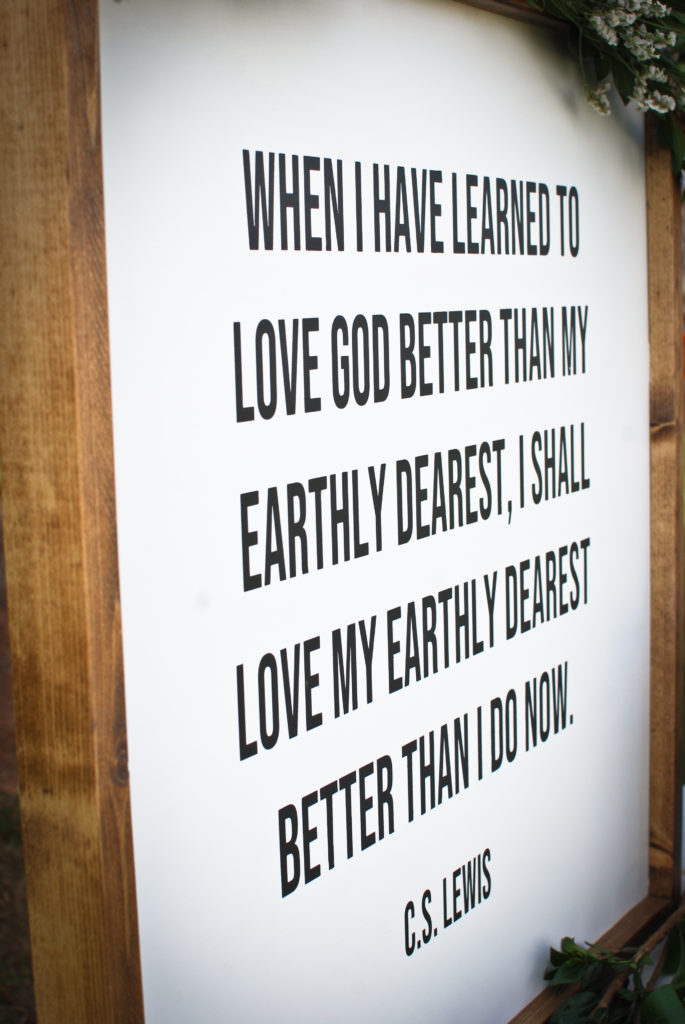
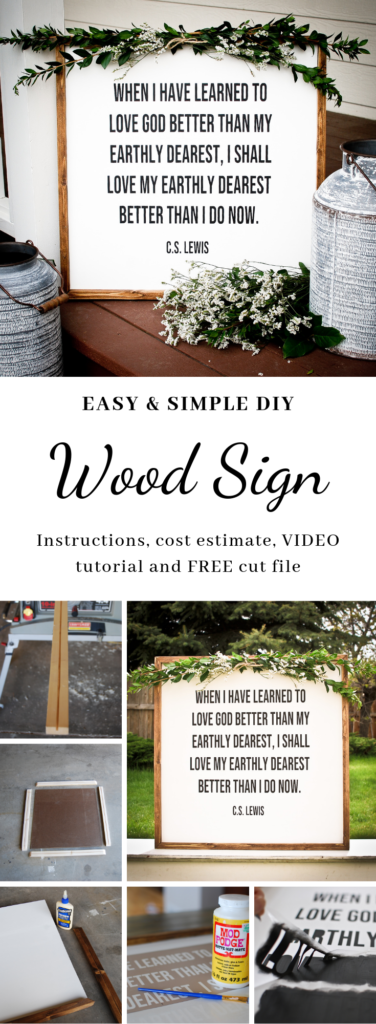
Summer weddings are just around the corner, making this the perfect time to share my next wood sign DIY tutorial: The Wedding Sign. I am calling it the Wedding Sign because the CS Lewis quote is so appropriate and I was asked to make this for a couple’s wedding this month! This wood sign would be great for any wedding decor or to give the new couple as a gift. It would also be great to give as an anniversary gift or decor for your own home.

I have some step by step instructions for you to build a frame and a video tutorial for how I use contact paper as a stencil! PLUS FREE DOWNLOAD of cut file.
Wood Sign DIY COST
I always try to include a cost estimate in my tutorials so you know just what you are getting into! It only cost me about $5 dollars to make this sign because I have a significant amount of leftover supplies from previous projects. I estimate it would cost most people $15-20 depending on what you have on hand.
Sign Supplies
- (1) 1x2x8′
- (1) 22.5″x22.5″ hardboard
- wood glue
- stain (I used Minwax provincial)
- white paint
- Spray polycrylic
- sandpaper
Tools
- Table saw with thick kerf blade (like this one) or could use a router
- Cross cut saw
- Circular saw or table saw
(Supply list for adding the lettering is further down)
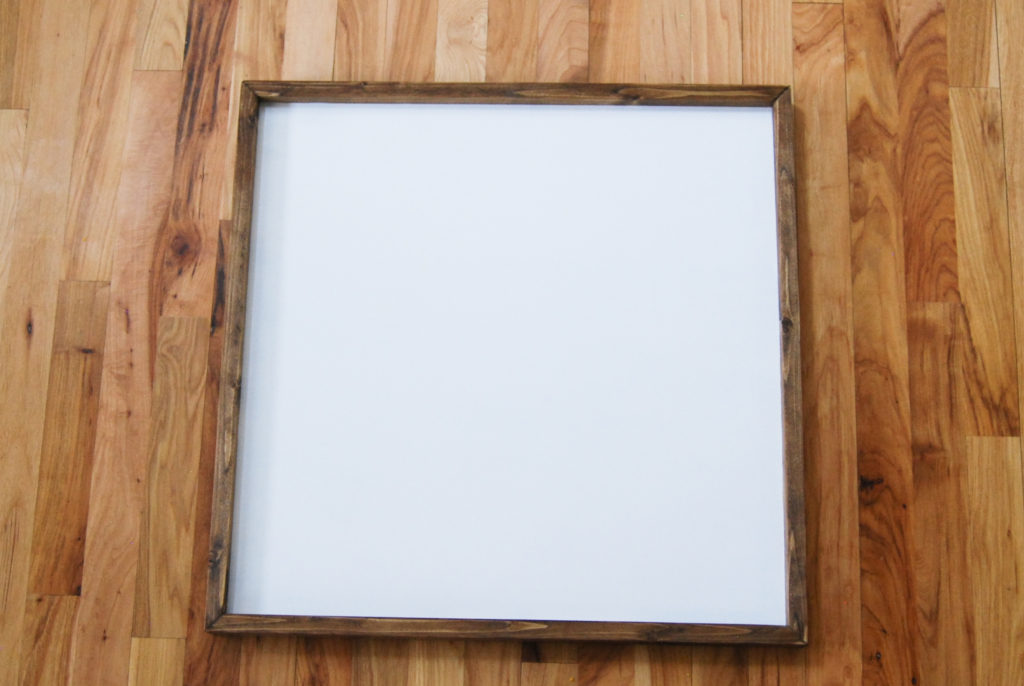
Wood Sign DIY Assembly
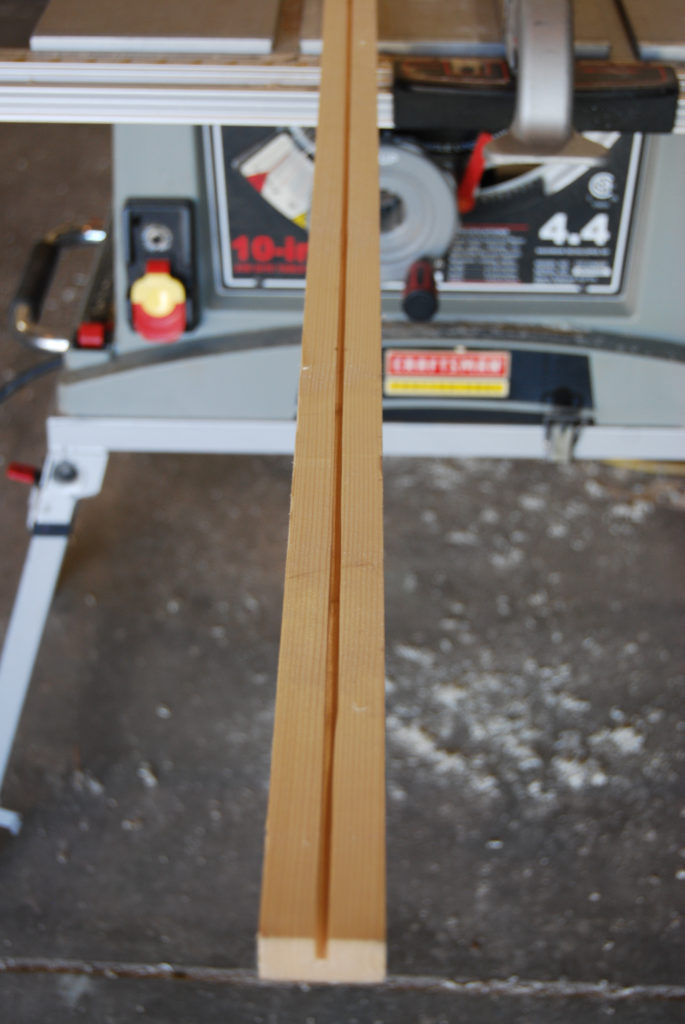
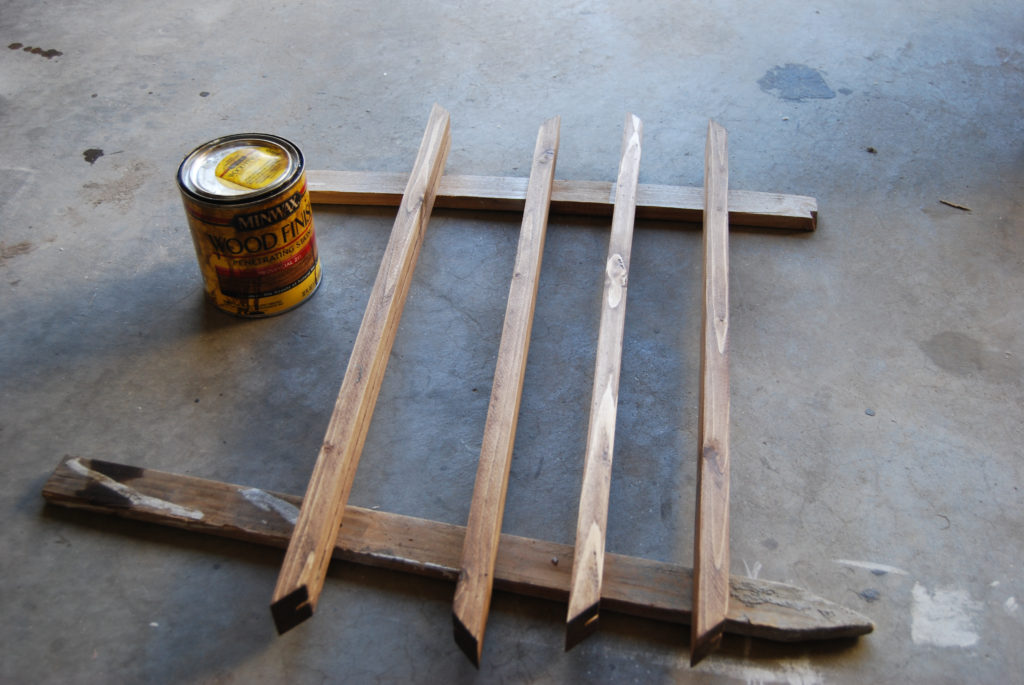
Create a groove in the center of your 1x2x8′ by running it through the table saw. Set the blade height to about 3/8″ and set the fence so that the blade will run through the exact center of the 1×2. I only had to make 1 pass because I used a thicker blade. If you are using a standard kerf blade you may need to make two passes or if the hardboard is thicker then the one I used.
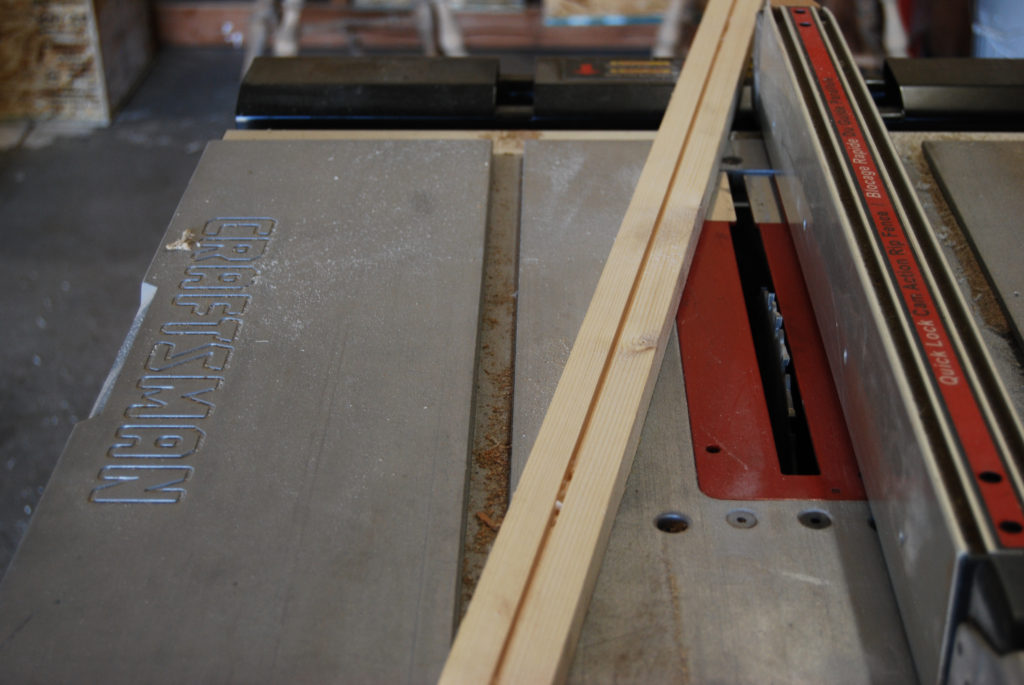
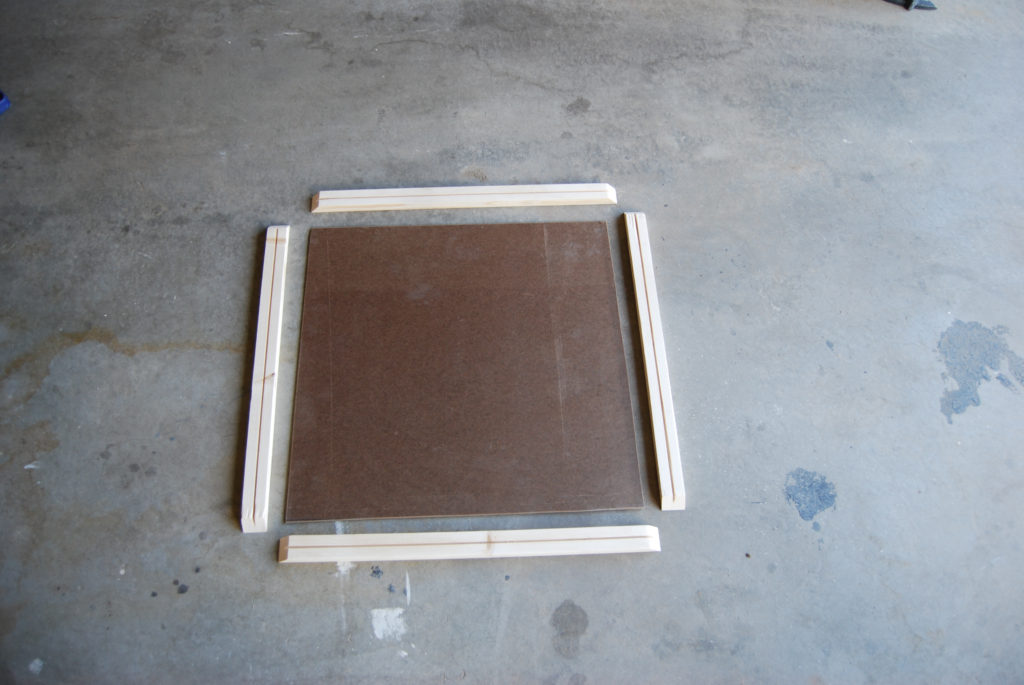
Cut the 1x2x8 into (4) mitered 23.5″ pieces (measured from outside to outside). Each piece will need a 45 degree miter end cut. Take your time and make sure each cut is correct. The groove you just cut needs to be on the inside of the frame.

Sand any edges and corners that need it.
Next step is to cut the hardboard. Use a table saw or circular saw to cut hardboard to 22.5×22.5″ square.
Stain and Paint
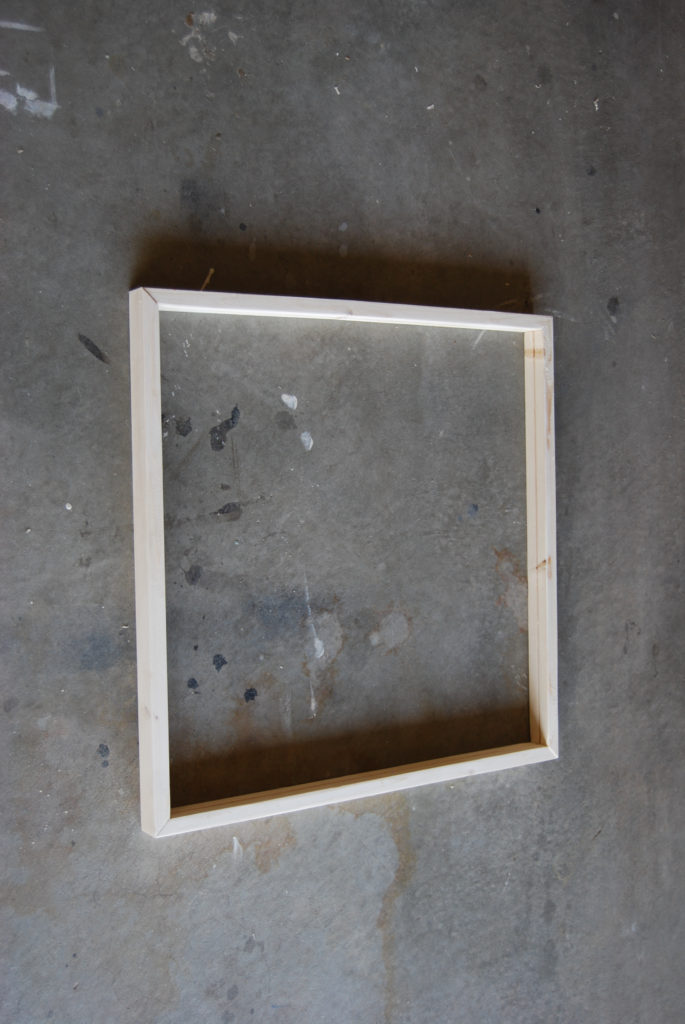
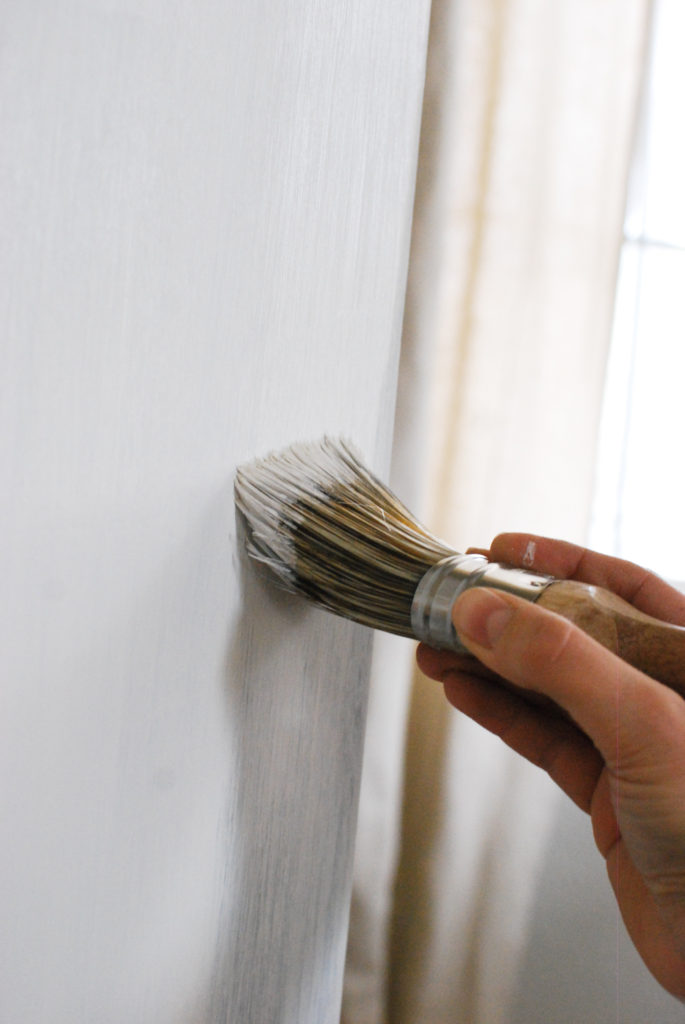
After making your cuts, do a dry fit to make sure your hardboard fits in the groove and your frame pieces all match up nicely. If you are satisfied then stain the frame and paint the hardboard white. Both steps are easier to do before assembling the sign. Don’t know how to stain wood? Watch how to here.
I used SW Swiss Coffee in eggshell. My FAVORITE paint brush is from Vintage and Restore by K! Love it! Smooth smooth finish!
This post contains affiliate links for your convenience. Which means if you make a purchase after clicking a link, I will earn a small commission. The great thing is, it won’t cost you a penny more!
Assemble!
Last step for the sign is to glue the pieces together. Apply a small bead of glue along/in groove and a small bit on each mitered end. This can be a little tricky but apply the glue and then slide the painted hardboard in the groove. Do this piece by piece until all 4 frame pieces are around the hardboard and each corner is lined up. Use clamps to hold in place. (you can also use table to hold the corner in place while the glue dries.
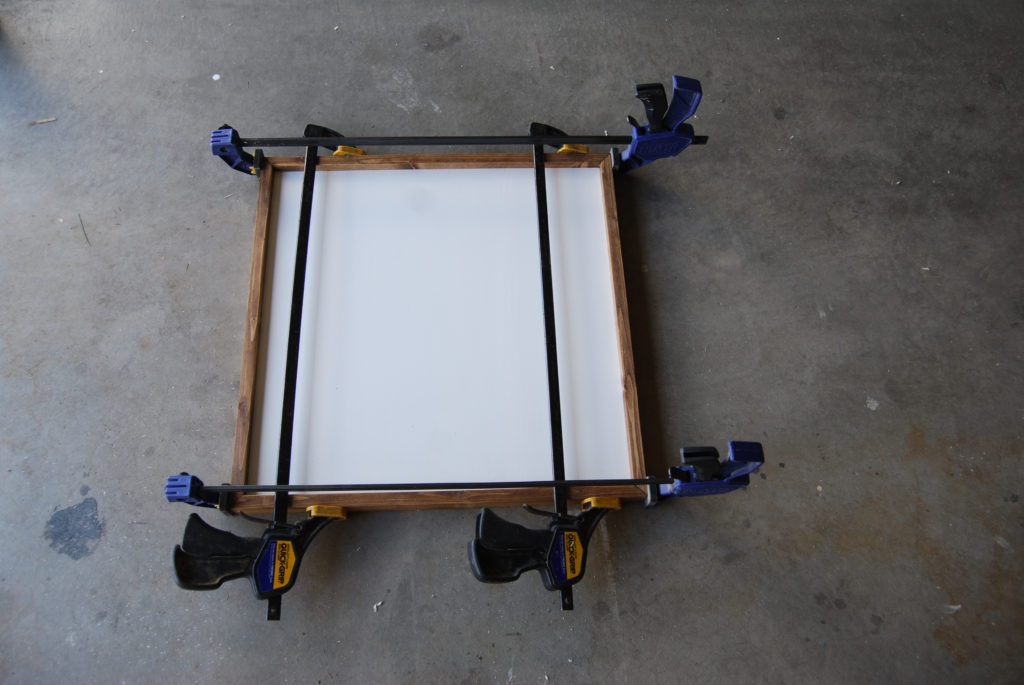
Let the glue fully dry before you remove the clamps/tape. You can use finishing nails to secure the frame in each corner but wood glue is strong enough to hold it without. Now, for the lettering!
Lettering with contact paper stencil!
I want to share my preferred method for adding lettering to a DIY wood sign: using contact paper as a stencil. This is particularly helpful if the font style is crisp and straight. I have shared this method before in other DIY wood sign tutorials, but sometimes a video is more helpful. The video also shows how I set everything up and tips for using multiple pieces for larger signs.
Supplies:
- acrylic paint (for words)
- contact paper
- makeup sponge (other sponges may work but i find these work best)
- scraper (gift card or credit card will work)
- mod podge
- craft paint brush
- ruler
- pencil
- eraser/magic eraser
Download FREE CUT FILE
I used my Silhouette Cameo to design and cut my contact paper stencil. Cut settings I used for the contact paper.
- blade height:1
- speed: 4
- force: 4
Watch the video to see what to do after your contact paper is cut.
Last step is to spray a couple coats of polycrylic over the entire sign. This is a great way to protect the frame and lettering!

Check out more sign tutorials under the home decor tab.
Thanks for stopping by!
Emily
Update: photos from rehearsal
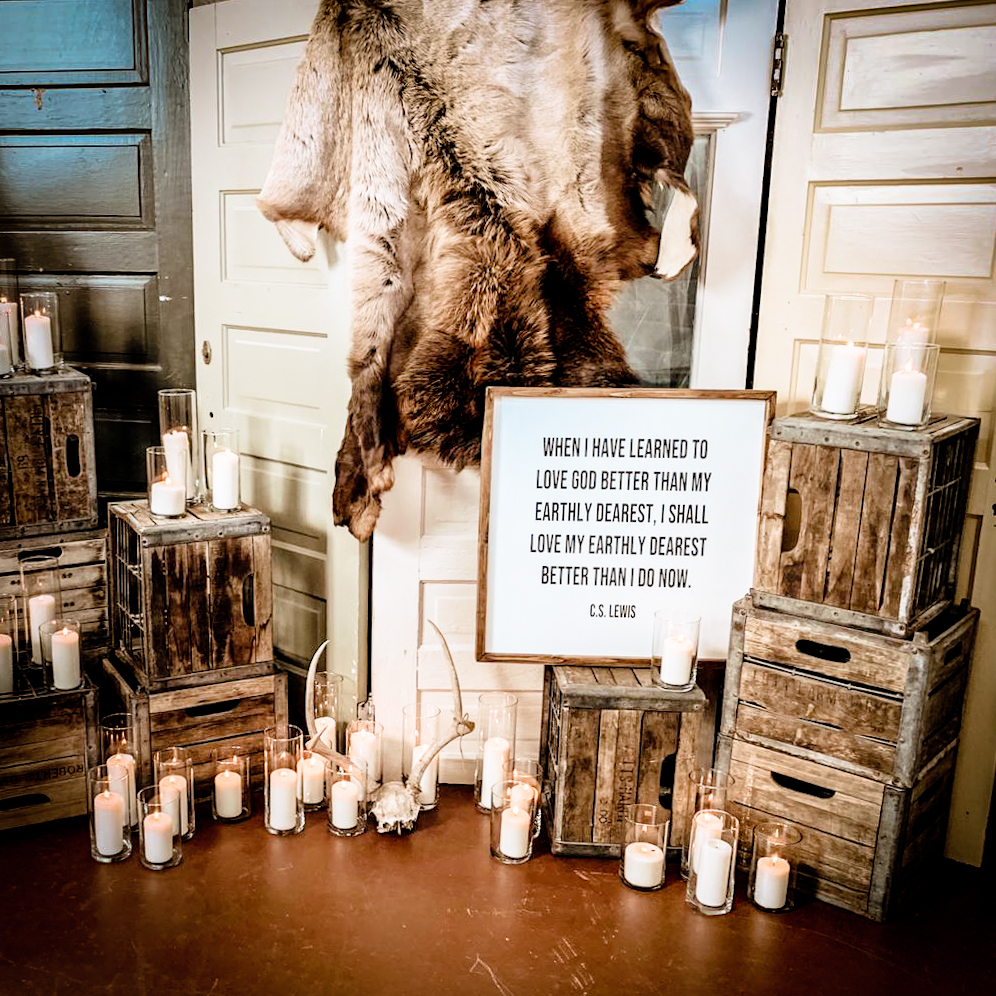
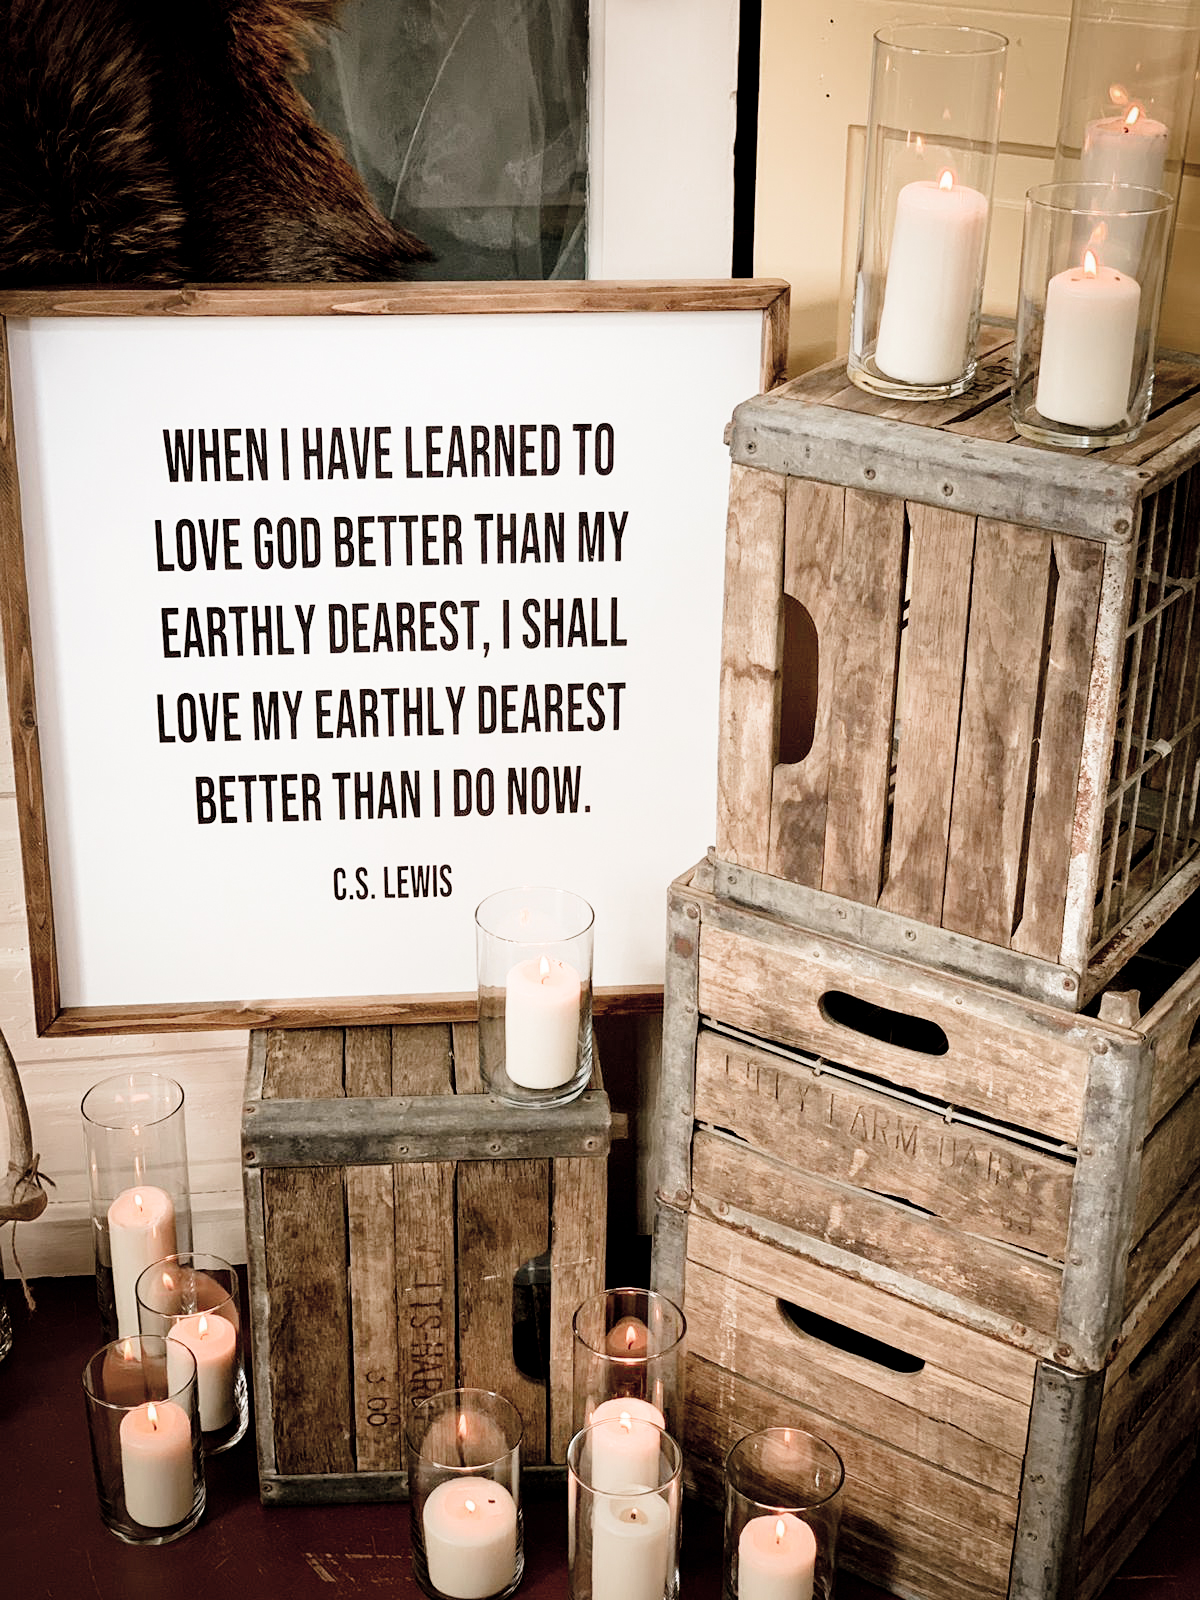
This turned out beautiful!
Thank you!