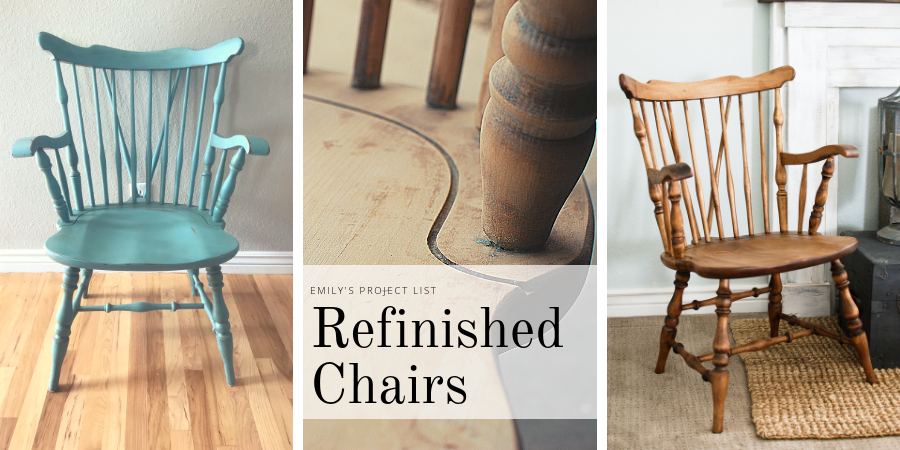
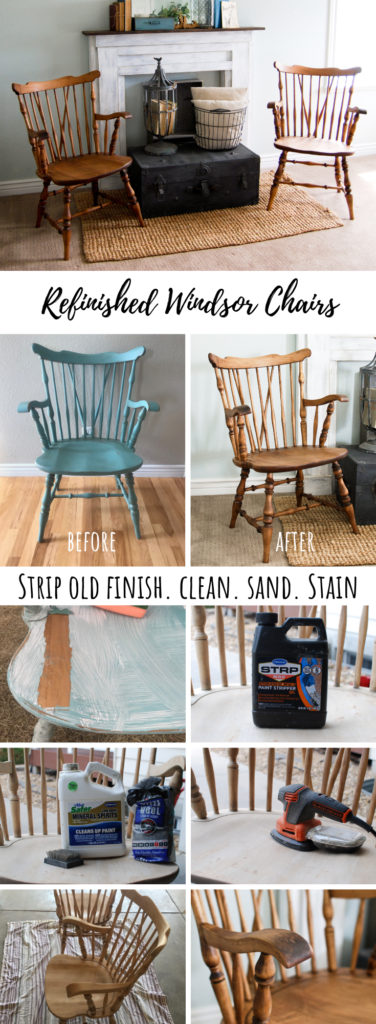
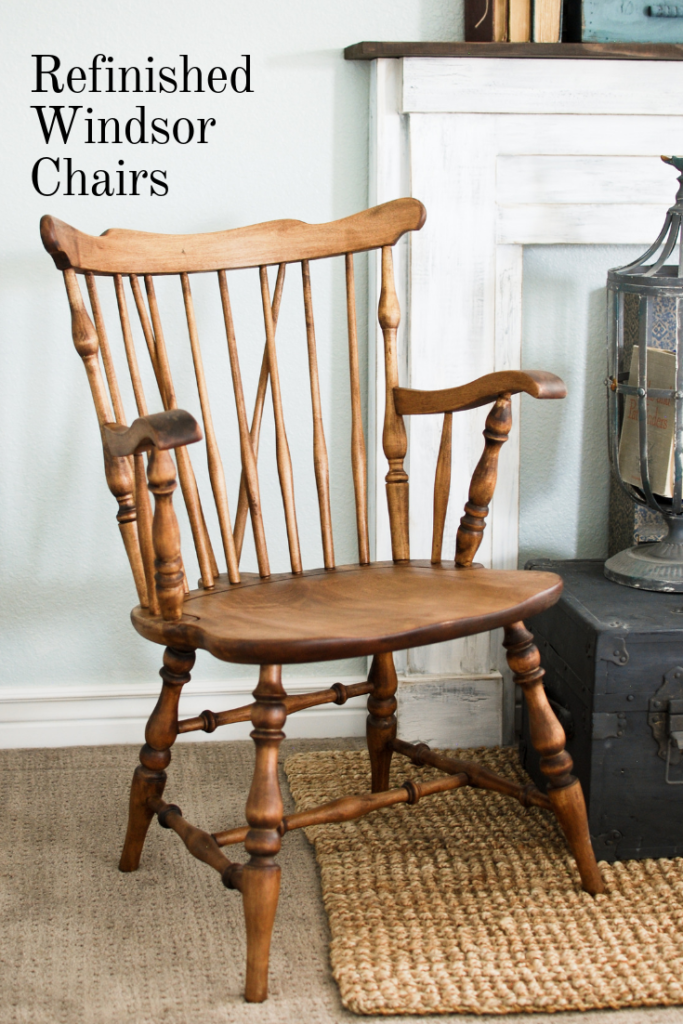
Want to know how to refinish wood chairs? Step 1…don’t. Hahahah! Okay I am kidding. I am going to share the steps on how I refinished my two wood Windsor chairs and some tips to consider before starting a refinishing project.
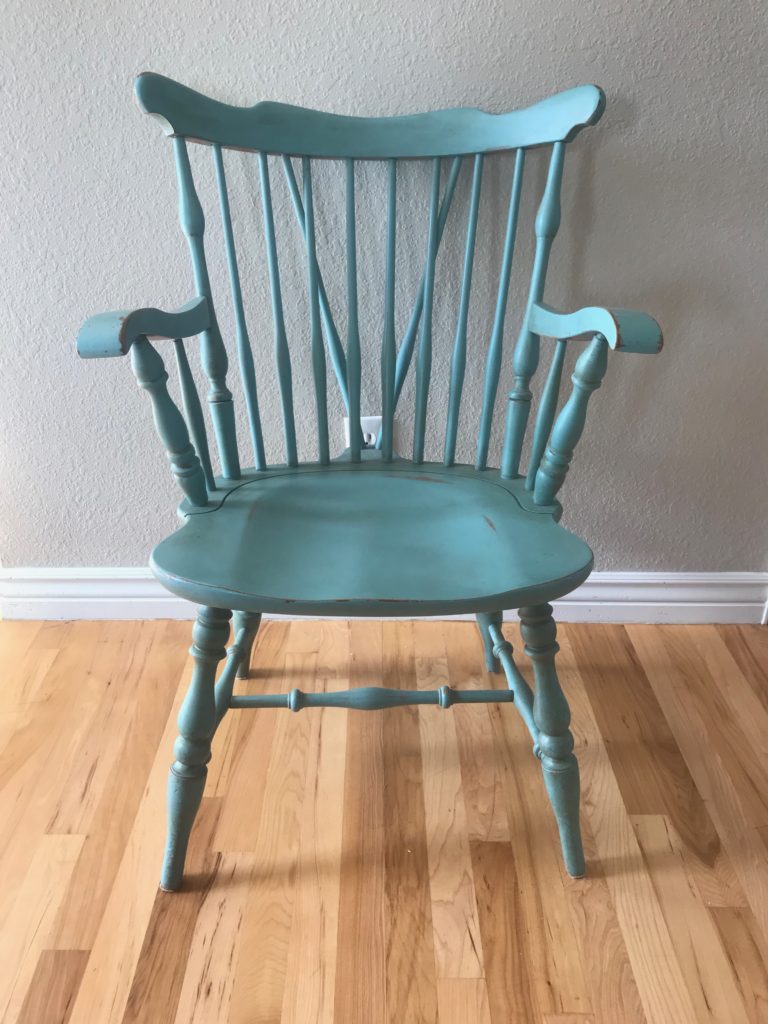
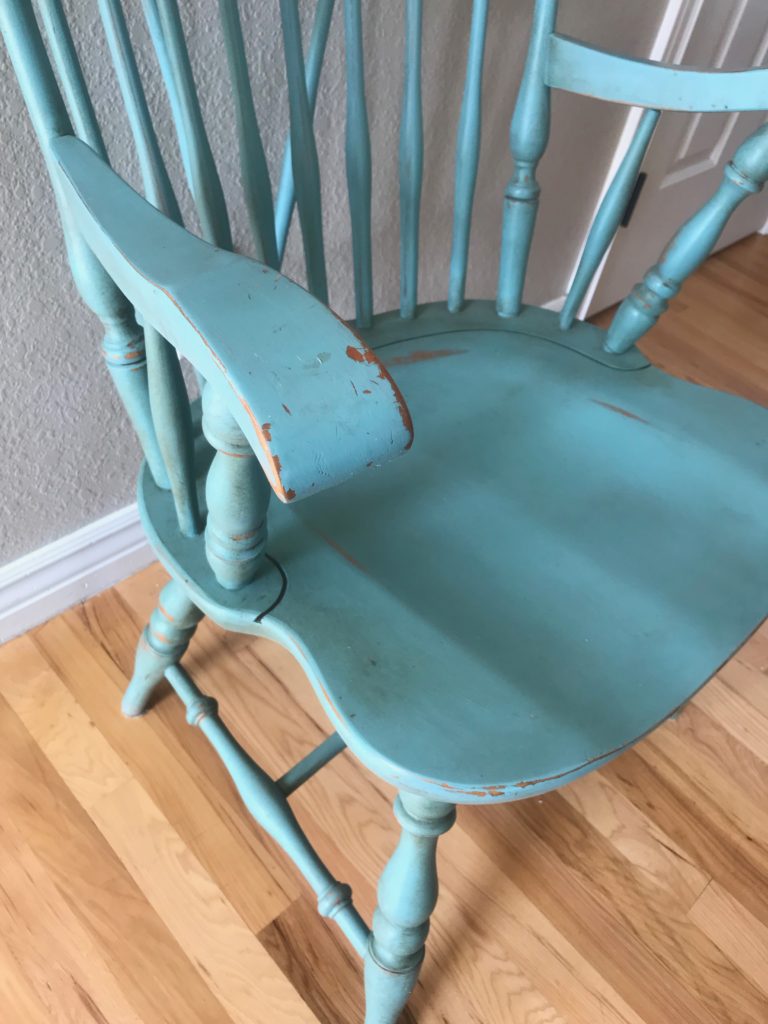
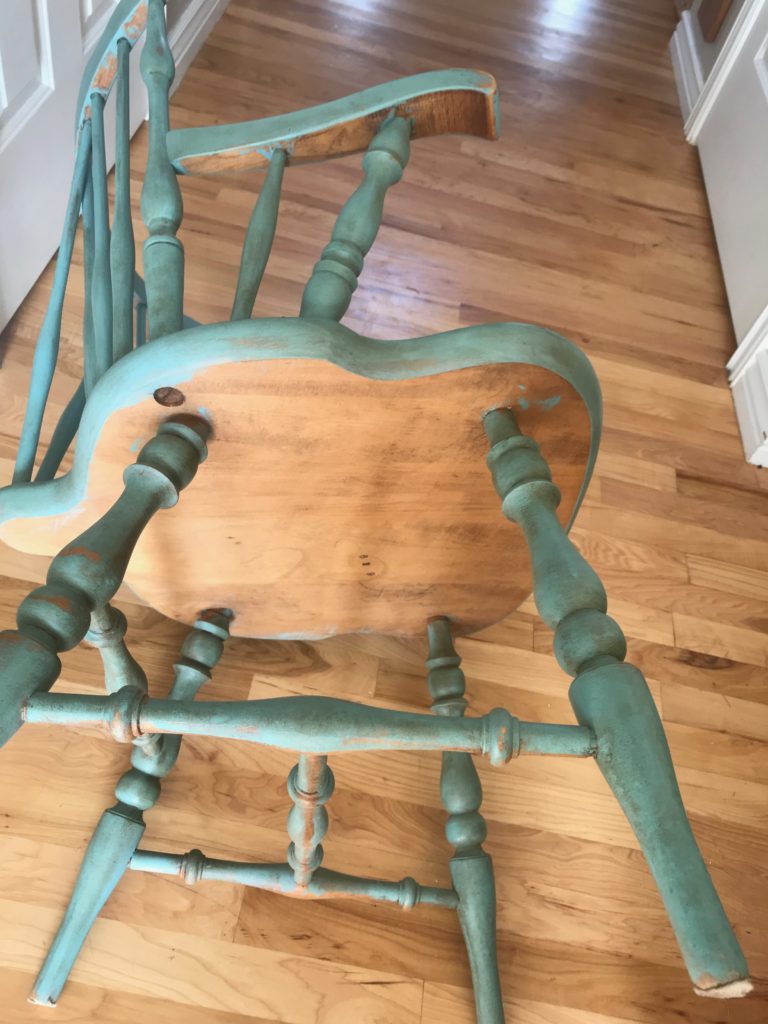
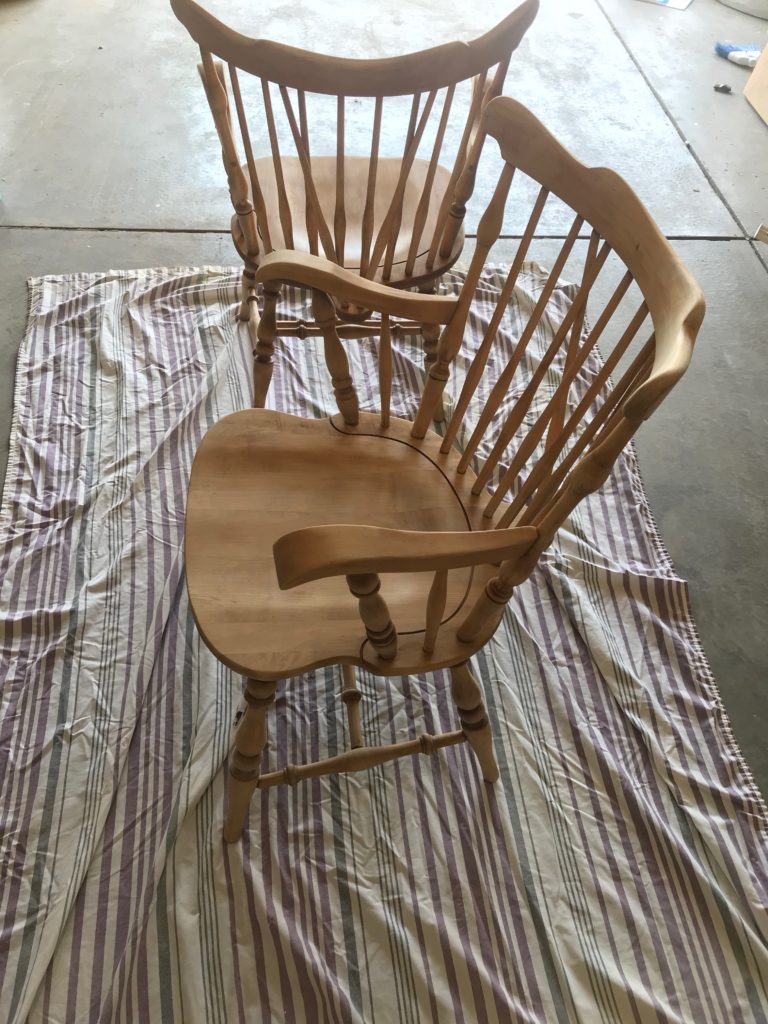
These chairs were a great deal, but I was not crazy about the color or quality of the paint job! Someone had painted them duck egg/teal, but did not do a great job. The undersides of the arms and seat were not painted at all. I debated repainting them a different color, but decided I wanted them stained a wood tone…and that means strip the old finish.
Lightly distressed paint finish but…
not a great paint job and I did not LOVE the color so…time to strip
Things to consider:
If you are shopping around for used furniture and want to read about some of my guidelines check out my post: Tips for Selecting Used Furniture
It is absolutely not worth stripping an old finish if you do not love the furniture piece to start with. In the case of these wood chairs. I LOVE them. Removing an old finish is a lot of work, but the results can be so worth it. Look at this dresser I stripped and re-stained.
Furniture can easily be transformed by paint, which is a great option in many cases and my go to choice. However, there are times when you want wood tones. Read on if you want to learn how I refinished chairs and lived to tell you about it.
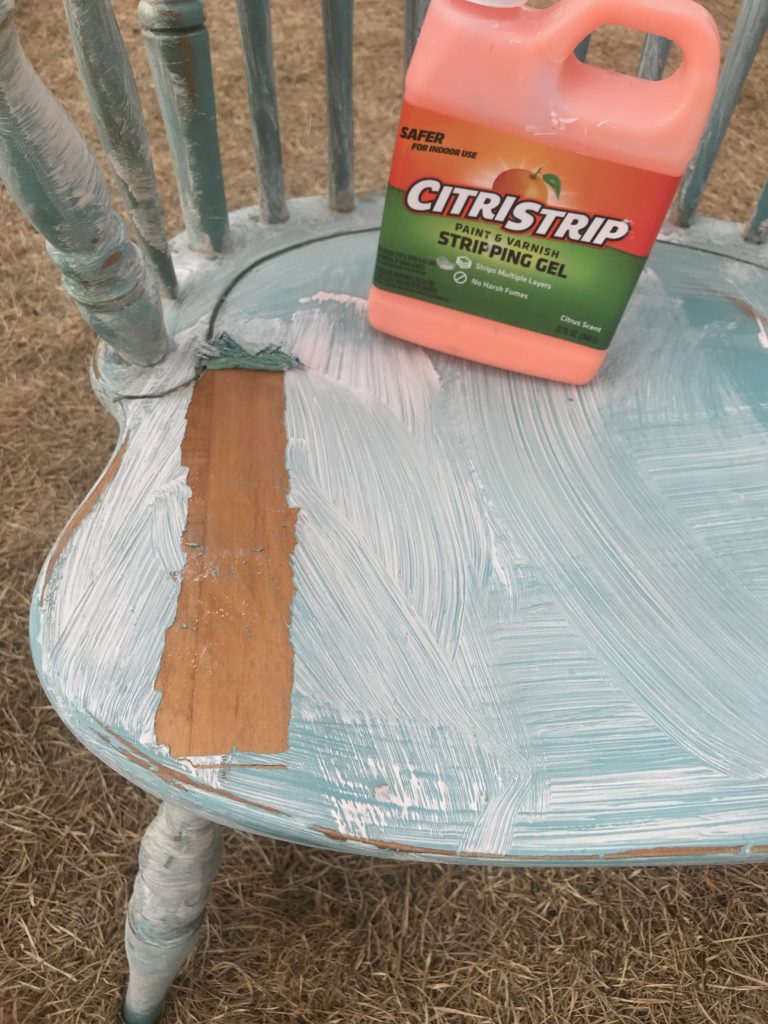
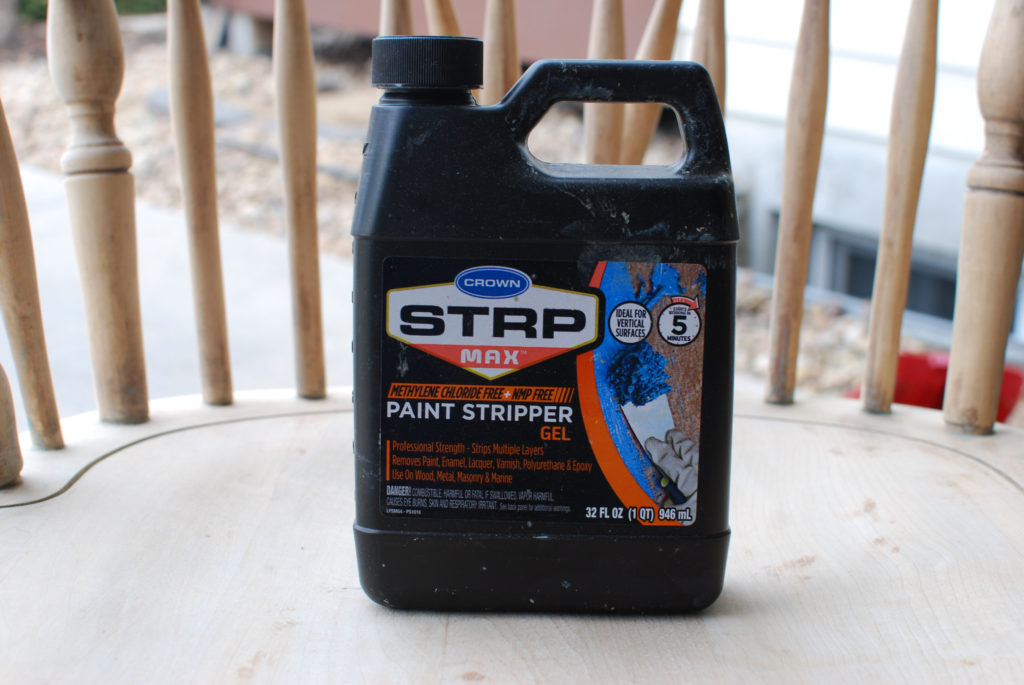
1. Clean and apply stripper
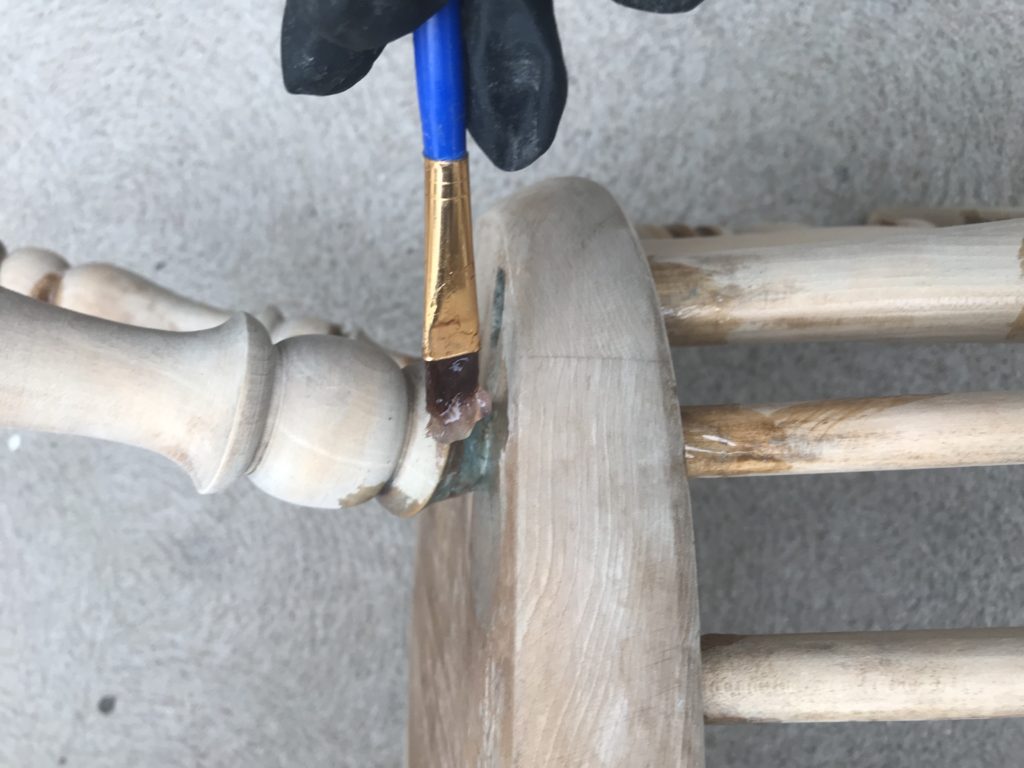
Wipe down furniture piece with water/cloth. Apply stripping product. I started with the safer citristrip, but was not getting the results I was hoping for so later switched to Crown Strip Max. Follow the directions on the bottle and make sure to wear appropriate safety gear. I use a cheap disposable paint brush to apply.
2. Remove stripper
After letting the stripper do its work (follow instructions on container) Use a putty knife to scrape off the old finish and dispose of. If you are working on a furniture piece like these chairs that has lots of grooves and joints and it may be hard to get all the old finish removed in those spots.
3. Clean residue and gunk
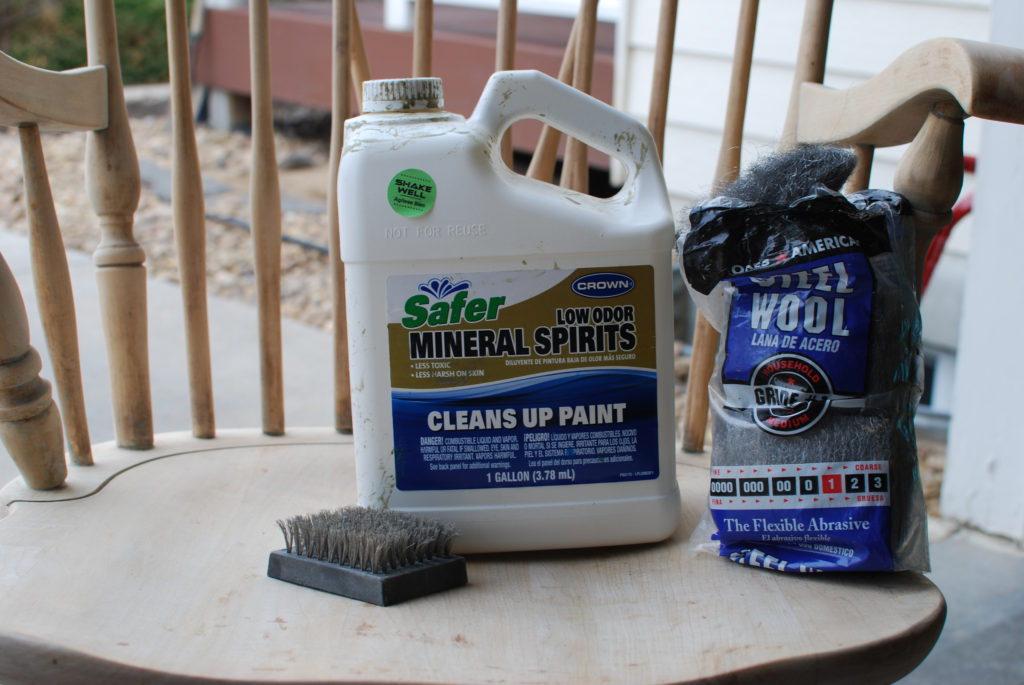
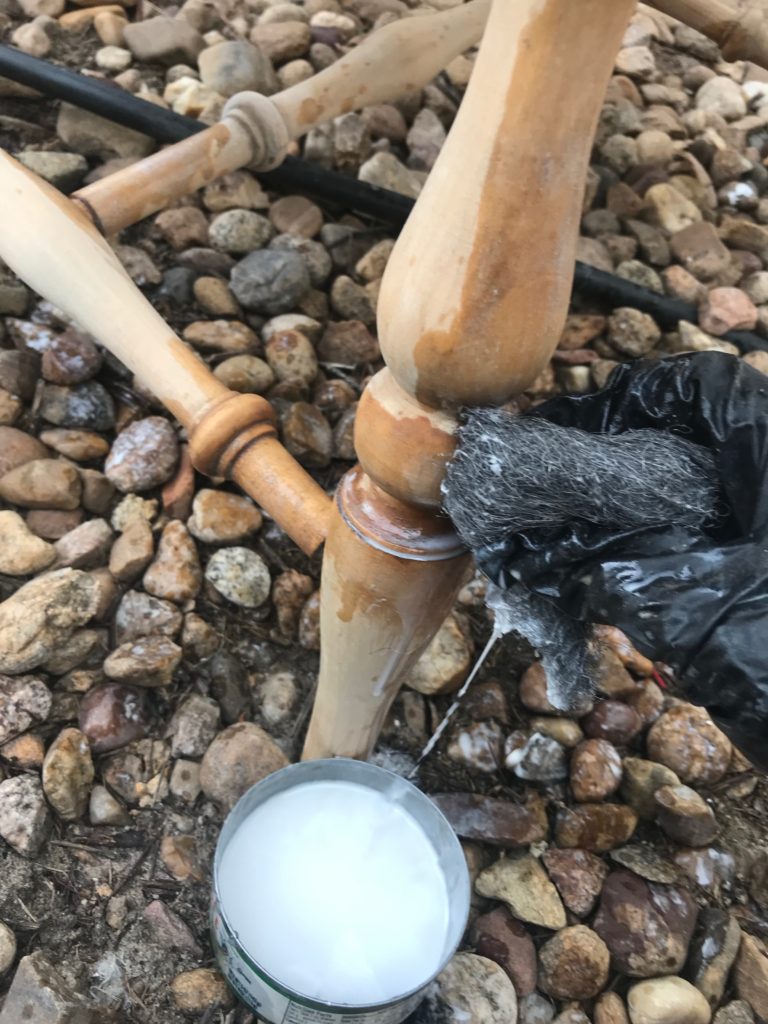
Clean off remaining stripper/gunk/old finish using mineral spirits and steel wool. Repeat the above steps as needed. I re-applied stripper and cleaned it off with mineral several times in spots to remove all the old paint.
4. Clean and apply wood conditioner
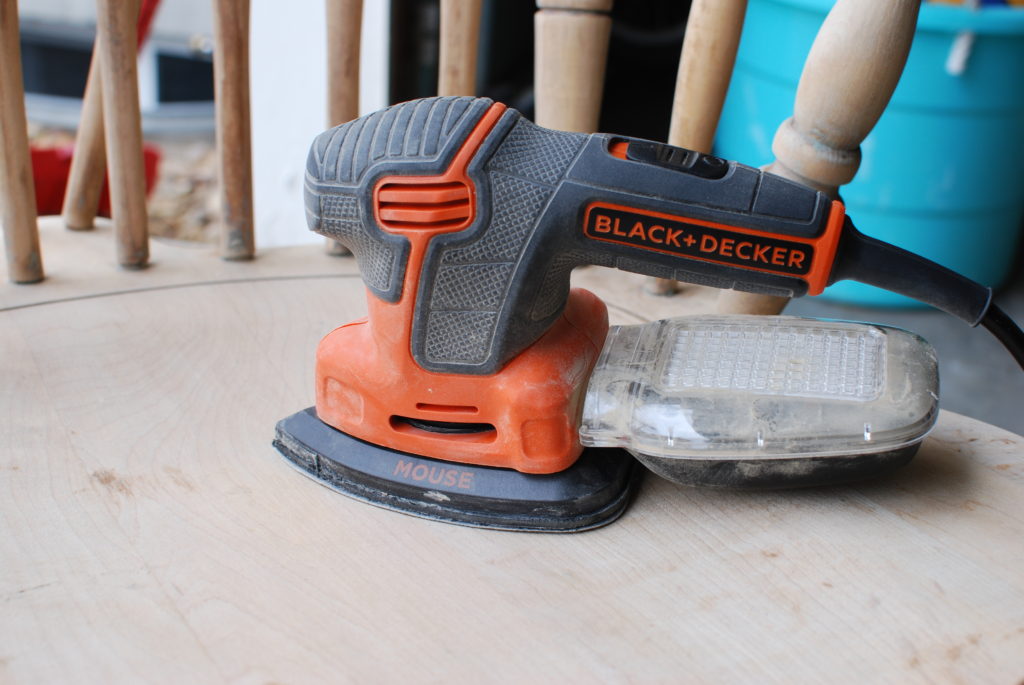
After chair is completely dry from cleaning it will mineral spirits. Sand chair using 150-220 grit sandpaper to remove any remaining finish and smooth out any rough spots. I started using my mouse electric sander. It has a great attachment to reach in tight areas. I like hand sand lightly to finish.
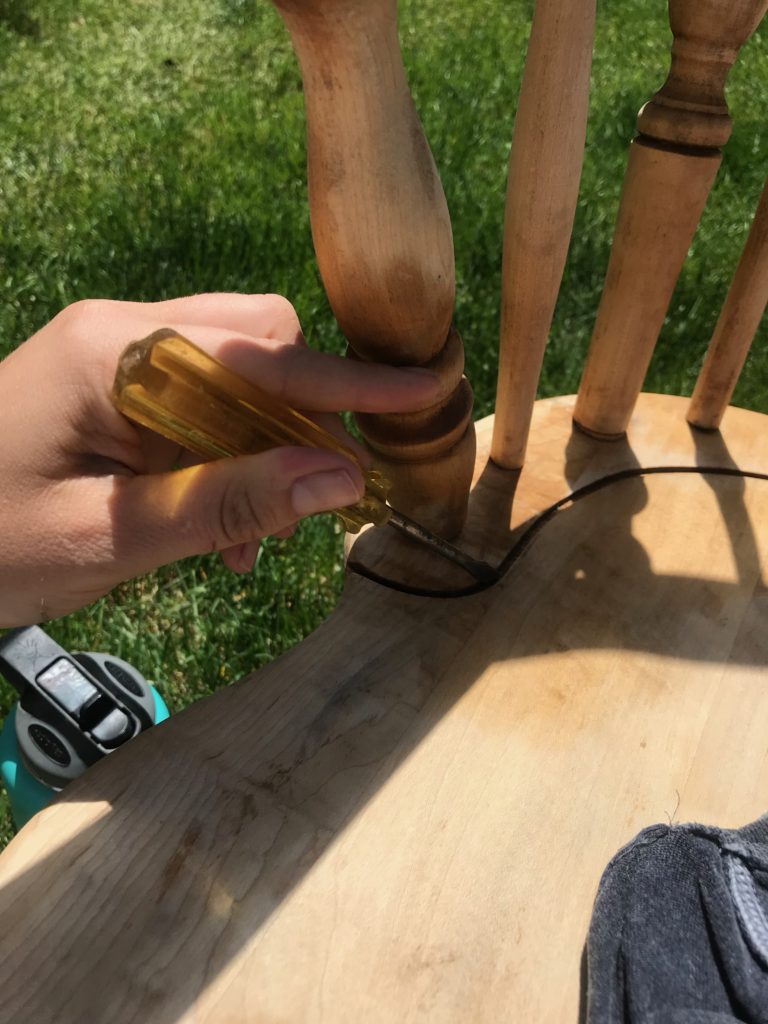
You can use a flat head screwdriver to clean down in the grooves and wrap sandpaper around it to sand any tight crevices.
5. Clean and apply wood conditioner
After removing all the old finish and sanding all rough areas, thoroughly clean the chairs. I like to use my air compressor to blow away sanding dust and then use a lint free cloth to wipe clean. I used Minwax wood conditioner to prepare these chairs for stain.
6. Stain!
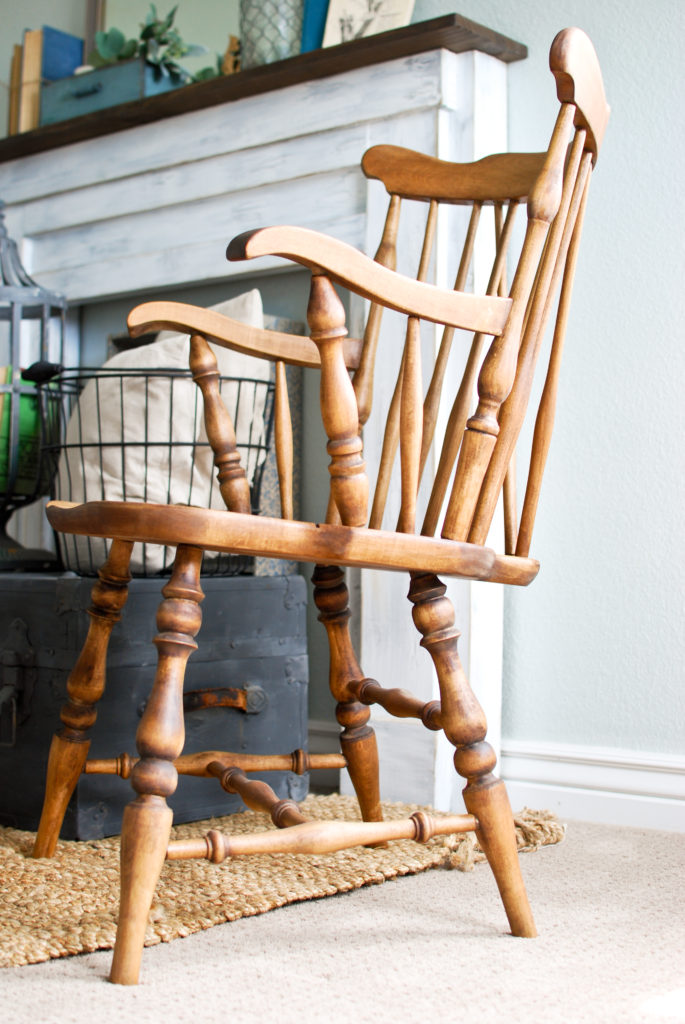
I applied 2 coats of Minwax Provincial stain with a lint free cloth, followed by spray Minwax Polycrylic in Satin. Spray polyacrylic seemed much more reasonable than trying to brush on a clear coat over all the spindles.
7. Done! Two beautiful refinished chairs!
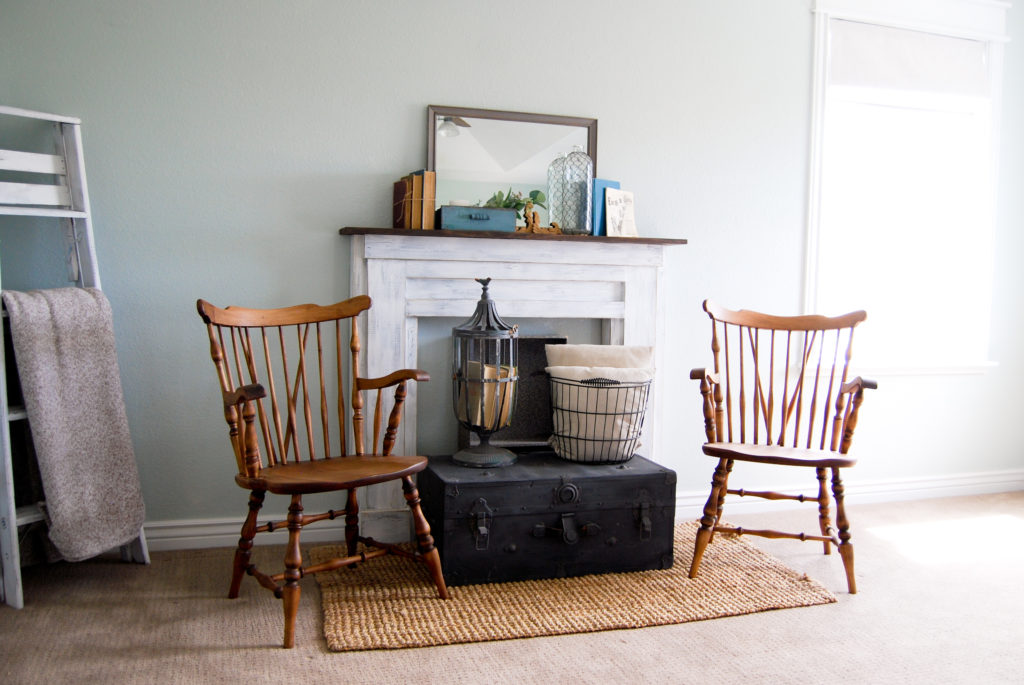

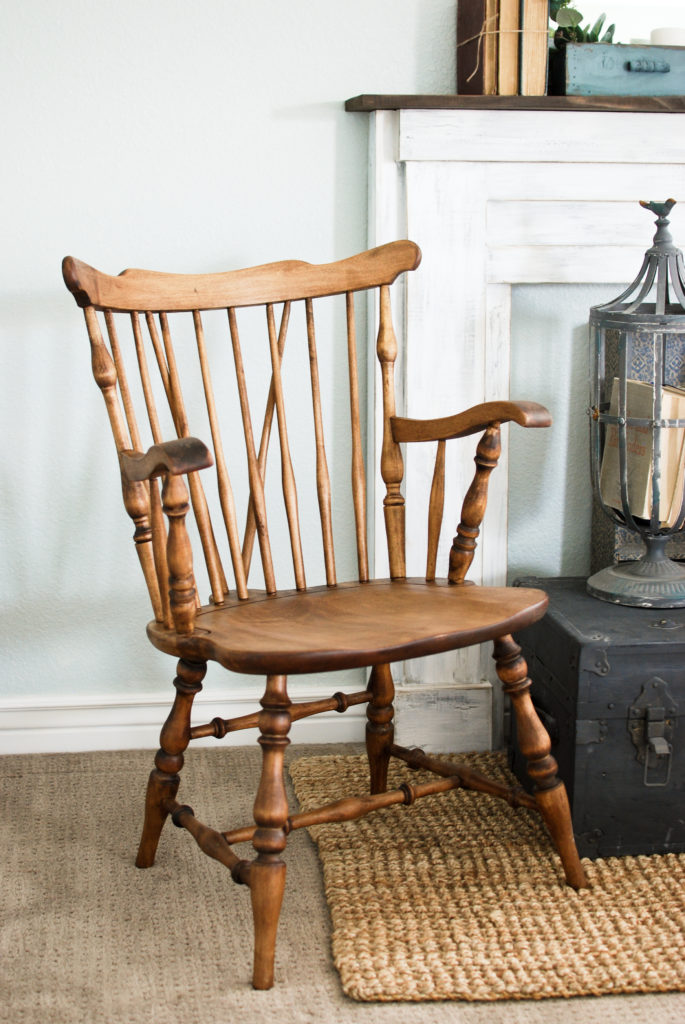
Refinished chairs: final thoughts and tips:
Even though these chairs took me a long time and a significant amount of effort to complete, I am so happy with the results that I believe it was worth it. A couple more tips.
- Don’t rush it. This is not a project you will finish in a day or two. Expect the process to take some time. Nothing is particularly difficult, but it does take time.
- Invest in some disposable gloves or heavy duty rubber gloves to protect your hands.
- Sandpaper cord. If your furniture has lots of tiny grooves and hard to reach areas, consider buying some sandpaper cord. You can pull it back and forth down in some of the grooves in a shaped leg or spindle.
- Buy cheap paint brushes like these to apply the stripper.
- Protect your work area with drop clothes or cardboard. I used old sheets and cardboard under each chair I was working on to cut down on clean up.
Best of luck on your next refinishing project! Thanks for stopping by!
Emily
I have a set of 6 of these chairs and one of them looks nearly identical to this one you have. I have spent 2 weeks getting every last bit of stain off the first chair to be able to restain it and im excited and so nervous for how it will turn out. Im going with a special walnut stain and a weathered oak over that…more of a modern farmhouse look. Thank you so much for the motivation to just go for it! And youre right…its not hard work…just takes TIME 😩😂
Goodness I can not imagine doing 6 chairs! You have your work cut out for you! It will be worth it in the end, which I am sure you will doubt while in the middle 🙂
I love the finished color! Is the stain by Miniwax, an oil based or water based?
Thank you
Thanks! Minwax oil stain.