DIY Fireplace Makover Before and After
Today, I get to share the story of our slow DIY Fireplace Makeover before and after pictures! When we moved into our house about 3 years ago our fireplace was the original builder grade version. If I am honest, it wasn’t too bad, excluding the pink tile and brass, BUT I always wanted the look of a farmhouse fireplace: simpler lines and a chunky wood mantel.
So, I had a vision of my fireplace makoever, set out the next day for supplies and made it happen….NOT!
A little encouragement…
One BIG desire I have for this blog post is encouragement; encouragement for any of you who have a house/project that is in process. This fireplace did not transform overnight or over a weekend or even over a month. Transformation happened over years. Years people!
There are projects you can do in an hour or two and then there are projects that take more time. Sometimes the time between your BEFORE and AFTER picture is significant, and that’s okay.
If you don’t want to read about how we ended up where we are today you can sneak a peek at the transformation below.
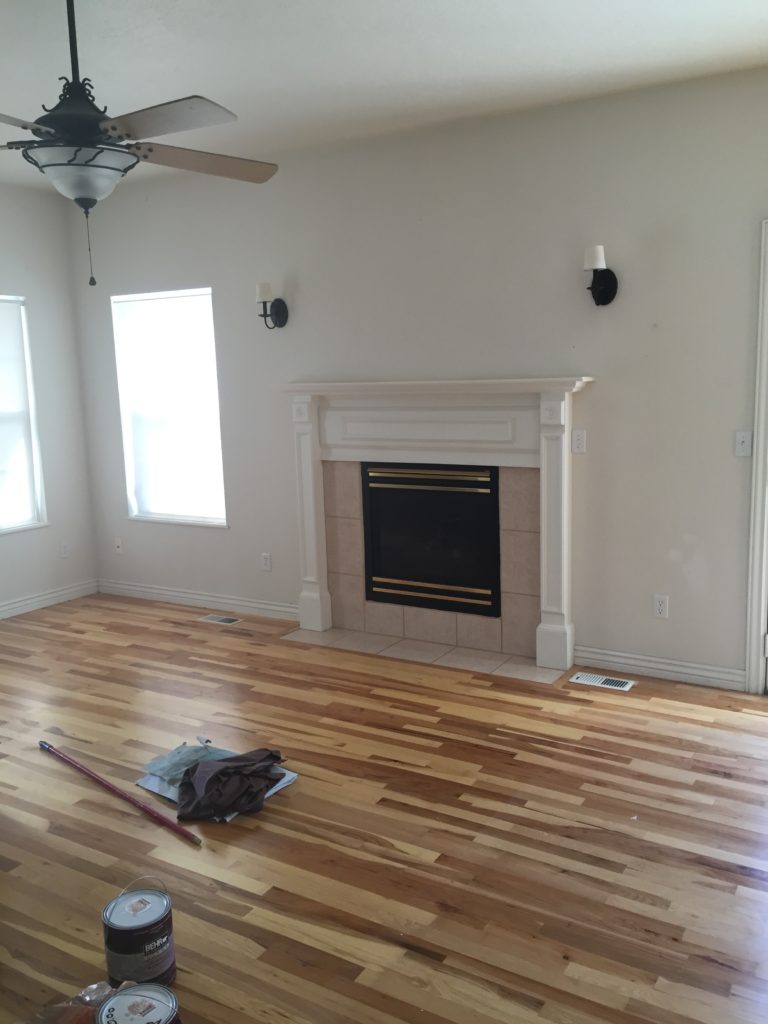
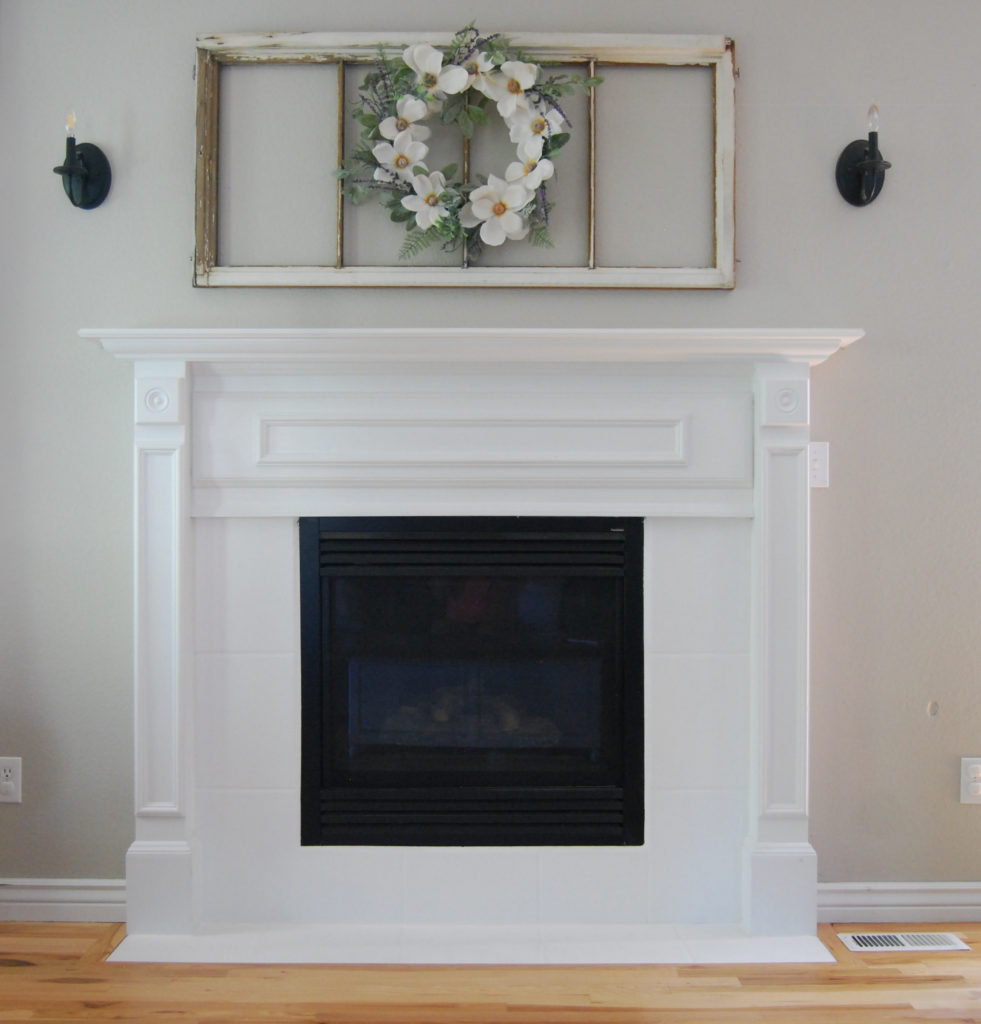
Alright lets get a nice look at that Before picture. This picture was taken shortly after we closed on the house.
Spray Paint the Brass
If you want an easy, quick and cheap DIY fireplace makeover… spray paint the brass!!! By just covering up the brass, the whole fireplace transformed!
You can purchase a High Heat spray paint from the hardware store for $7-8. Remove your brass pieces, spray paint them and put them back on.
Paint Tile Surround
Now that the brass was gone it was time to take a look at that pink tile. It was not (and still is not) in our budget to replace the tile. What was in our budget was a can of Zinsser Bulls Eye 1-2-3 Plus primer. (Check it out here!) This stuff is amazing! I use it for every project I need to prime and it gets the job done.
How to paint tile:
- Clean tile
- Use a nice paint brush to paint several coats
It’s that easy! I did not seal the paint after I finished and over the years I have had to touch up spots. This never bothered me, but just know your paint may scratch in spots over time.
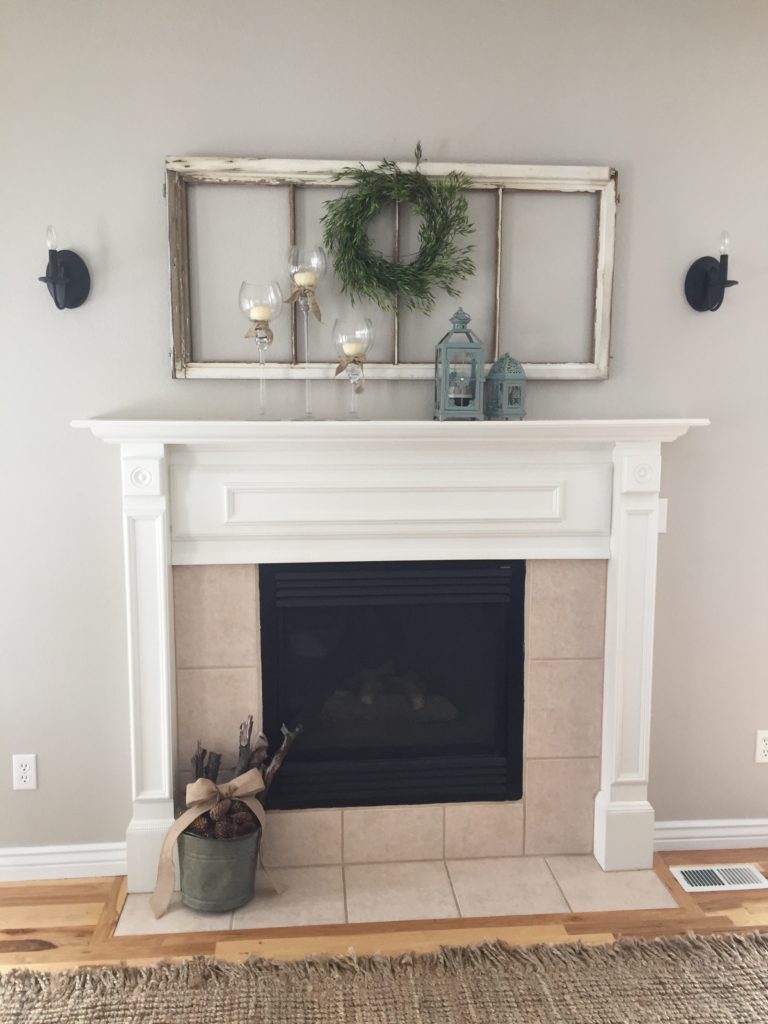
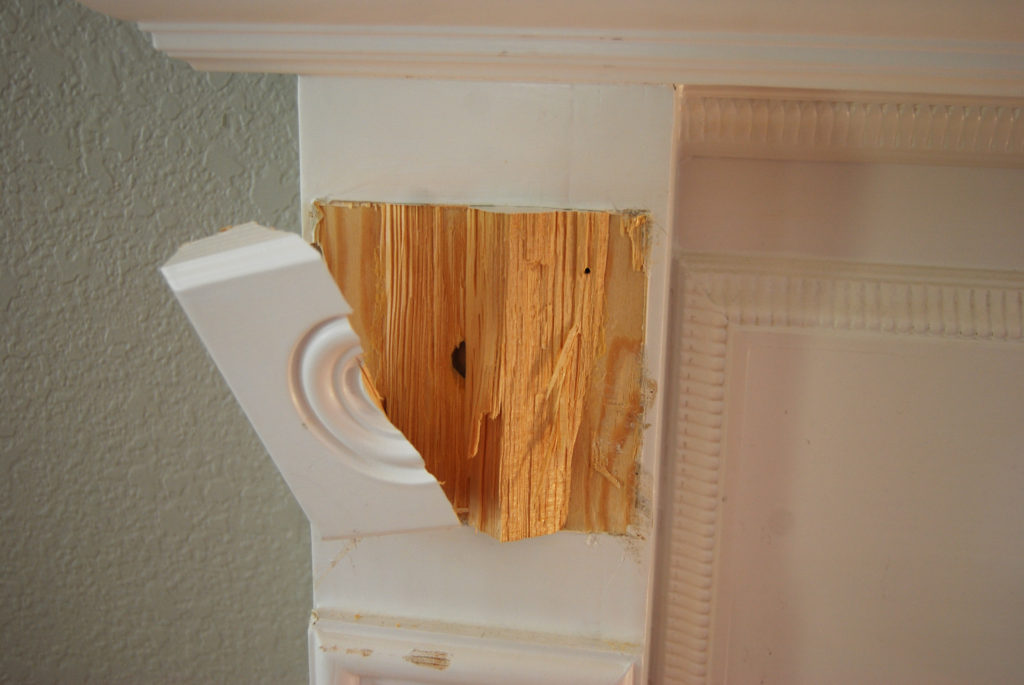
Our fireplace has stayed this way for about 2 years, until a couple weeks ago when I decided to take a pry bar and hammer to it! I had wood splinters all over my living room, dust and nails!
Why did I do this? Well, I have always wanted a more substantial mantel, one with more depth and character. The old mantel was very narrow and since I LOVE decor, it made it difficult to switch up decor pieces. Even the decor I had up there was too large and nearly hung off the edge.
Lastly, I wanted to simplify the design a bit. There was a little too much in the way of decorative molding. My style has slowly been transitioning to a simpler, less ornate look, so I needed a fireplace to match!
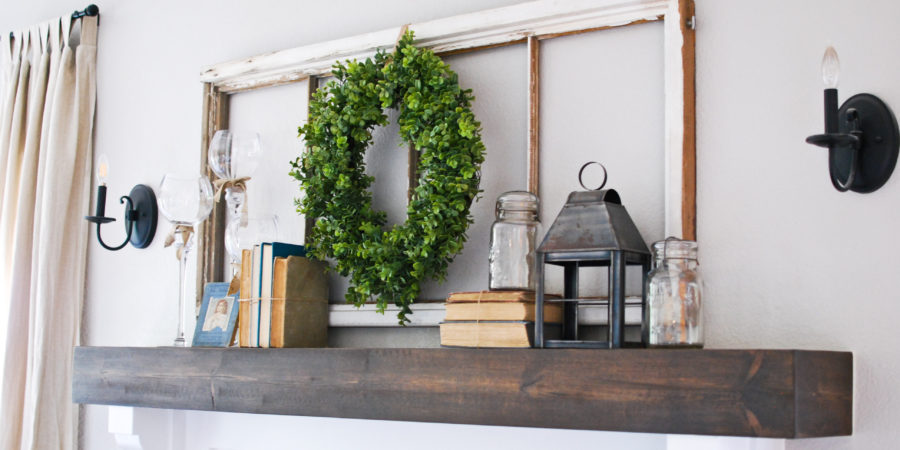
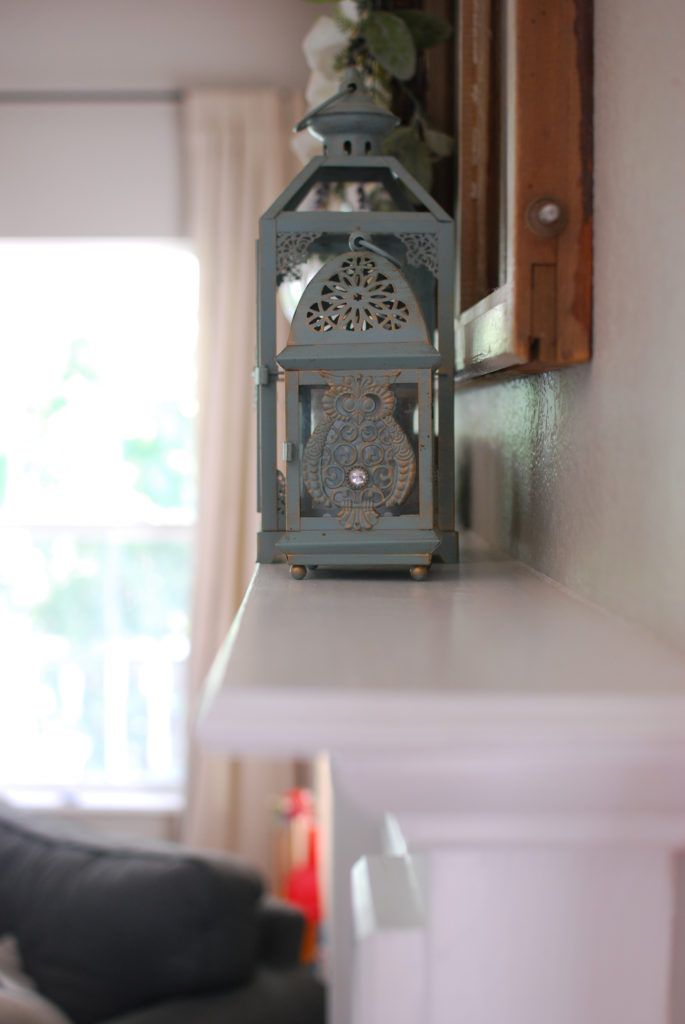
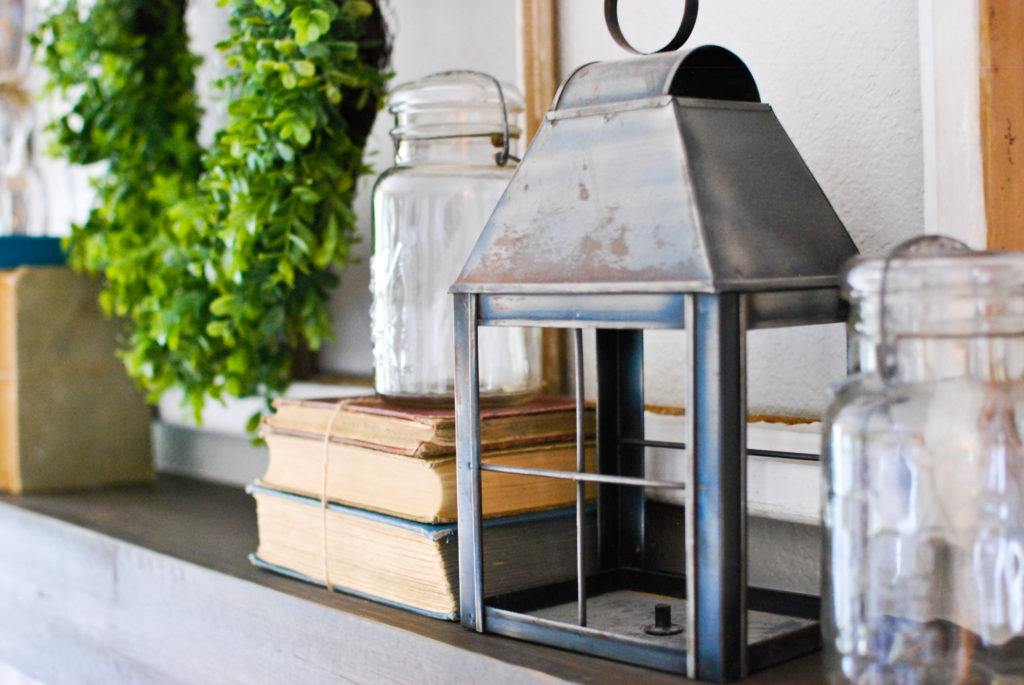
Look at that lantern base sitting right on mantel ledge!
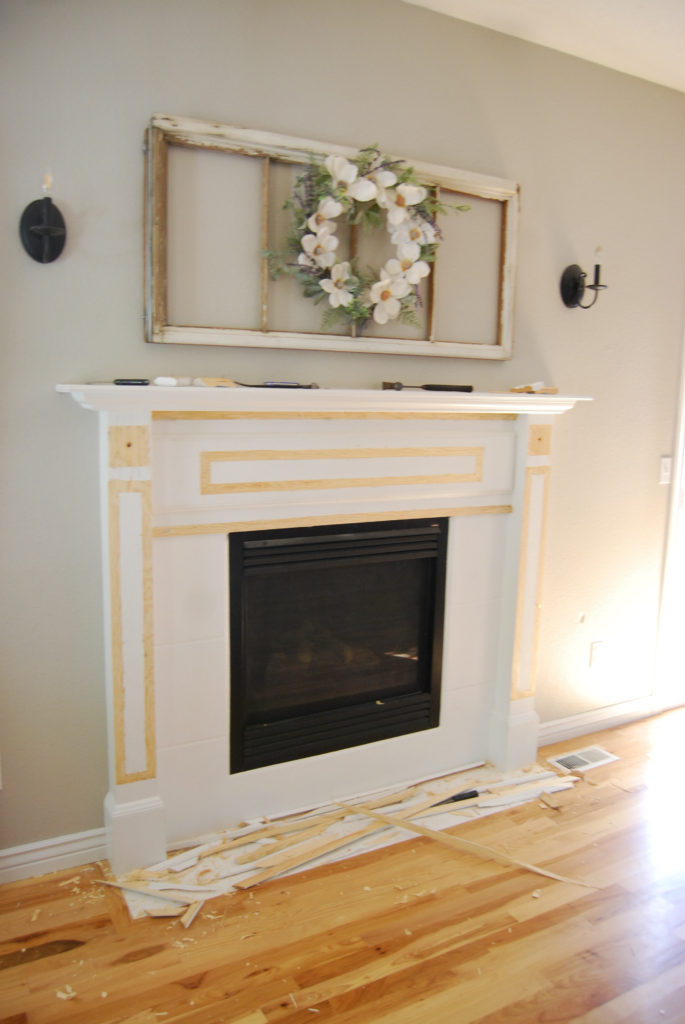
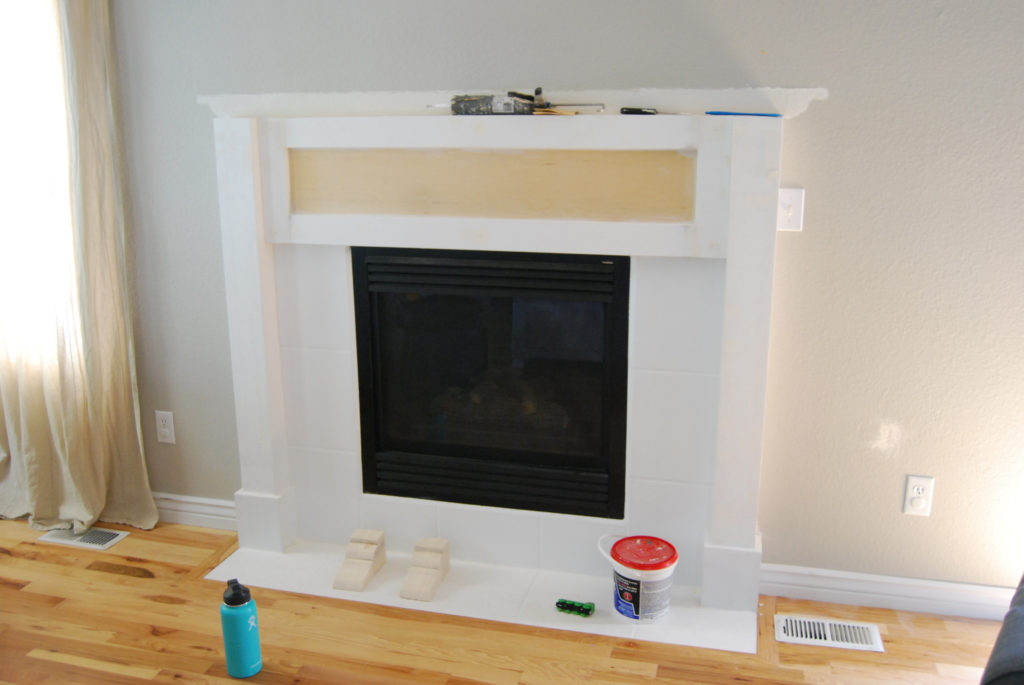
Basic steps for simplifying your fireplace surround:
- Remove decorative molding and mantel with hammer and pry bar
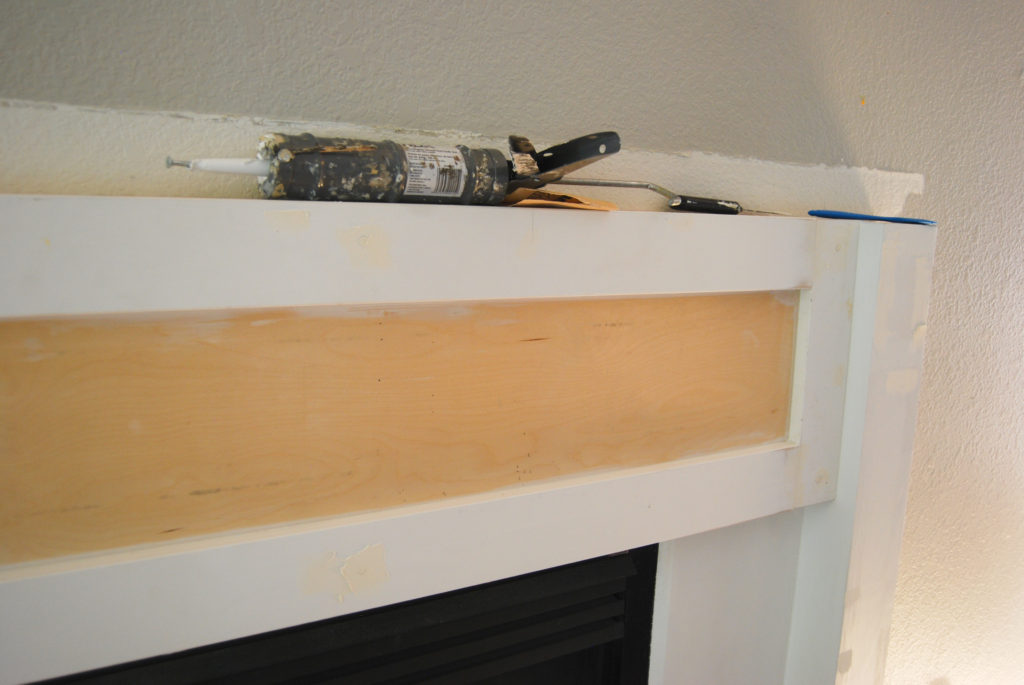
- Add new piece of plywood with simple border made of 3.5″ mdf pieces.
- Sand and fill all holes and imperfections left after the demo.
- Caulk any seams and joints
- Paint several coats of paint
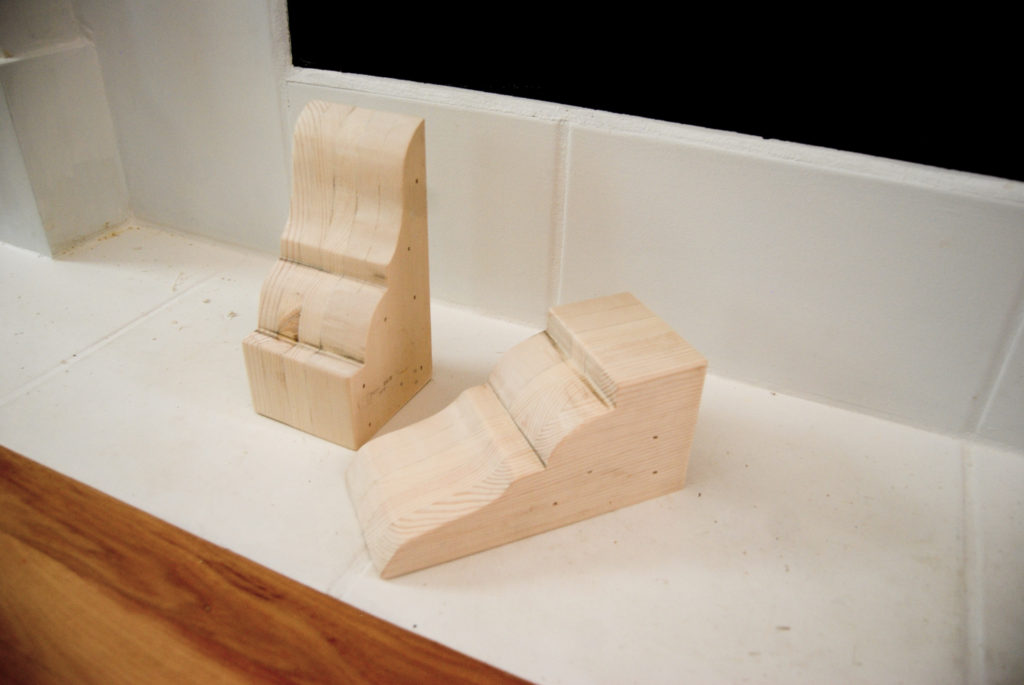
Because I was installing a deeper mantel, I deciding to make some corbels out of scrap wood. Also, corbels are amazing so this was the perfect time to incorporate them into my home. I will hopefully be posting a full tutorial on how to make your own corbels. Until then…
Basic DIY Corbel
- Create a design or find a template online
- Trace design onto wood
- Use jig-saw or band saw to cut design
- Use wood glue, clamps and finishing nails to sandwich all the pieces together
- Sand joints and edges smooth
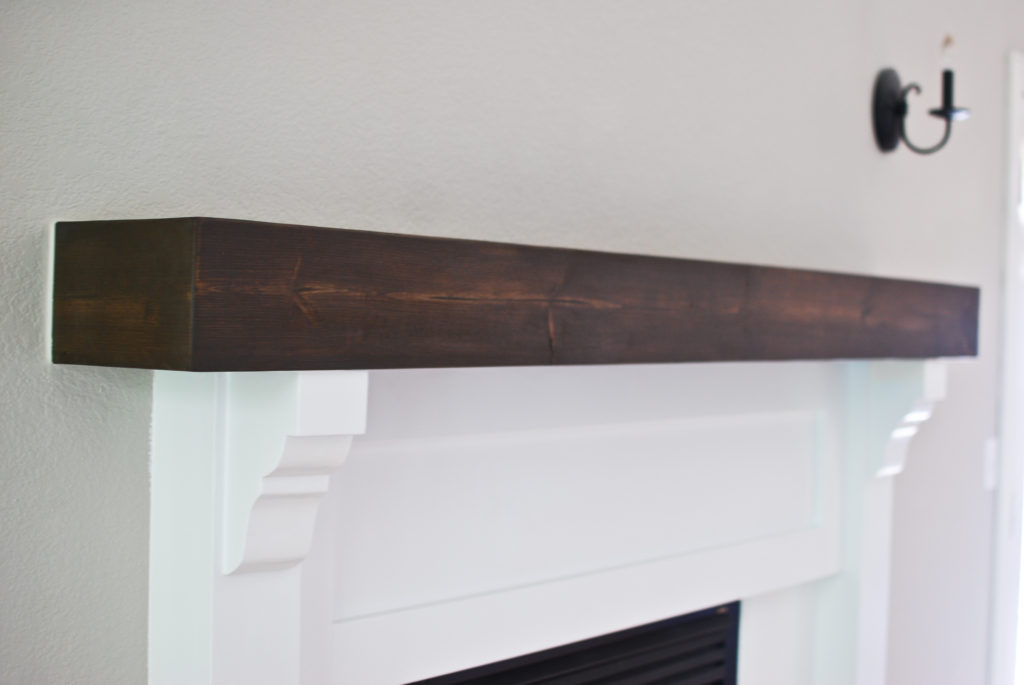
The Mantel
The last part of my DIY fireplace makeover before and after story was a new mantel. Like new tile, a real wood beam was not in the budget. I wanted the look of a farmhouse fireplace with a chunky mantel, without the cost. I read several tutorials on how other people made faux beam mantels and went from there.
To make your own mantel you are basically making a floating shelf. Shanty 2 Chic has a great tutorial to follow here.
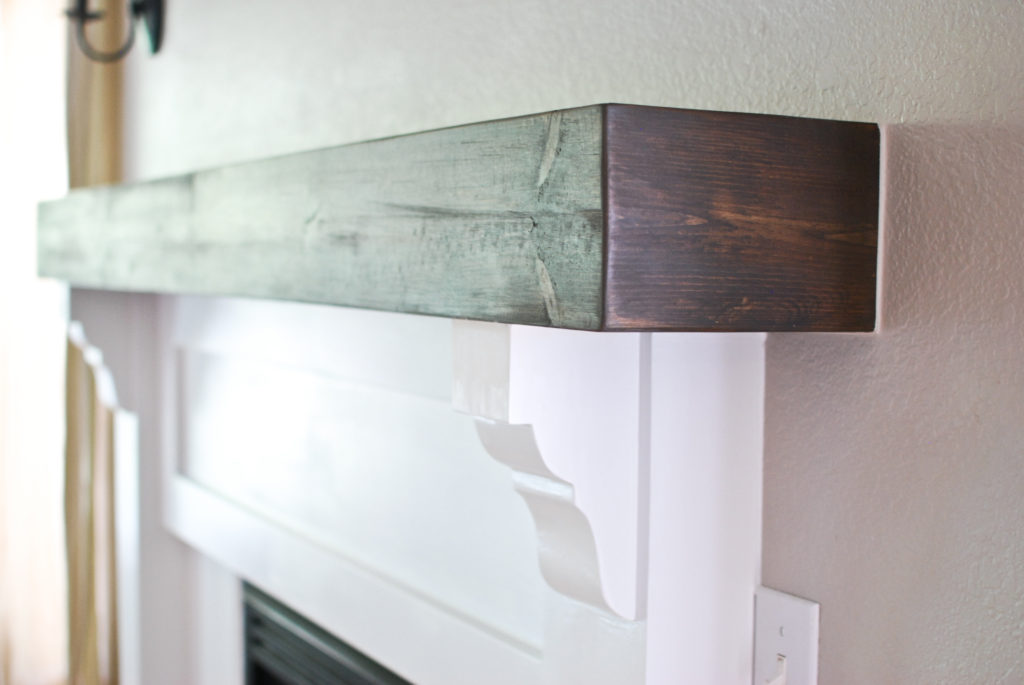
The only thing I did differently for my “beam” was to make miter corners instead of butt joints on the end.
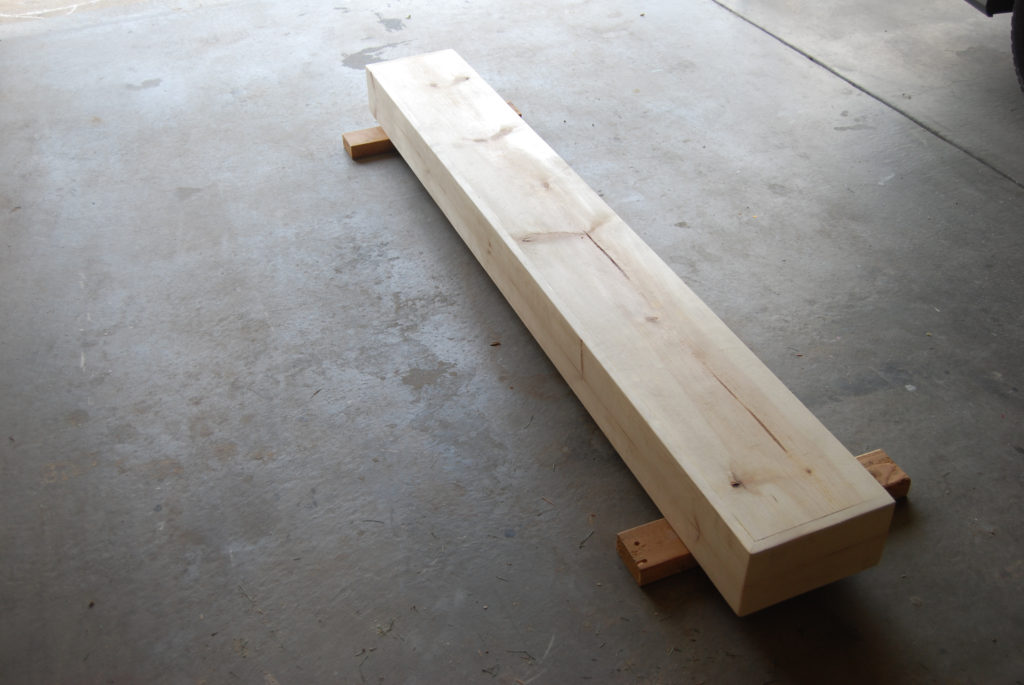
The beam was constructed out in the garage so when I went to put this up on the wall I found there were huge gaps! What?!? I’m sure no one else has ever come across this but my wall was not perfectly straight! It had a big bow in the middle over the fireplace. So, that meant I needed to scribe my beam. If you are reading this and thinking, I have no idea what “scribe” means, don’t worry.
Don’t know what scribe is? Watch the video below
After I ran a pencil along the wall, tracing a line onto my beam I then used my jig-saw to cut along the line. Don’t be overwhelmed by this, it really is simple. Hopefully, your walls will all be straight and you won’t need to scribe your mantel.
Once, I was happy with the fit against the wall I nailed it in place.
I would suggest staining your mantel before installing it. For the first coat I used Minwax Dark Walnut, then a mix of Dark Walnut and Minwax Classic Gray for the second, and finished with a dark wax. You can see how I like to apply stain here
Add some caulk along seams between wall and fireplace surround, paint and then enjoy!
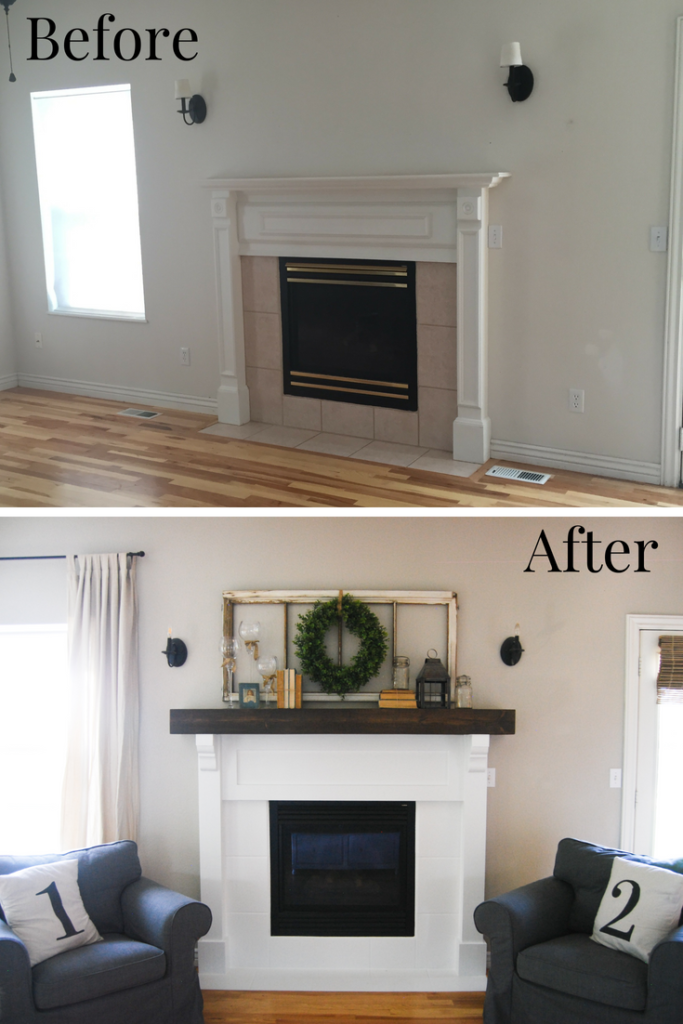
DIY Fireplace Makoever Before and After
Lets remember where we started…
And where we are today…
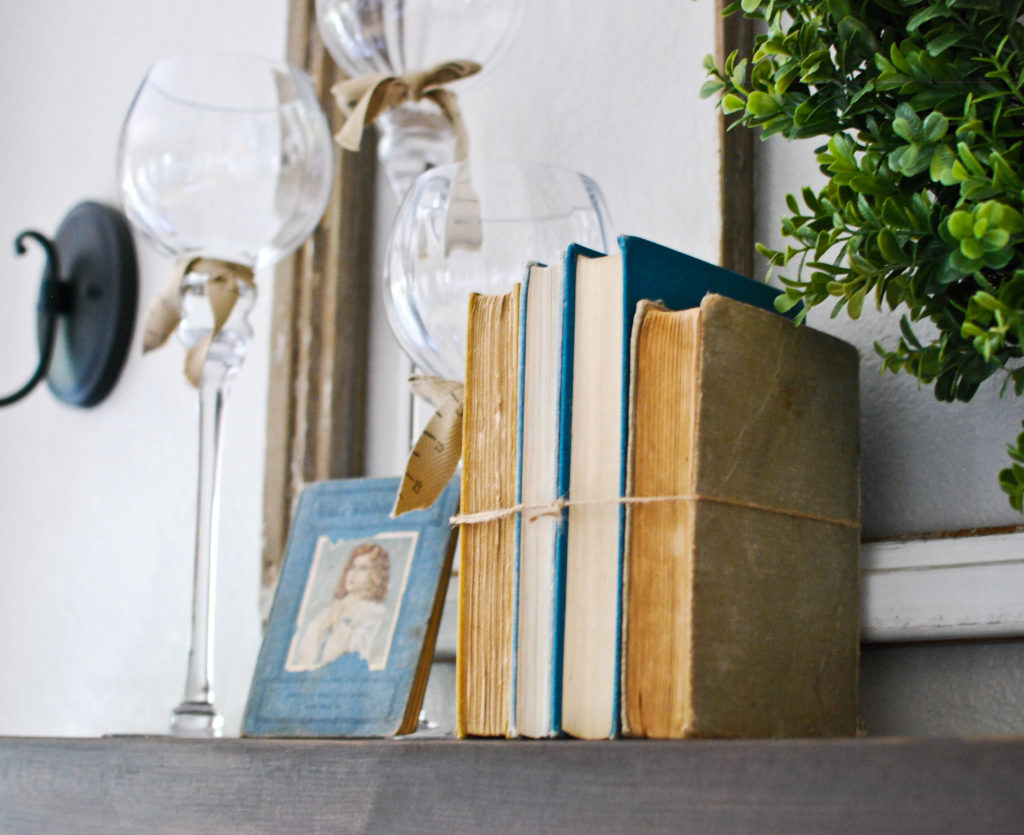
Time to Decorate!
I am so thankful to have some more room to display all the old books I love. 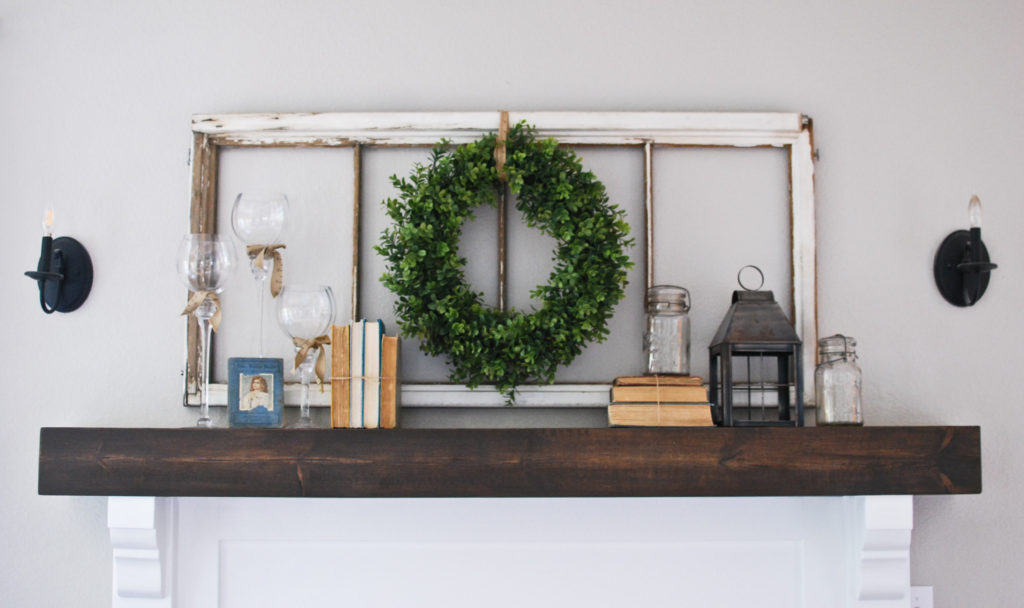


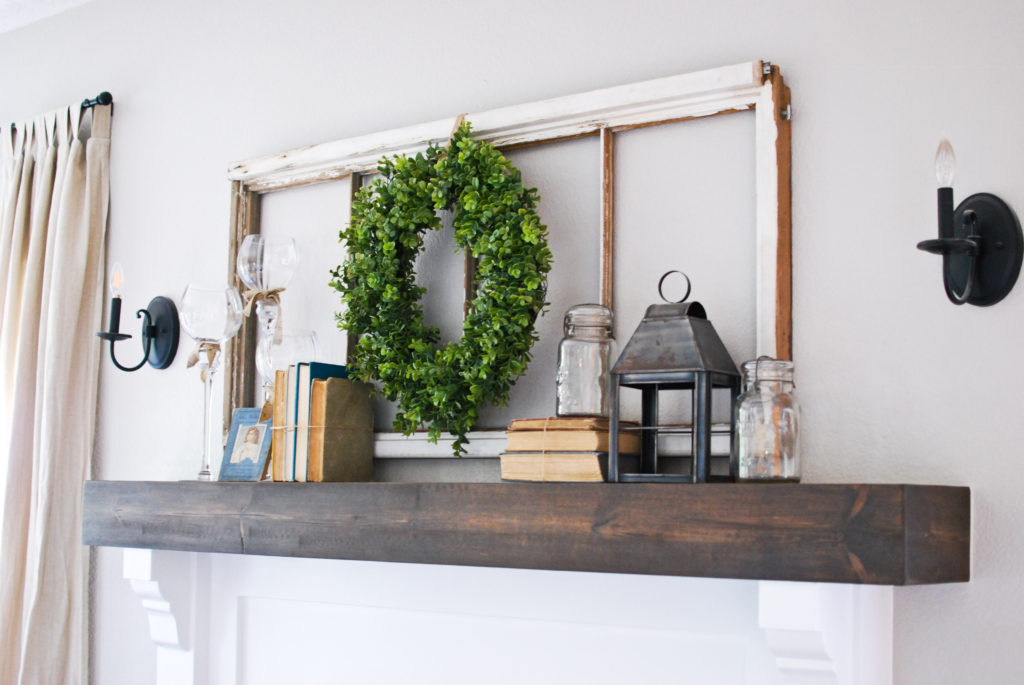
I am so happy with how this turned out and how much character it adds to the space! Hopefully, my DIY fireplace makeover before and after will encourage you to tackle your own fireplace!
Thanks for stopping by!
Emily
Dear Emily
You did a beautiful job (as always).
Loved your presentation. You are a good teacher.
Hugs
Jane
Your DYI fireplace came out super nice !!
Your original fireplace is exactly what I currently have . I just have two questions ;
1. Will this project work without changing the mantel ?
2. What type of paint did you use to cover the tiles around the fireplace insert ?
I believe the project would work just fine if you wanted to leave the original mantel. You could build a new mantel around the existing. I used Zinsser Bullseye 1-2-3 primer to paint the tile. I later painted over that with the same paint I used on the fireplace (a white latex paint in a satin sheen)
I sure wish I had a regular old fireplace but no I have one that sits right out in the floor and is 3 sided. It divides 2 rooms and sits against a wall. You can see the fire from both sides and one end. There is no mantle but there is a 2 foot wide x 4 foot long top on it which is done in ugly tile. If I could figure out a way to give it 1/2 the look of yours I’d be so happy! I love what you’ve done with yours! I thought it looked fine before you changed it but now I think it’s gorgeous!
Thank you! That does sound like you have a tricky fireplace to work with.
Hi!! Looks amazing! Wondering how you attached the mantel to the wall/fireplace top?
I installed a 2×2 on the wall with screws before putting the mantel up. The actual mantel is hollow so I placed the 2×2 so it could support and provide a place to nail into. I did some wood glue and then finishing nails through the top of the mantel down into the 2×2. Let me know if that does not make sense.
Hey did you not need to you a high heat resistant paint for the tile? I notice my tile can get hot? I’m thinking about painting and just wanted to make sure. Looks great!
I did not use a high heat resistant paint for the tile. That might be a good idea if your tile area gets warm. Ours does not get hot so that’s not super helpful. I did use high heat for the brass metal pieces on the fireplace front.
I would like to know how hight is the mantle ,
Thank you
Hi! To the top of the mantle is 60.5″
Emily your post inspired me to tackle my fireplaces. Our home had the same color tile. I cleaned the fireplaces this weekend. Next weekend I am painting the tile. Finally, a solution to the ugly tile. It just never occurred to me to paint it! Until your post. So thank you, so much. I think it will come out nice.
Oh I am so glad. Yes it is amazing what paint can do! Good luck on your fireplace!