
Over the next little bit I am going to share a series of tutorials on how to make your own wood sign. Each wood sign is made a little different or may require different tools. My hope is that at the end of this series you will feel comfortable to make one of the many different options yourself and be able to add a beautiful and personal touch to your home.
How much will it cost?
First, I always love having a rough estimate of how much a project is going to cost me before I get started. Therefore, I am going to try to give you an estimate for each sign in this series.
How to determine cost?
It is harder than you think to price out certain projects, because often I use left over materials from previous projects. As a result, it’s not always a straight forward number. But, I do want to be upfront and give an honest estimate! I know I don’t appreciate starting a project that was suppose to be “under $20” only to discover that amount did not include paint or the special tool, or the scrap wood, etc.
How much did I spend? How much will you spend for your wood sign?
This project cost me about $9. I think on average it will cost most people $15-20 depending on what materials/supplies you already have. This particular sign is probably a little more expensive than some of my other options, although I think it requires fewer tools and is very easy.
Take a look at my cost estimate sheet if you want to get a better idea of what it may cost you to make. Cost Estimate Sheet
Let’s get started!
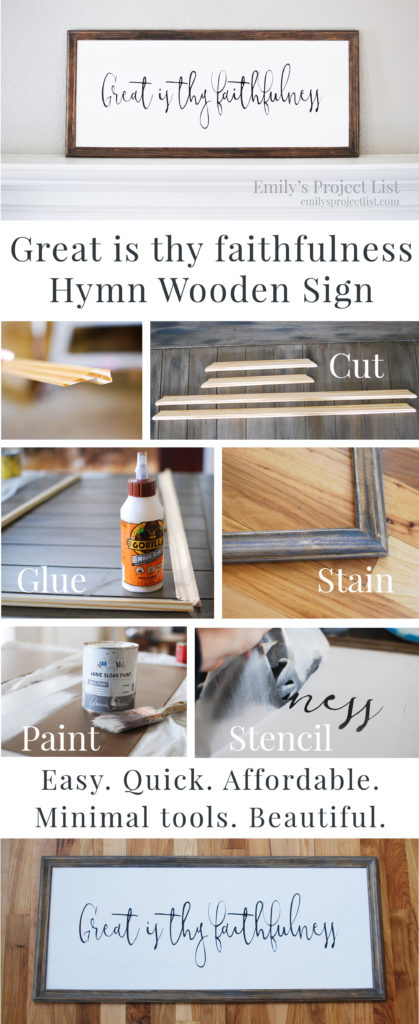
Wood Sign #1
Great is thy faithfulness
14″x32″ Wood Sign
Supplies/Materials:
- 1/4″ hardboard (this is what I use: hardboard)
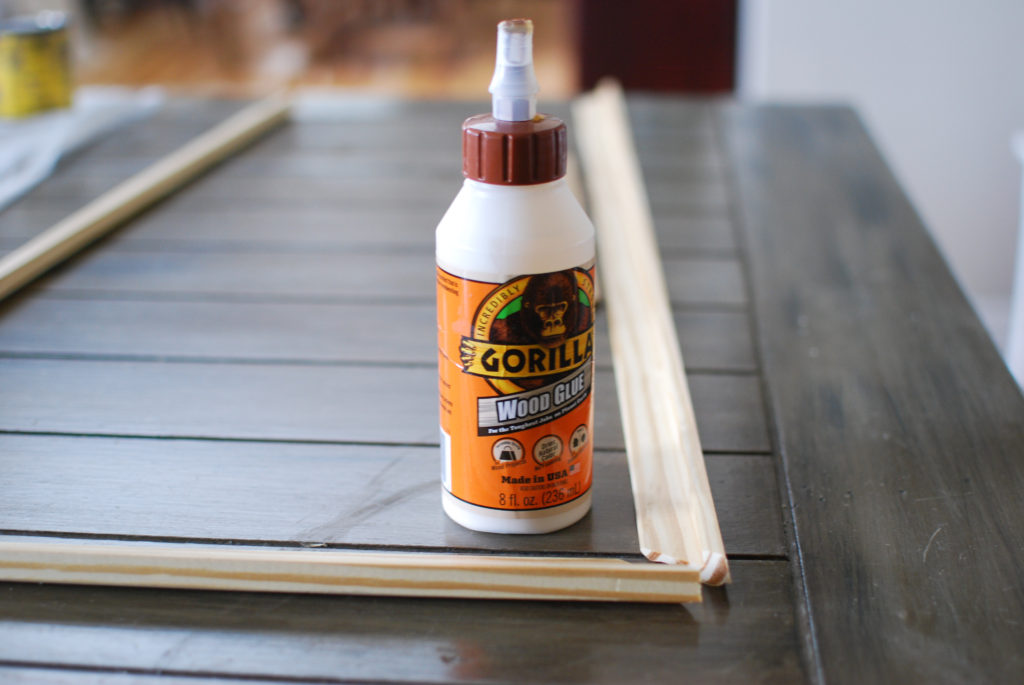
- 8′ wall panel molding (this is the one I used: panel molding) Any trim piece that has a routed slot for the paneling to inset into will work.
- Wood glue or liquid nails
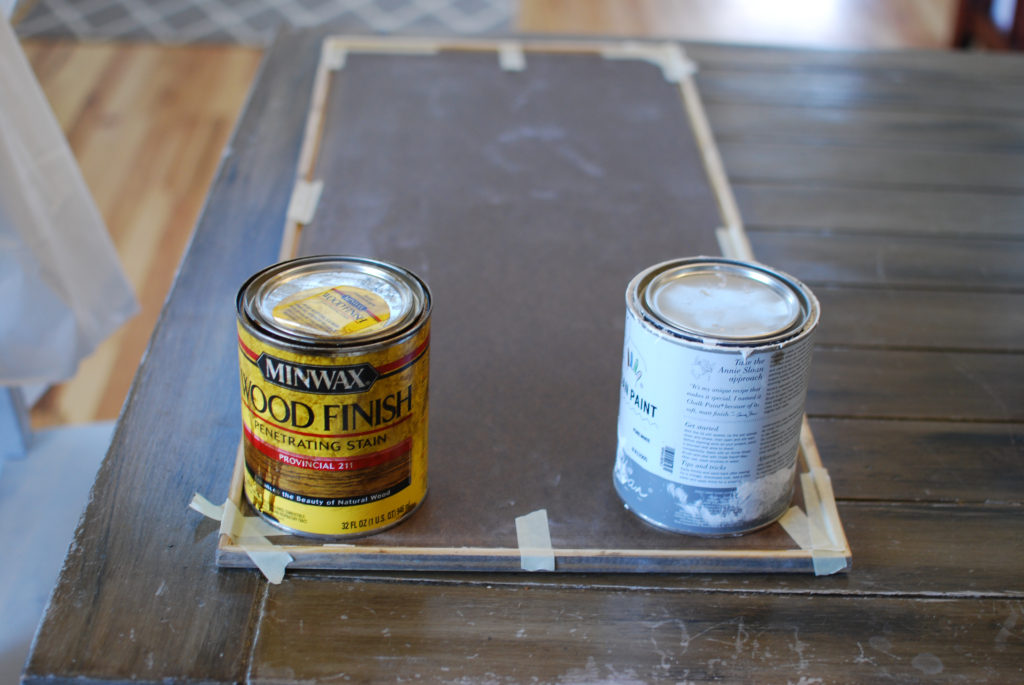
- Paint (for background. I used Annie Sloan Pure White chalk paint. Use whatever paint you have laying around. Does not need to be chalk paint!)
- Paint (for lettering: I used Annie Sloan Graphite chalk paint.Whatever paint you have laying around is great)
- Stain: Minwax Dark Walnut and Minwax Classic Gray
- Stencil/template
- Contact paper (optional depending on what method)
Tools:
- Wood saw
- Circular saw (won’t need if you have the store cut your piece for you)
- Paint brush
- Rags
- Sandpaper
- Pencil/eraser
- Tape measure
- Tape: masking/painters/scotch
- Sponge (optional)
- Sharpie (optional)
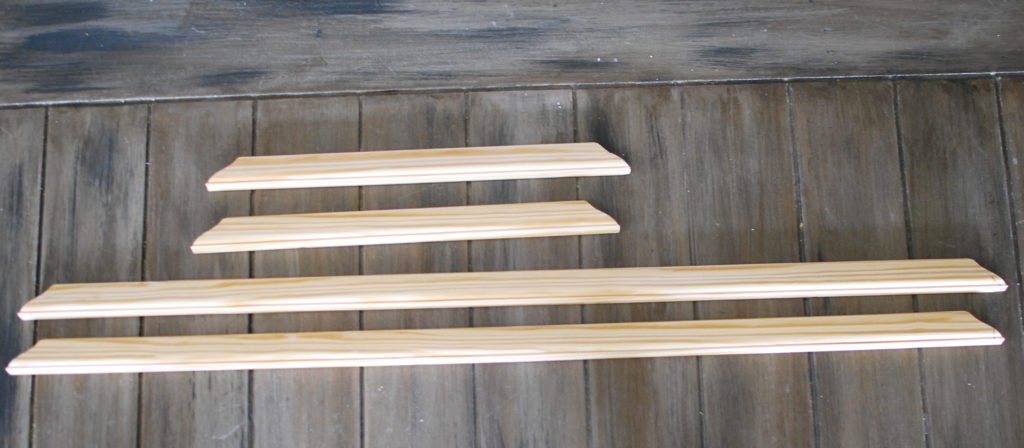
Step 1: Cut wood for frame
First step is to cut your wood for the frame. I chose to use a piece of molding generally used for paneling projects. It works perfect because the hardboard fits nicely into the back and it has a pretty shape to it.

- Cut (2) 32″ pieces with 45 degree angles for the miter corner (32″ from longest point to longest point)
- Cut (2) 14″ pieces with 45 degree angles for the miter corner (14″ from longest point to longest point)
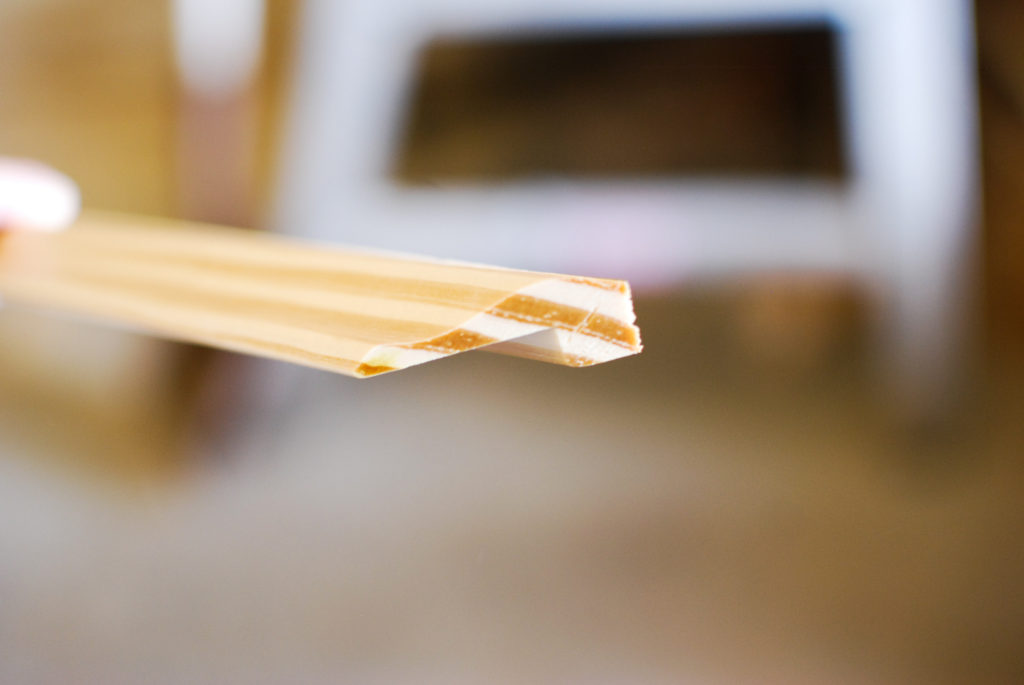
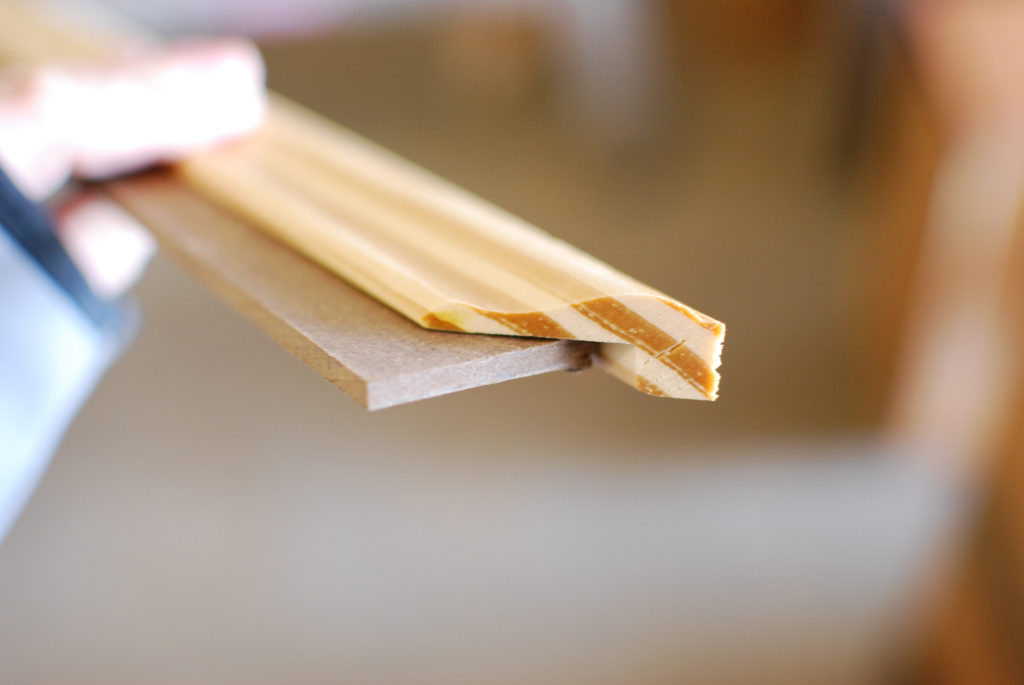
Tip for cutting trim pieces:
I found it helpful to use a piece of scrap wood when I made my miter cuts to keep the trim from moving around on the saw.
It is a little hard to explain so I made a little video to show you what I mean. Tip for cutting trim piece video
Step 2: Cut hardboard
I made my piece 13″x31″, to give myself a little wiggle room. I used my circular saw for this step, but you could also use a table saw.
Tip: If you do not have access to either for those options, most hardware stores will cut your wood for you!
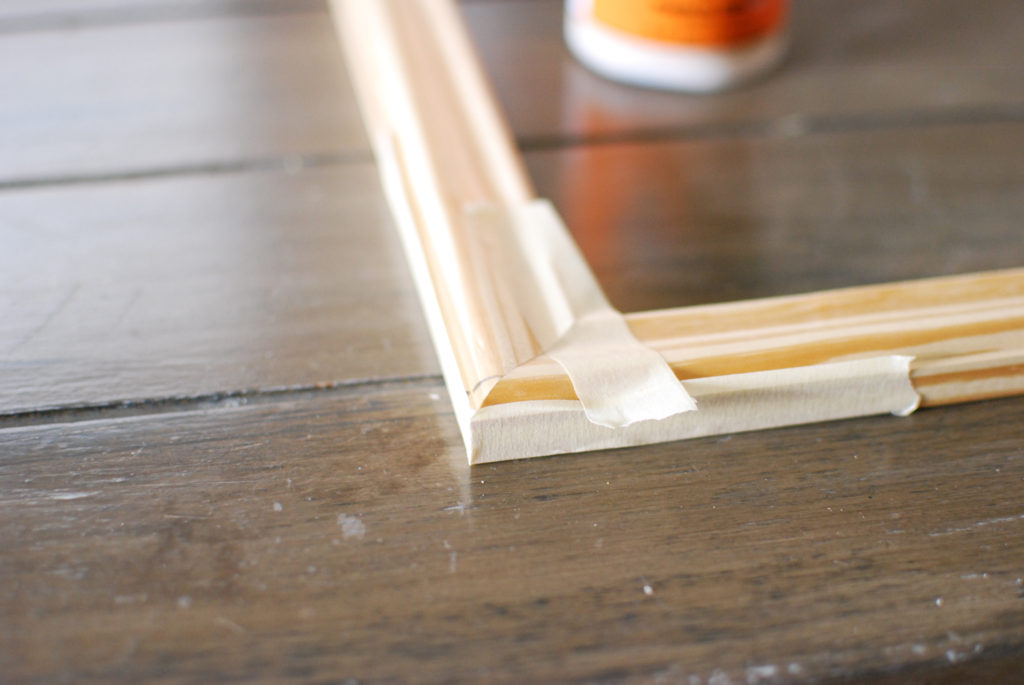
Step 3: Glue frame
Use a small amount of glue on each miter corner and press them together. Use tape to hold the joint in place while it dries.
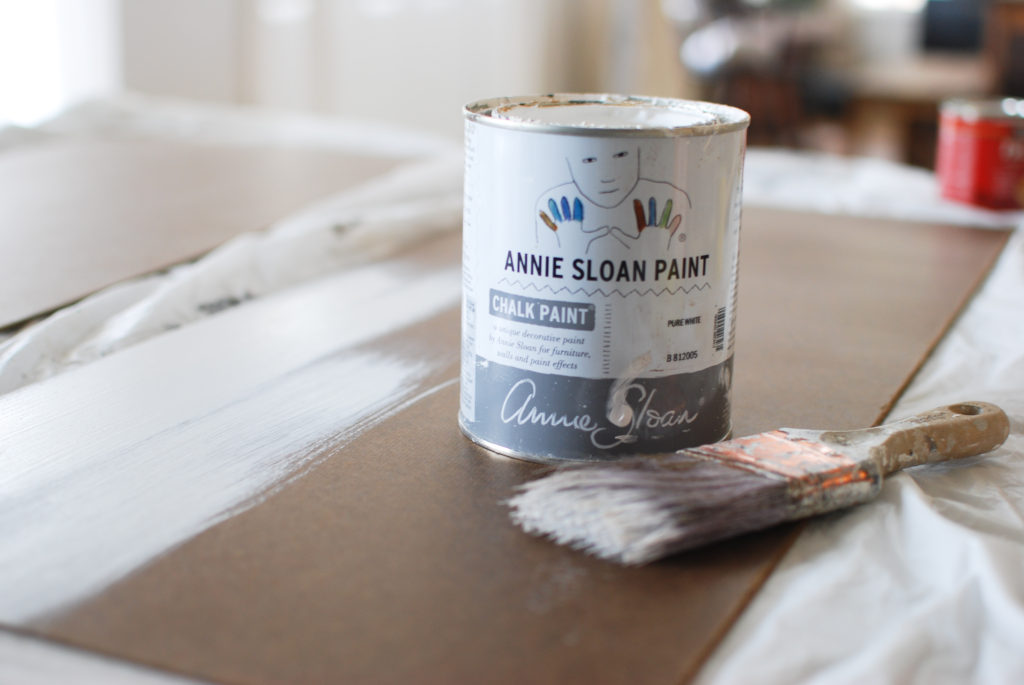
Step 4: Paint
While you wait for the glue to dry on the frame, paint the hardboard. I painted mine with white chalk paint. You could also use spray paint or any latex paint you have laying around.
Tip: If you don’t have any spare paint laying around, consider getting a sample paint from the store. It is the perfect size for a project like this, it’s cheap and you can get any color you want!
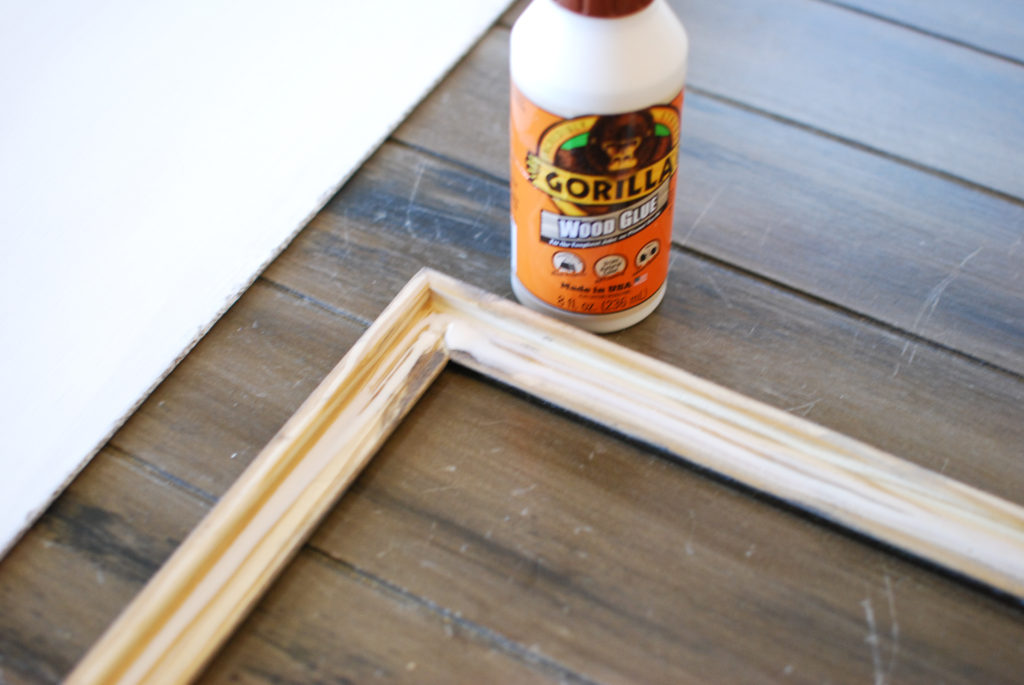
Step 5: Stain frame
Before staining, sand the miter joint and smooth out any imperfections. This wood is typically in pretty good shape already, so don’t spend a lot of time here. Then apply your stain of choice. For this frame I used Minwax Dark Walnut and Minwax Classic Gray. I applied the Classic gray and when that was dry applied a coat of Dark Walnut.
Here is how I apply stain: How to apply stain
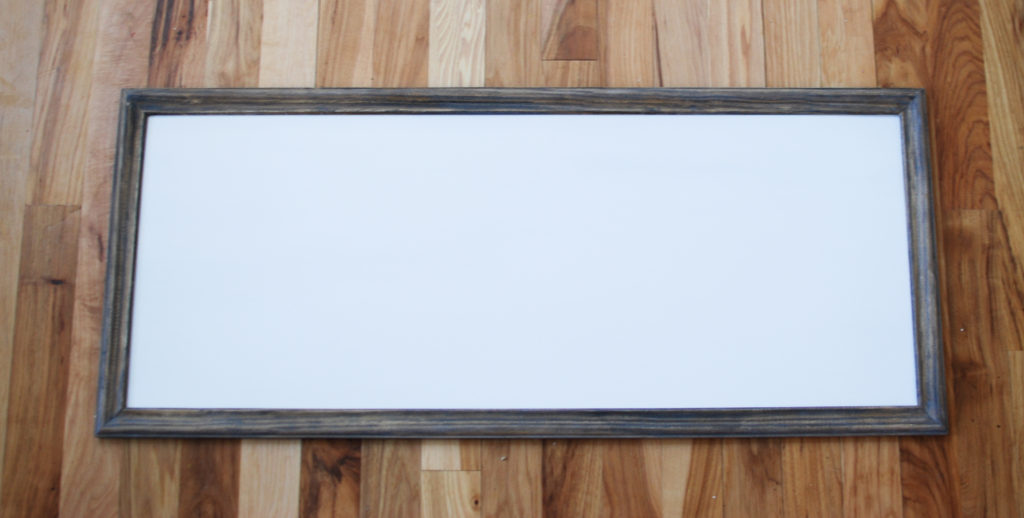
Step 6: Assemble
Next, use some wood glue or liquid nail to glue your painted hardboard to the frame. Tape in place and wait for it to dry. When it is dry you have a beautiful wood sign ready for words!
Step 7: Paint on the words
Lastly, its time to add the words! I have this awesome machine called a Silhouette Cameo! I LOVE it! It cuts vinyl, paper and stencils for me! I use it all the time! Now, I know most people do not have a fancy cutting machine! So, you can use the print out and trace technique. I have a video below showing this technique.
Contact Paper Stencil:
- Cut stencil out of contact paper: Click here for silhouette file (there is no preview-just click on the download)
- Measure out some guidelines to make sure you stick the stencil on straight to the wood sign
- Stick the stencil and smooth out any wrinkles
- Paint over the words with mod podge (optional). I do this to ensure I get crisp lines when I pull off the contact paper. Sometimes paint will bleed under. The rubber cement just seals any edges.
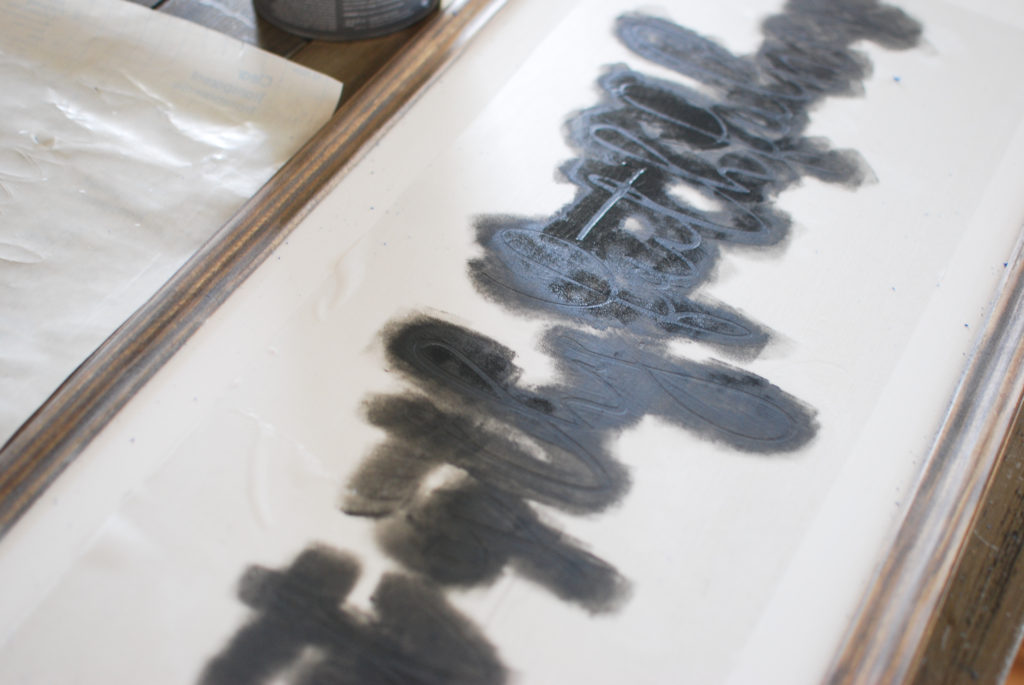
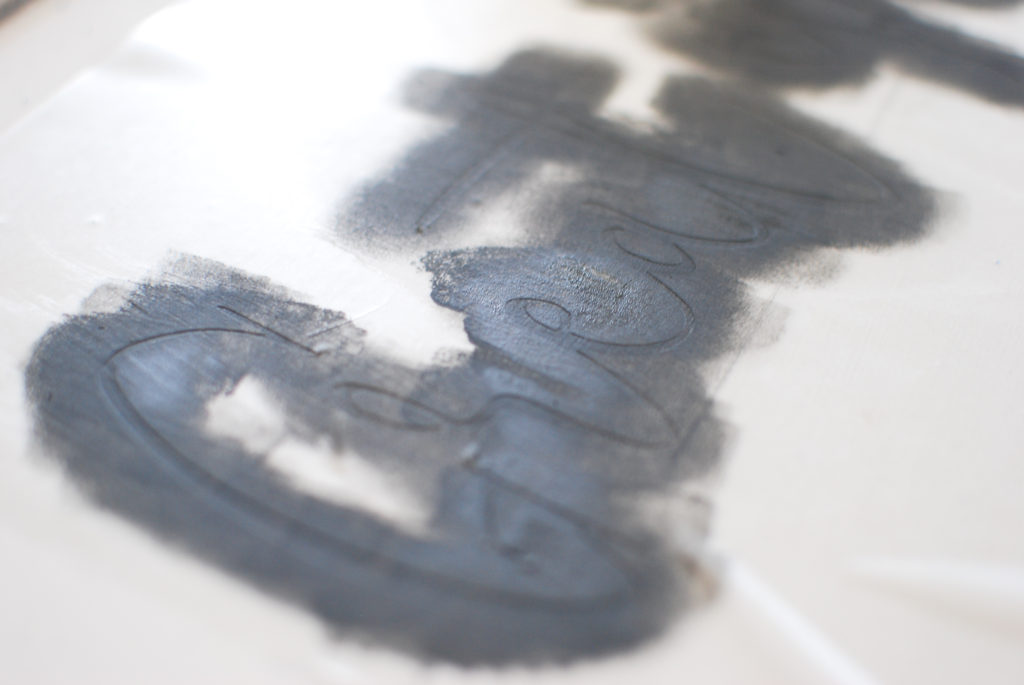
- Paint the letters, using a makeup sponge. Dab the sponge in a little paint then gently dab the paint over the stencil. Less is more!
- Rip off contact paper
- Erase any pencil lines
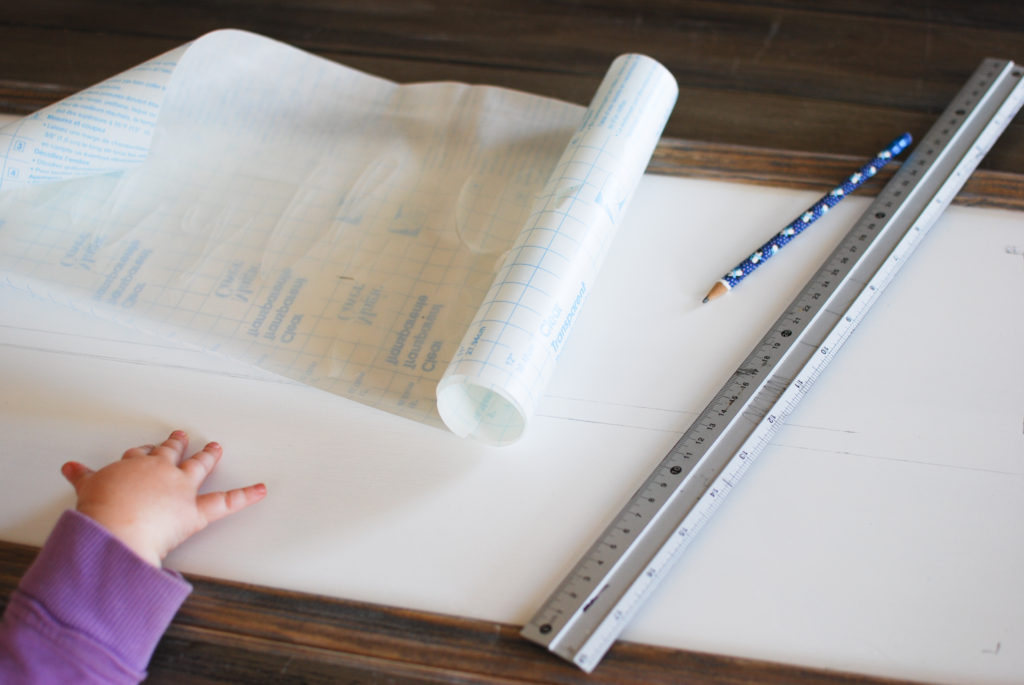 While I marked out a couple horizontal lines to make sure I lined up my words I had a chubby hand helper come along!
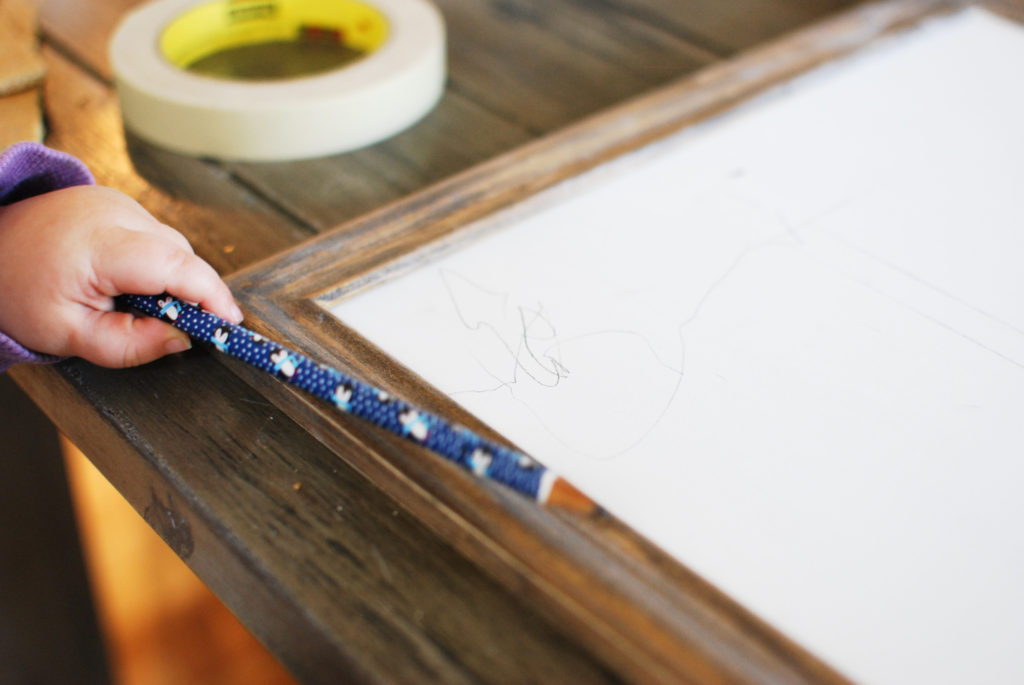
My helper also wanted to add her own little touches to this wood sign.
Side note: It is easy for me to get irritated when my kids “interrupt” my projects, but I try to keep things in perspective. In this case, it was only pencil marks and above all, I believe there is value in letting my kids work along side me. Therefore, I continually have to remind myself to be patient with them. 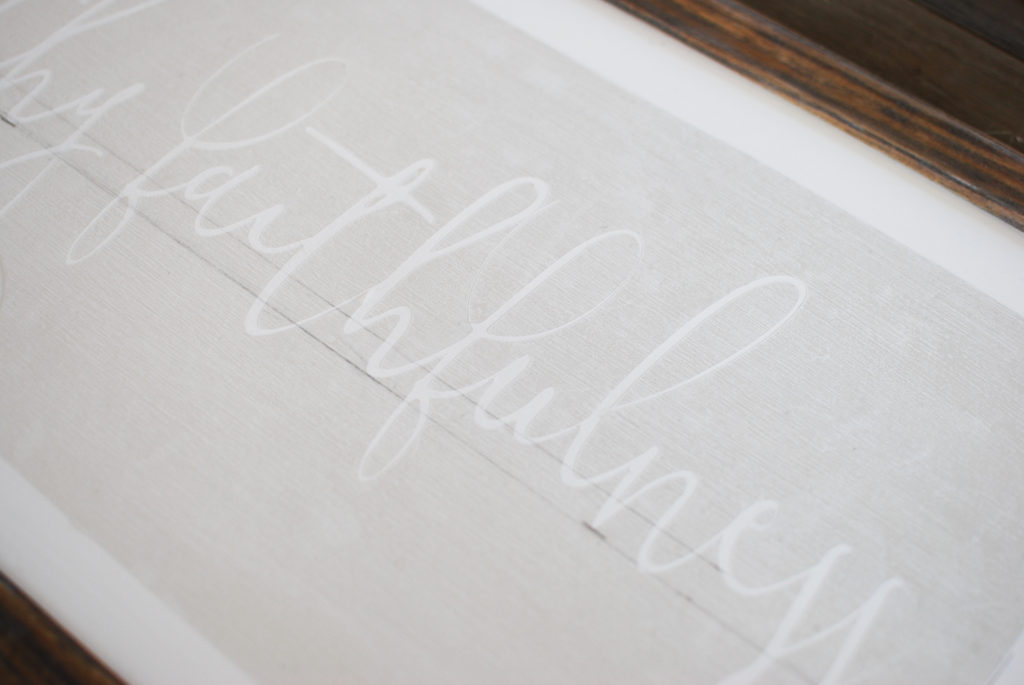
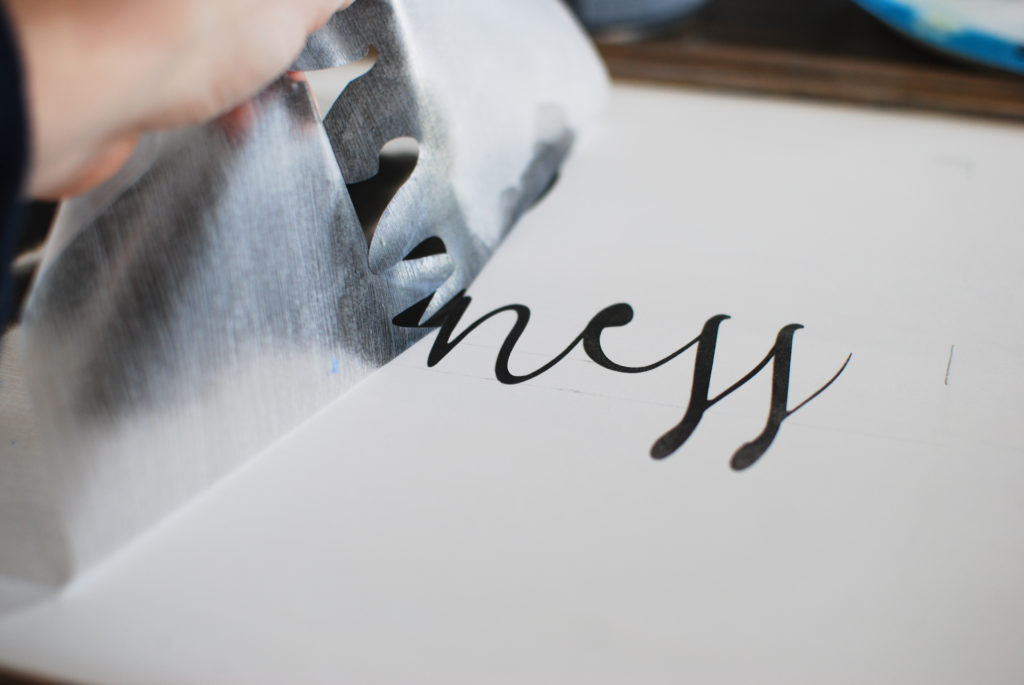
My favorite part is peeling off the contact paper and seeing the perfectly crisp letters!

Print out and Trace Technique
Okay, for those who do not have a stencil cutting machine…you can use this method for your wood sign:
- Print off pdf files: Template 1 Template 2 Template 3
- Tape together all three pieces of paper
- Center and tape to hardboard
- Follow the instructions in the video.
Tip: If you use this technique you may need to trace the letter outlines on the backside of your paper print out before you trace over the top. The reason for this is that hardboard is…hard and you may not see the indention as well when you trace as you would on other wood surfaces.
That is it for this sign! This is a fairly inexpensive and easy home decor piece you can make for yourself or give away as a gift!


Hope you enjoyed the first wood sign of the Sign Series!
Emily
Comments are closed.