Two years ago I wanted to start making some changes and additions to our family’s Easter celebration. I have older posts dedicated to several ideas as well as a Kid’s Easter Study that you can read about. After sharing some pictures of the little wooden easter tomb I made from scrap wood I received several request for a tutorial. And so here goes…
Preparing our hearts and homes: read about how our family celebrates Easter
Kid’s Easter Study: Simple 21 day study to do with your kids! (starts March 30th and goes through Easter and ends April 19th)
Note: The pictures for this tutorial may look a little different than the finished tomb because the step by step pictures are of a new build.
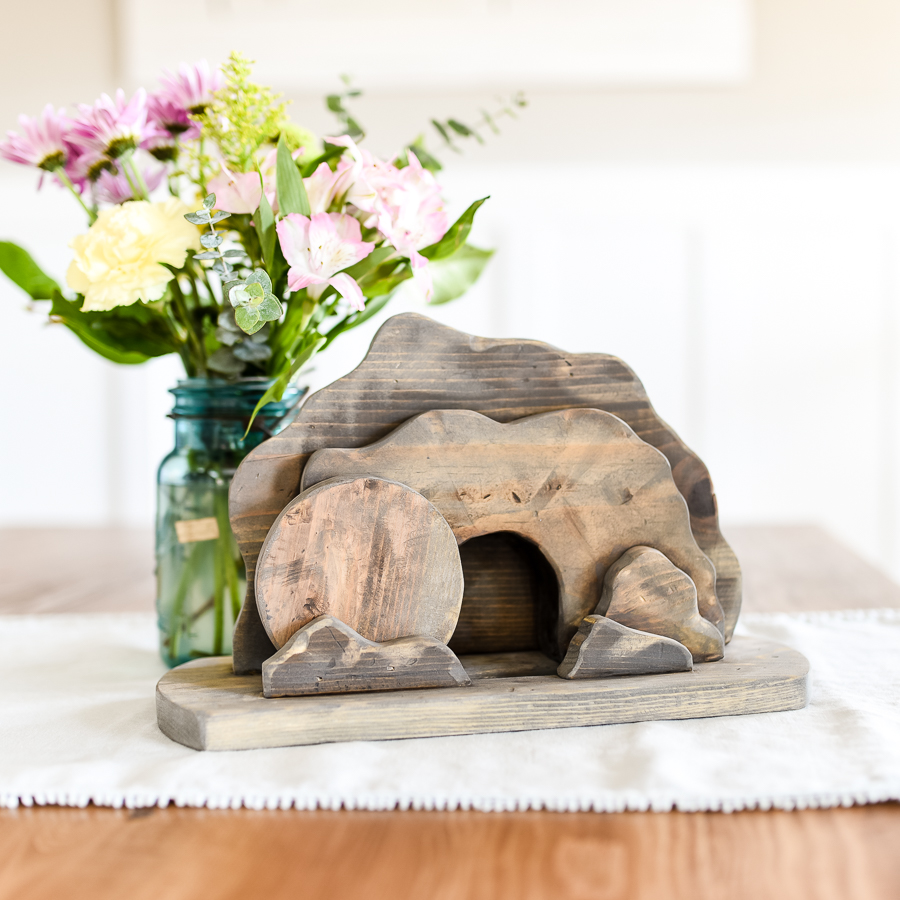
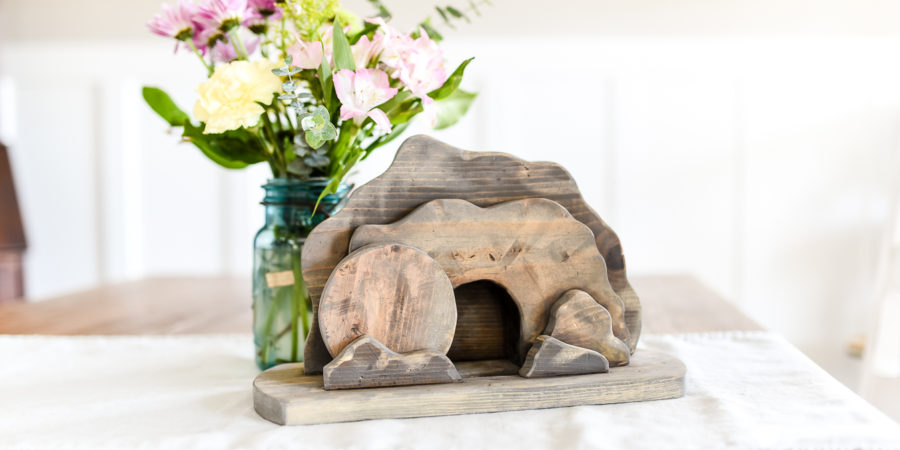
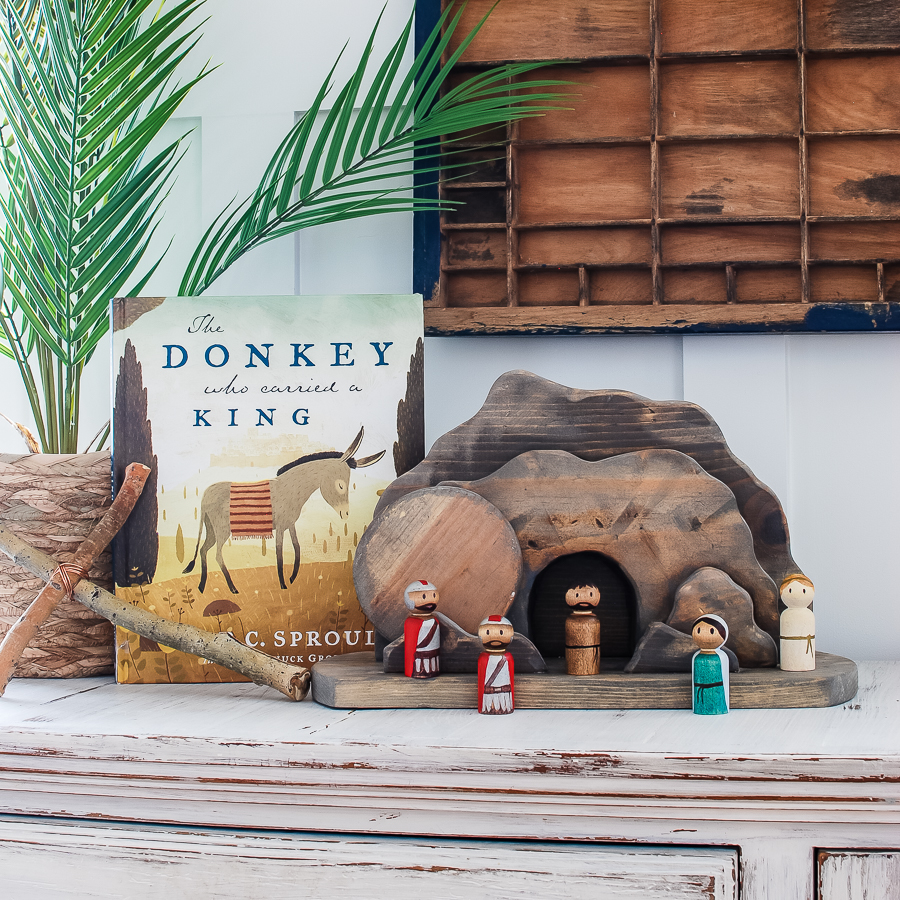
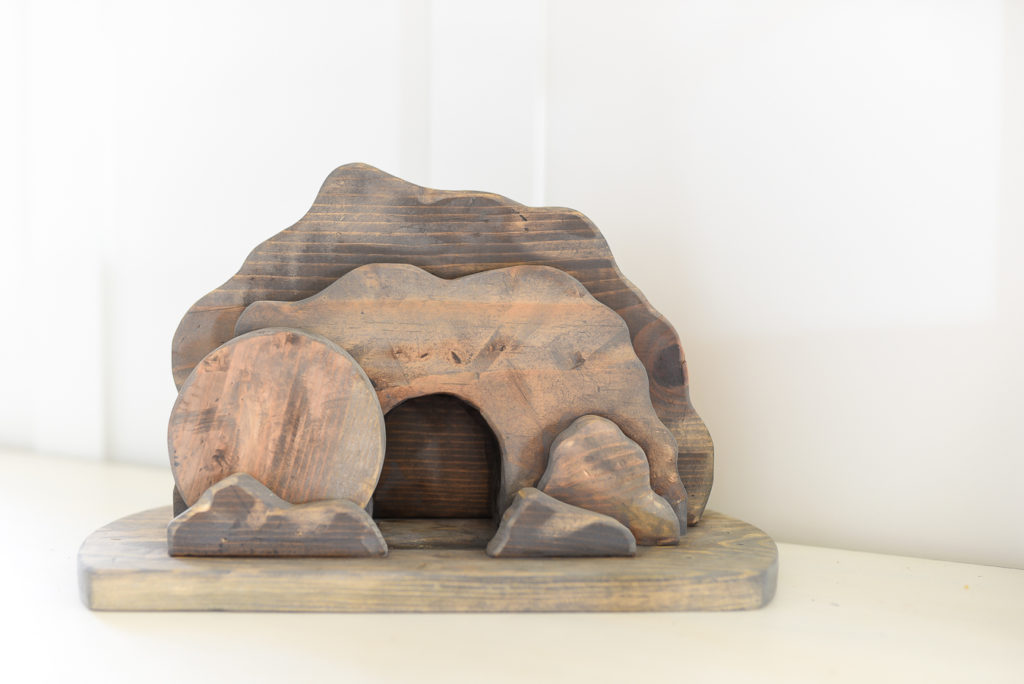
My kids have loved this Easter decor piece. They love that the stone rolls and we have little wooden figures that go with it. We use it as a teaching tool for the Easter narrative as well as a visual to reminder of all we have to celebrate at Easter. The tomb is empty and Christ is risen!
Wooden Easter Tomb tutorial
MATERIALS:
- 1×10 board for 3 main pieces of tomb, smaller rocks and round stone
- 1×6 board for base
- Wood glue
- Finishing nails (optional-could just use glue)
- Wood stain: dark walnut and classic gray
- Clear finish: polycrylic
TOOLS:
- Jig saw (band saw or scroll saw would also work)
- Clamps
- Hammer
- Chisel (optional)
- Nail gun (optional)
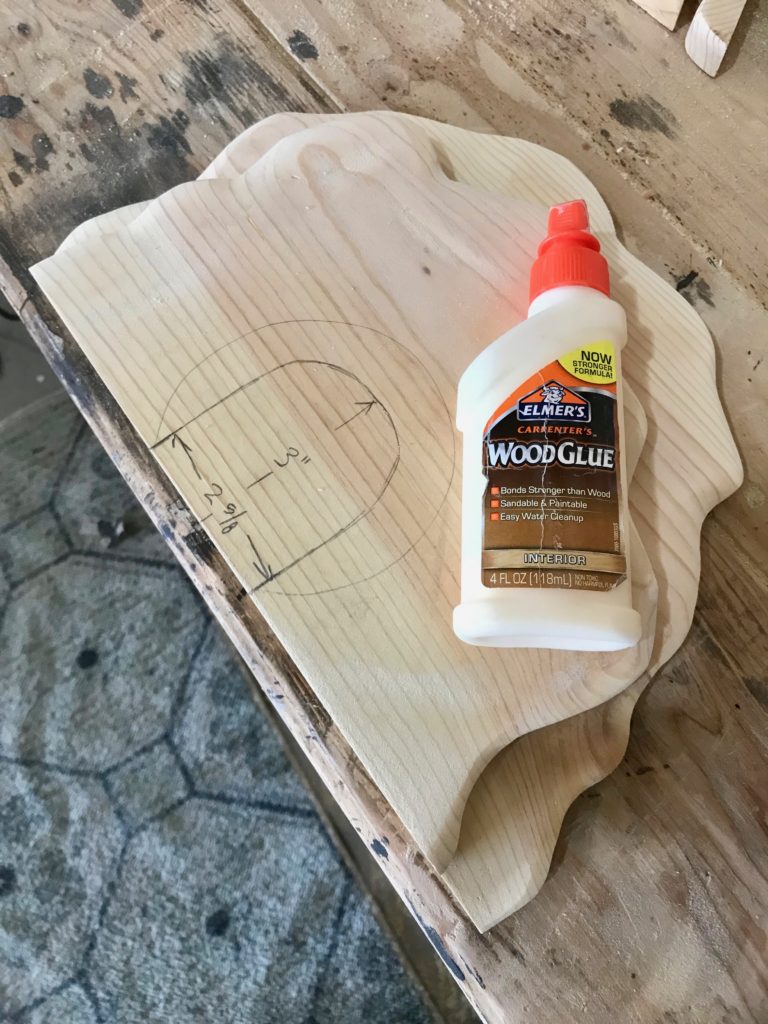
The tomb consist of 3 main pieces (back, middle and front) a base, rolling stone and smaller rocks. First, start sketching out the 3 main pieces of the tomb (I sketched mine on paper first), making sure they all have one side that is flat for the bottom. Think about using the factory edge of the board as the bottom for each piece since its already a nice straight edge. The middle piece is the largest with the front and back roughly the same size. I used a scrap 1×10 pine board by roughly 33″ long.
Cut out pieces
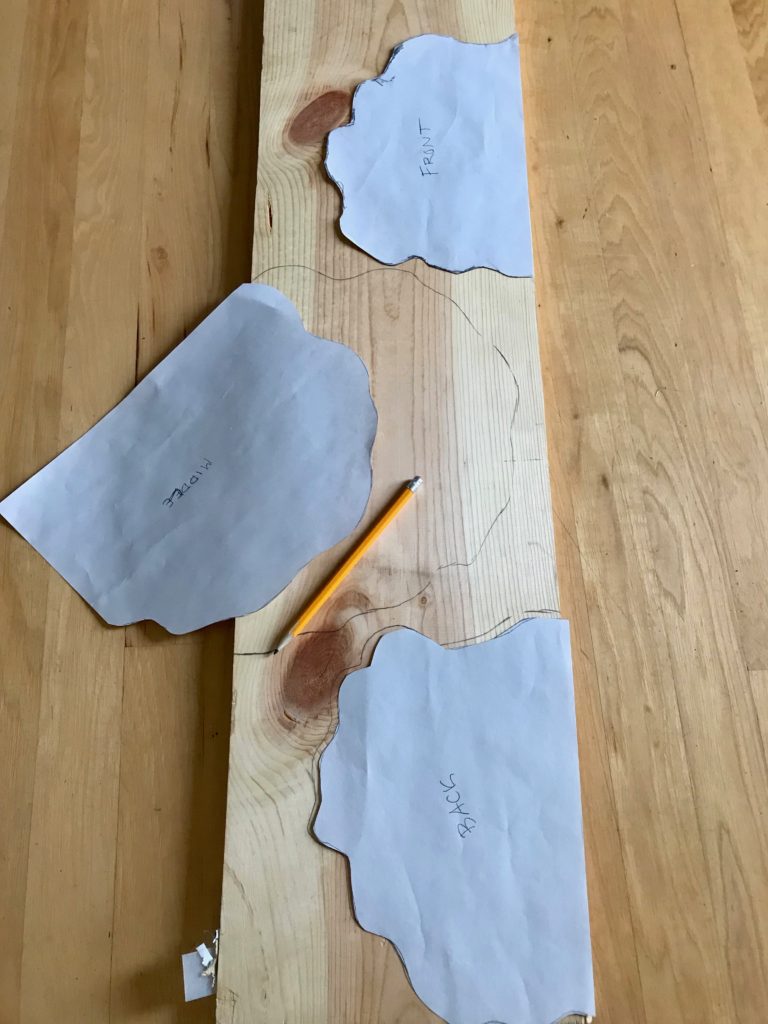
After your pieces are sketched out, use a clamp to secure your pieces to cut out with a jig saw. The great thing about this project is that you don’t have to cut perfect lines.

Clamps are so helpful for many projects. Securing your work is critical for cutting your pieces out. I have several types of clamps but used Quick-grips for this project. Super simple to use and adjusts quickly.
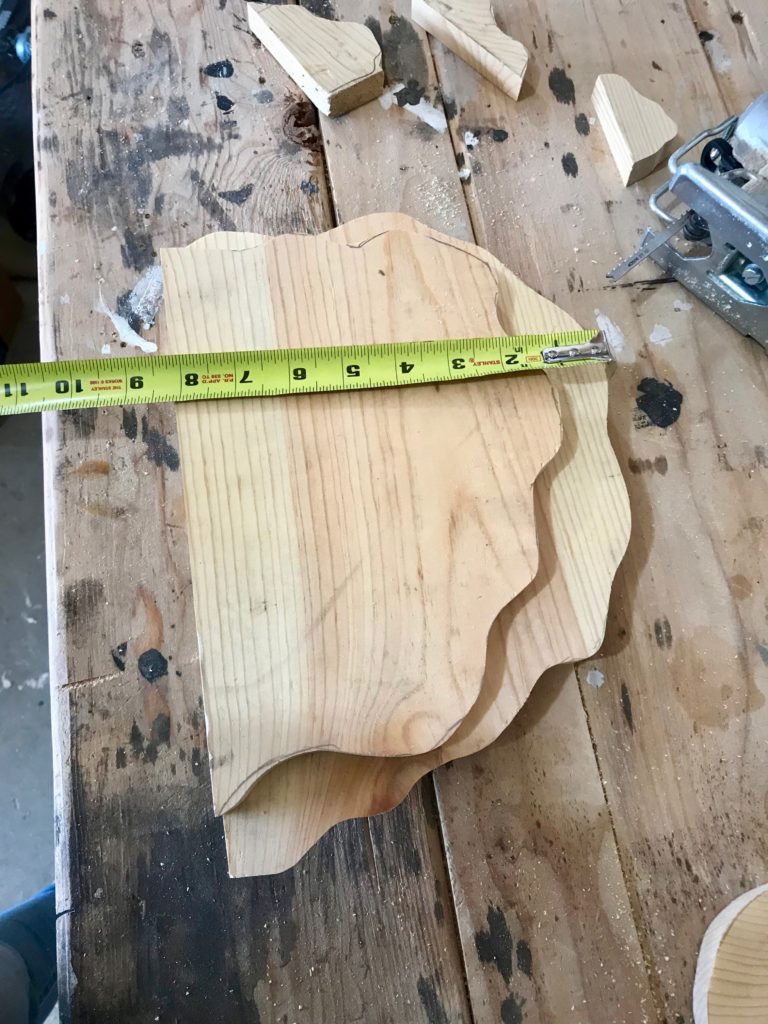
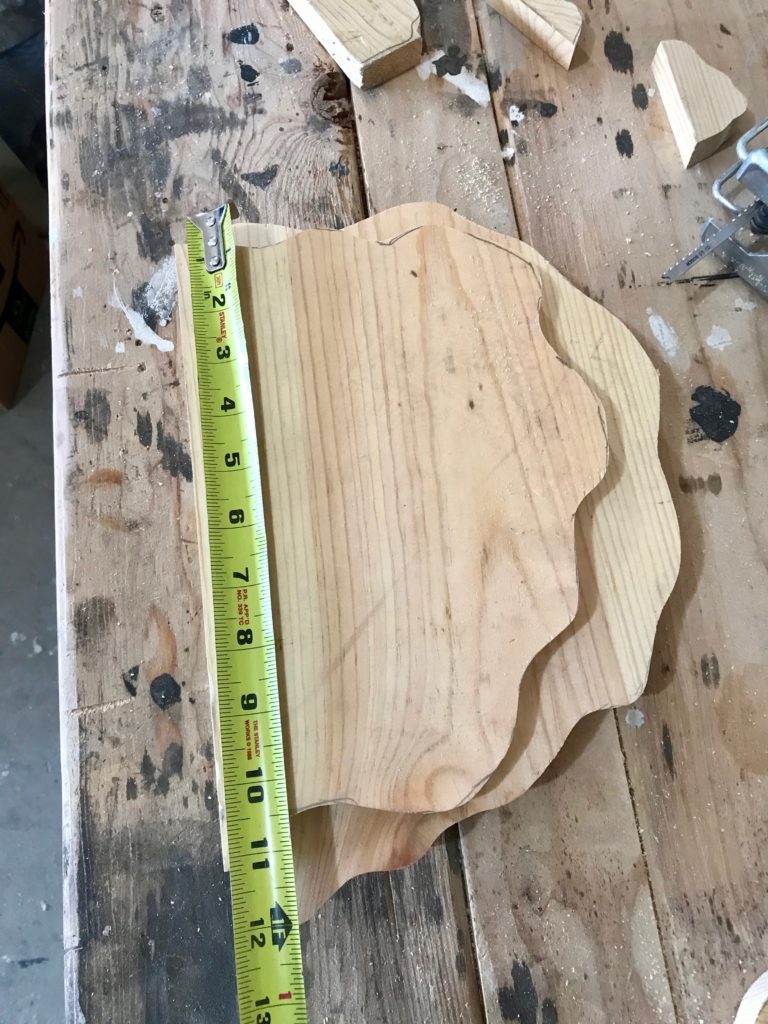
This project could be scaled to different sizes. This one here is approximately 8″ tall and 12″ across (without base).
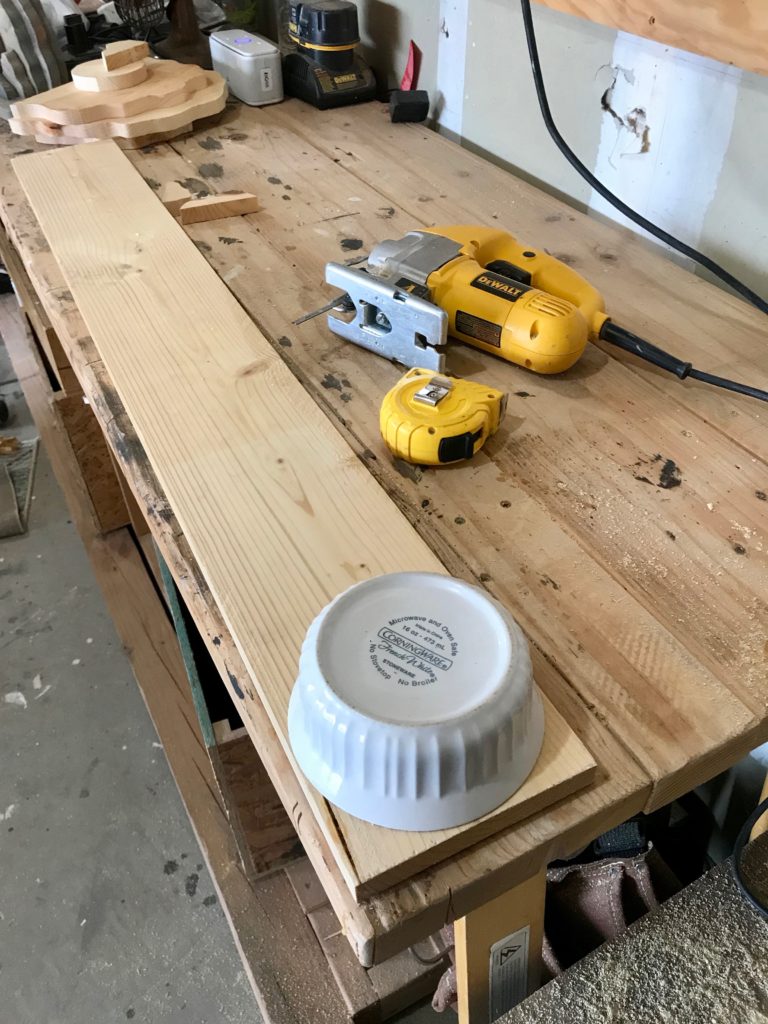
Next, cut the base from a 1×6. I made mine about 15″ long and added rounded edges (optional: could keep straight edges) by tracing a curve and cut ends with the jig saw.
Sand all pieces
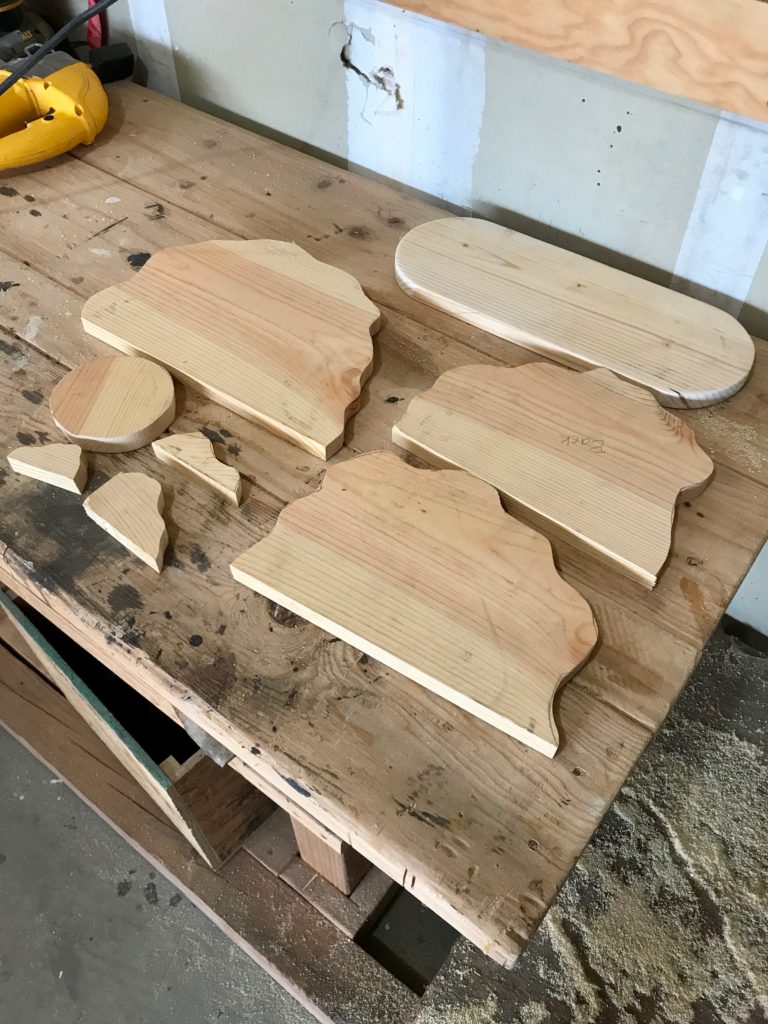
I used an orbital sander with 80 grit sandpaper to smooth out rough edges as well as add some character. Holding the sander in one spot will remove a lot of material and create some neat variation to create a more textured look. Lastly, I finished out sanding with 120 grit.
Wooden Easter Tomb: Assemble
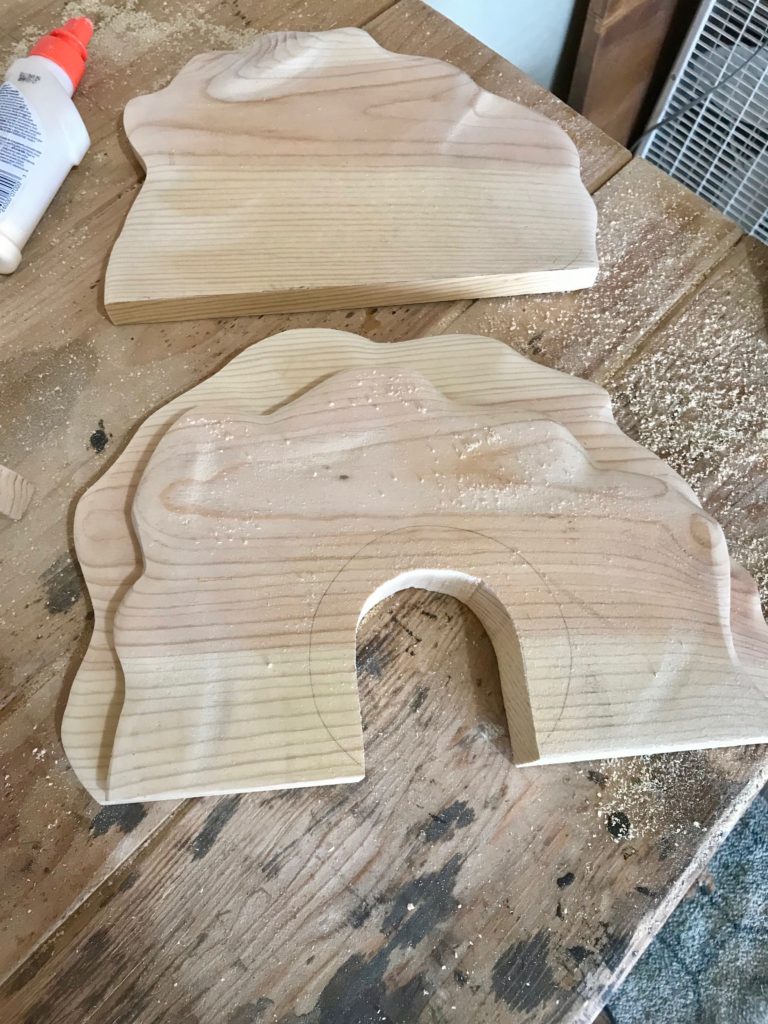
Glue the FRONT and MIDDLE pieces together. However do NOT glue on the back yet! You can add finishing nails through the back if you don’t want to wait for glue to dry before moving on. Be sure to not add nails where you will be cutting. Next, sketch out the doorway. Use the rolling stone as a guide to determine how big to make the cutout. About 3″ tall and 2.5″ wide. Once the opening is cut, glue on the back piece and clamp.
OPTIONAL: cut groove for rolling stone
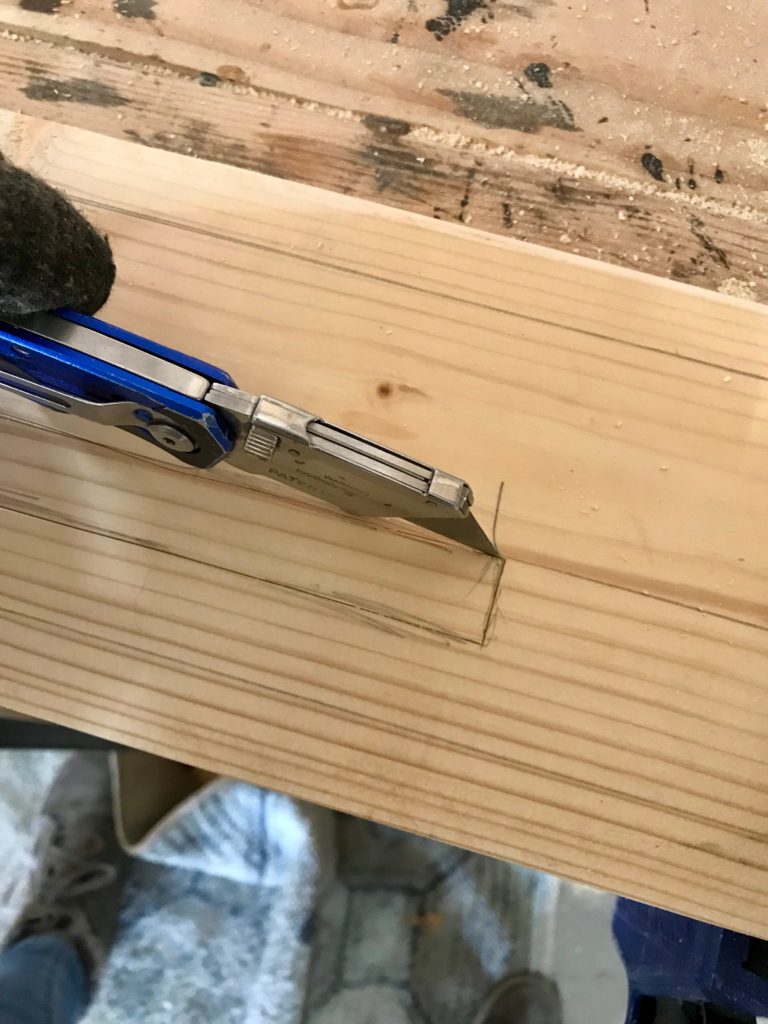
Now comes the optional part of chiseling a small groove for the rolling stone. The stone can move and roll without this step and can be “held” in place by the smaller rocks. Layout the pieces on top of the base and figure out placement. The 3 main pieces can sit about 3/4″ from the back of the base. Mark where the groove should go, then score the area with a utility knife before using a 3/4″ chisel.
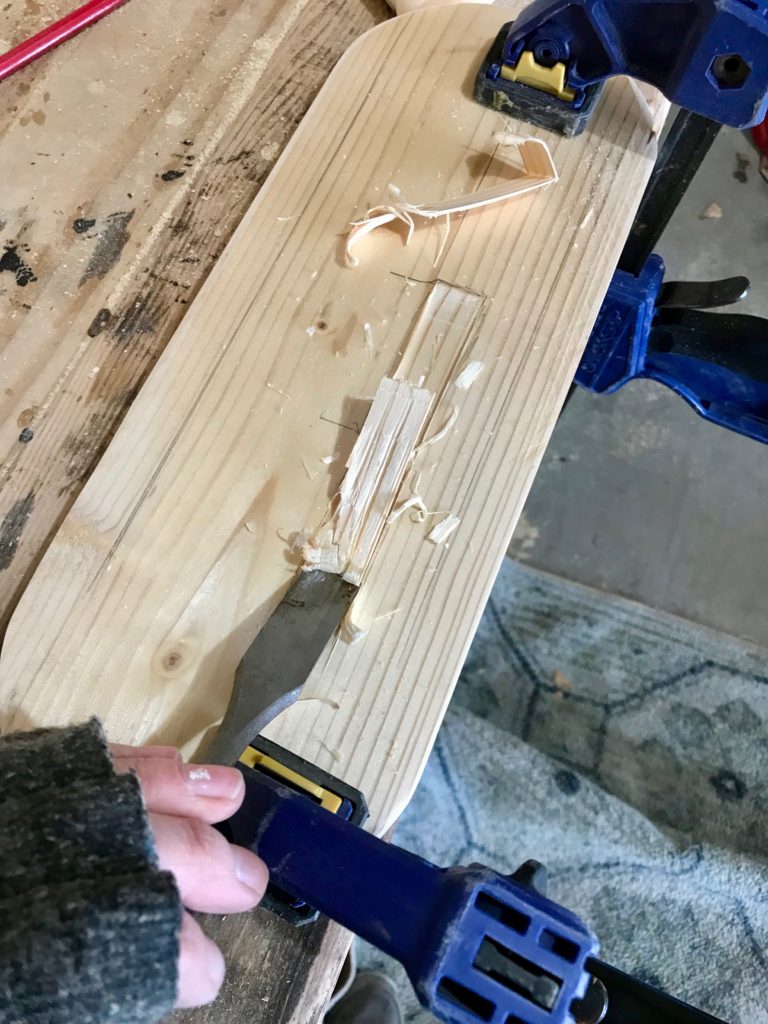
Sand out any rough edges left by the chisel. Glue the tomb to the base and the smaller rocks, being sure to place them to allow for the stone to roll back and forth. Secure from the base bottom with a couple finishing nails, being sure to nail into the main tomb.
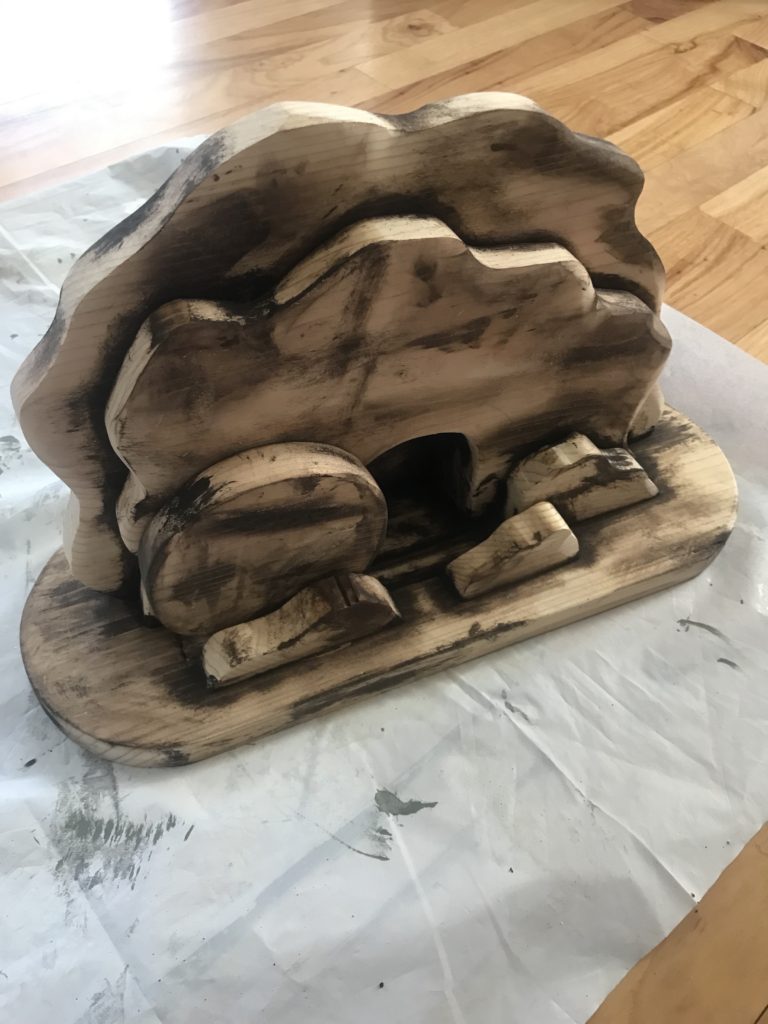
Finishing: stain
Finish out the tomb with stain. First, I applied a dark stain to random sections, letting it fully dry. (see picture below) Second, I used Minwax classic gray to stain the entire piece. Lastly, spray with a clear polycrylic to protect.
Wooden Easter Tomb: figures
In addition to the tomb, I found little blank wood figures at Hobby Lobby to use as characters. I used wood stain, craft paint and sharpies to create the different characters.
Want to build your own but don’t understand these instructions? Go check out my instagram account @emilysprojectlist and look for a saved highlight “Easter Tomb” and you can watch clips of me explaining the different steps. Comment or contact with questions!
Looking forward to my favorite celebration! May I never grow tired of dwelling on the truth that Jesus came to redeem us from sin, that he died and rose again, conquering sin and death.
“He has delivered us from the domain of darkness and transferred us to the kingdom of his beloved Son” Colossians 1:13
Comments are closed.