For years now I have wanted to change how we celebrate and prepare for Easter as a family. But, then Easter comes and goes and I am left wanting. Wanting to do things differently next year. Wanting more of the truth and reality of Easter to sink in, settle in my heart and move me to pursue a life marked by what I know to be true. But somehow Easter seems to approach without much warning.
Everyone knows when Christmas is approaching. The stores are filled with displays, the radio plays Christmas songs, streets and houses are lit up, and there is a feeling of excited anticipation. December is full of fun, crazy, busyness in preparation for the 25th. With that, I have found that if I don’t spend time prior to Christmas day, preparing my heart to worship and rest in the reality of Jesus’ coming, I miss it. I miss celebrating the joy and peace in remembering and meditating on the truth that Jesus came as a baby to be the savior of the world. The same is true of Easter. If I don’t actively prepare my heart in worship prior to Easter Sunday, I miss out and my family misses out.
Out of this desire to actively engage our hearts and minds, an idea formed to create an Easter study/countdown to do with the kids. We have loved doing a Christmas advent with the kids the past several years and so I looked for an Easter version, but did not find quite what I was looking for. Therefore, I created my own study, with the help of a dear friend and my hubby.
What is the Easter study?
- A 21 day countdown study of the days leading up to Easter (holy week), designed to help teach children about the good news of Jesus and his days leading up to his crucifixion.
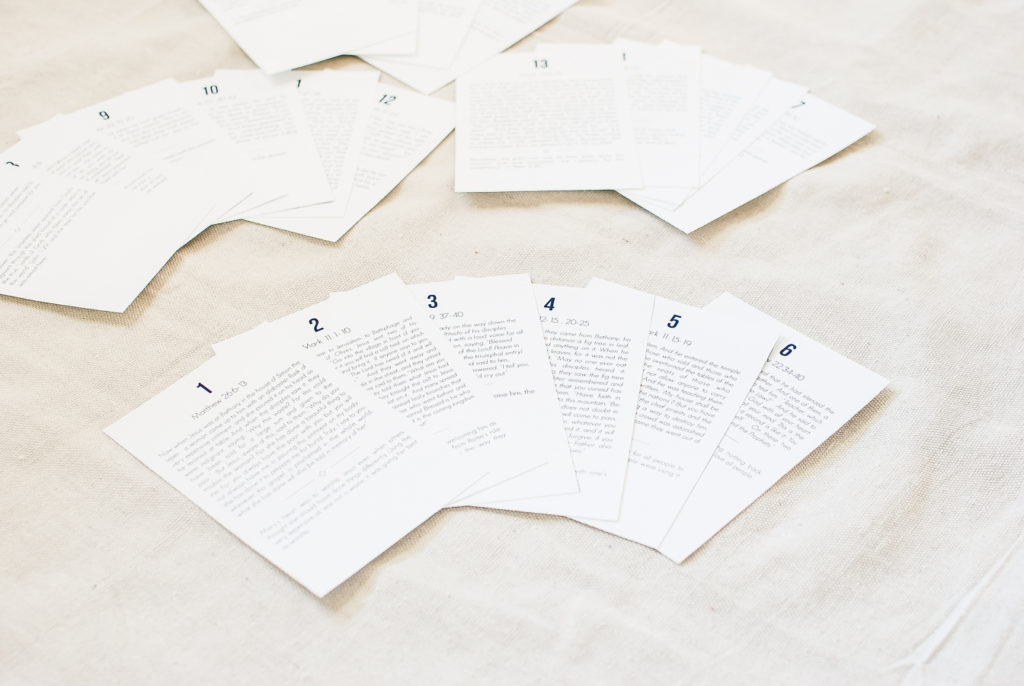
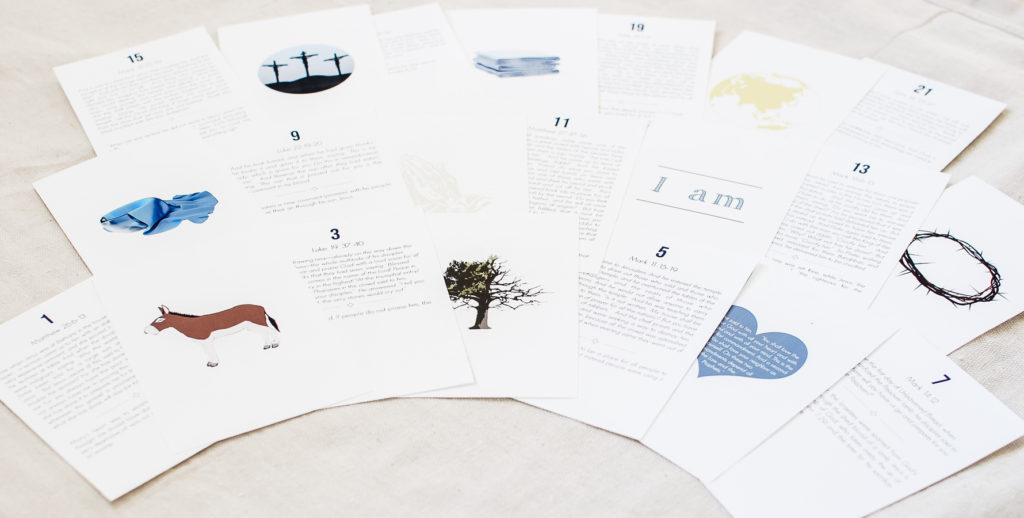
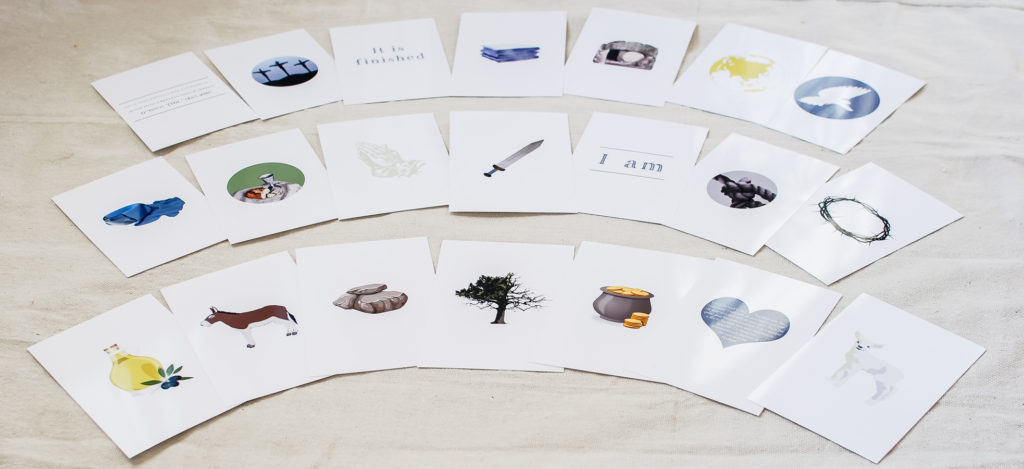
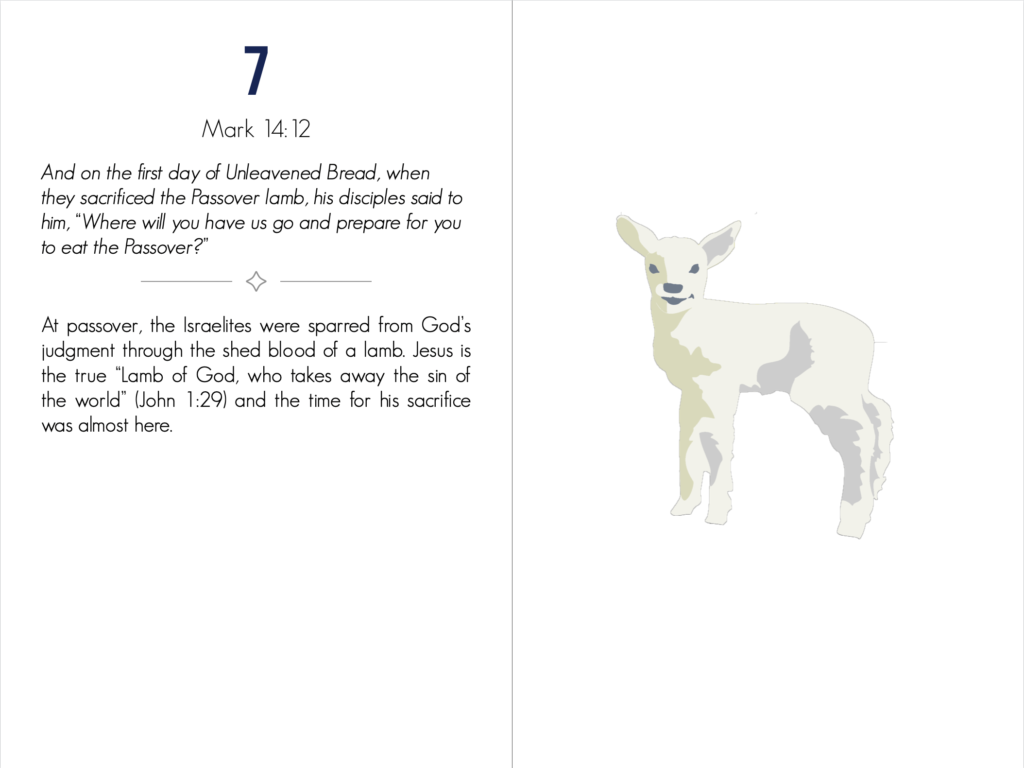
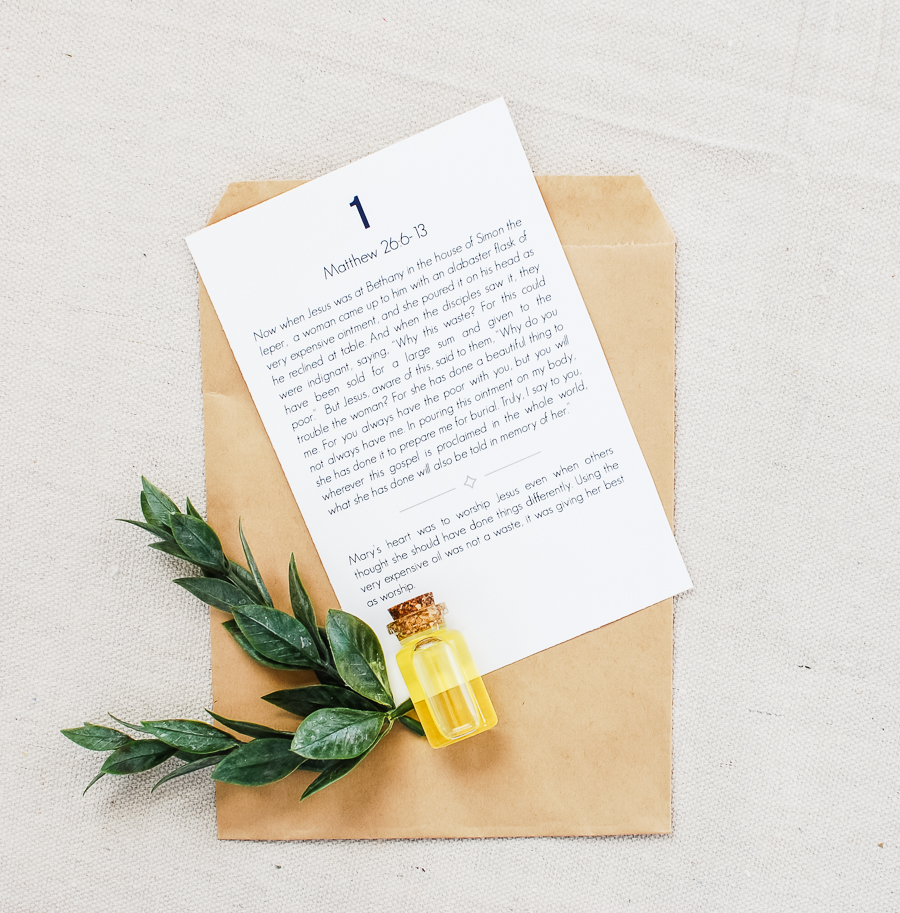
- Printable cards with a section of scripture, simple teaching point and visual image related to the passage.
That’s it. Simple. (The free printable link is down below)
How to use the study
- If you are using it this year. (2020) Start on March 25th. It leads up to Easter Sunday and goes 2 days past ending on April 14th.
- Print the 4×6 cards. (could print them double sided with text on one side and image on backside)
- Read one card each day. Engage your children in discussion about what you read.
Other options for how to use this tool:
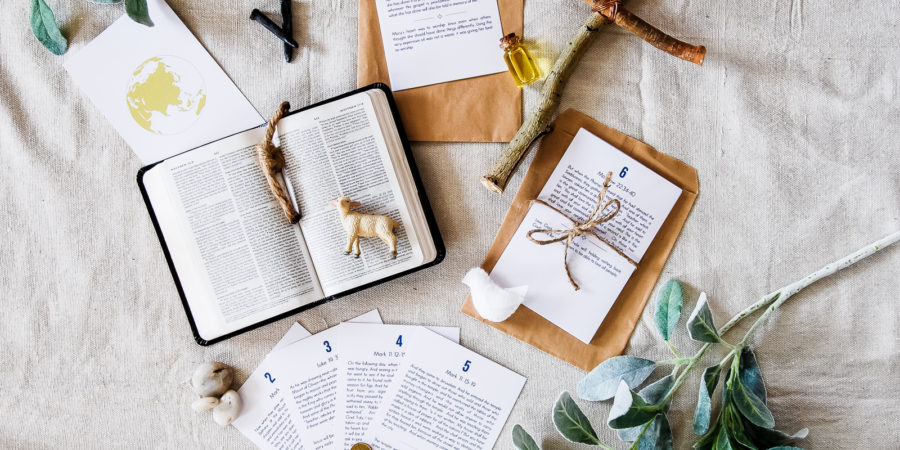
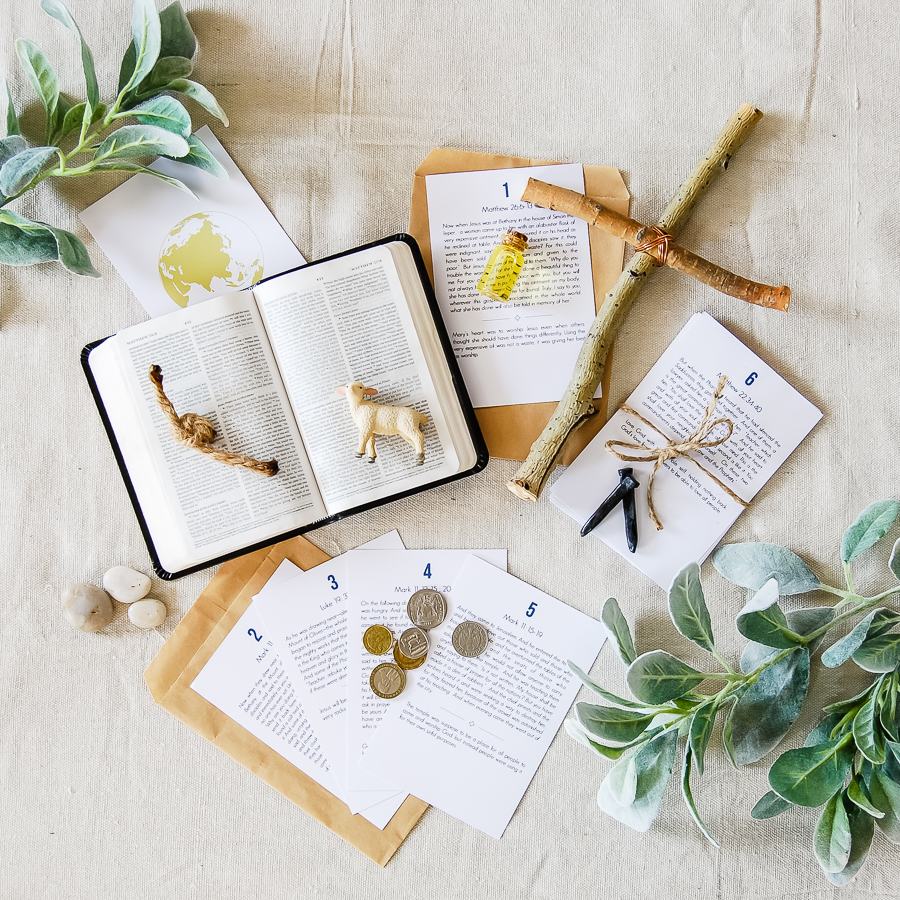
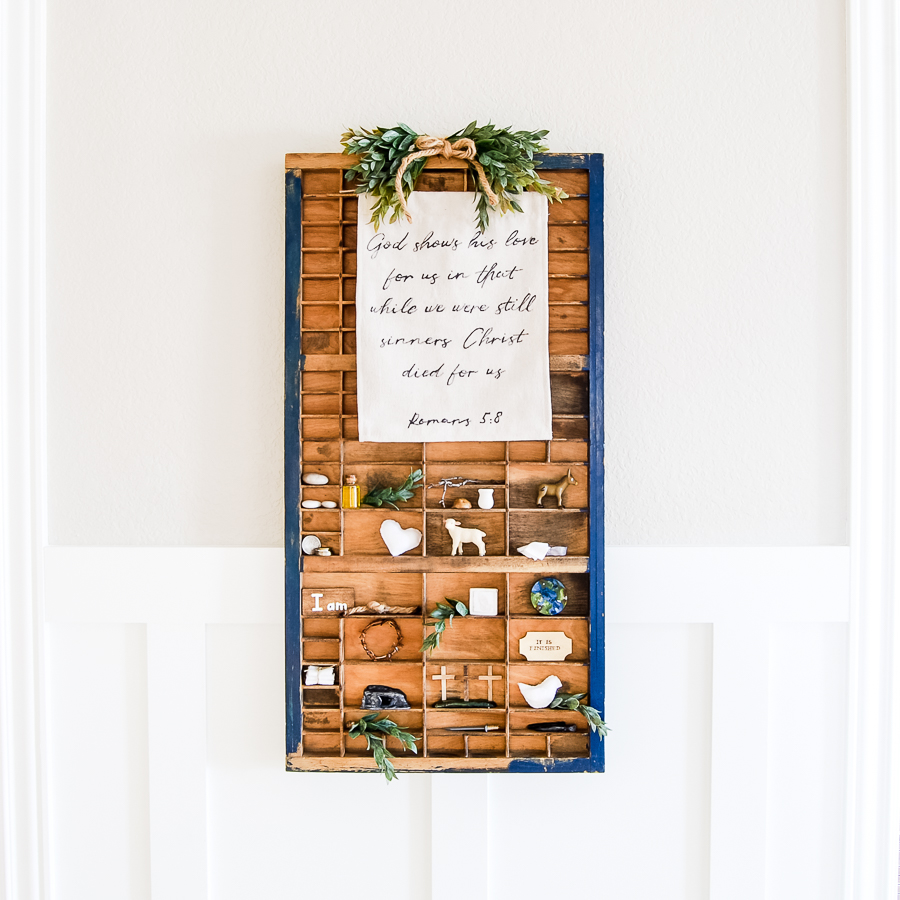
- Find physical objects that serve as a symbol for each day/scripture. I will include a list of ideas and pictures of how I did this (below). You could display the physical objects on a shelf, hang them on a tree like ornaments, etc.
- Print the 4×6 cards and put them in numbered envelopes. Have your kids open one each day.
- Make a small booklet from the cards.
- Hang the cards along a string as a decorative bunting/banner.
I have included some tips and explanation for printing at the very end of this post if you are having any trouble. (EDIT: because printing can be a challenge I will include a couple other download options down below)
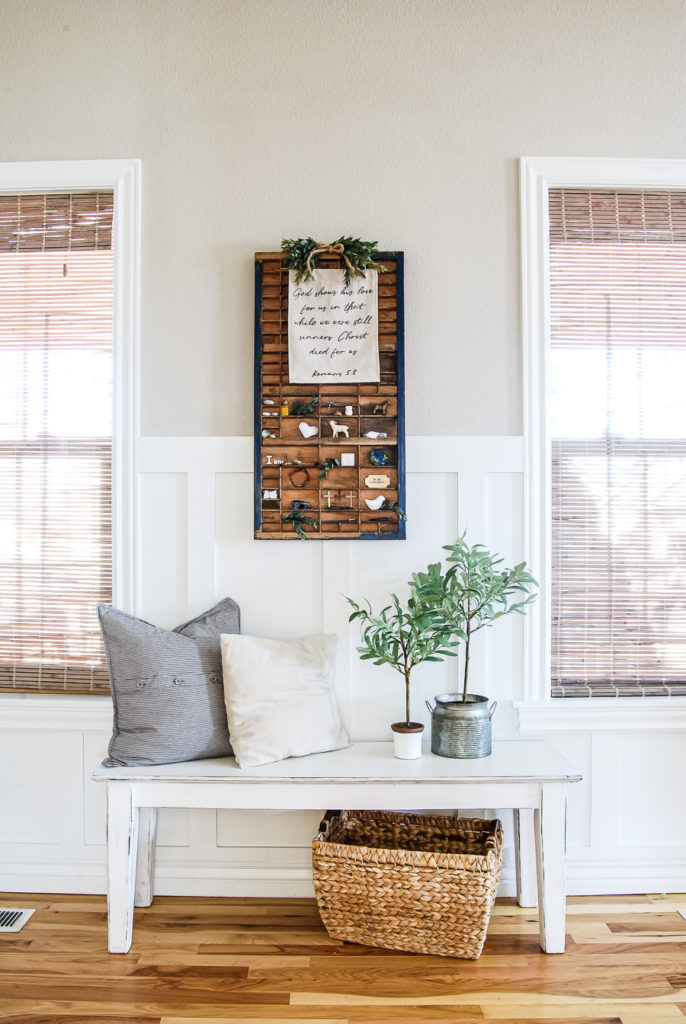
Example in our home…
I have printed out the 4×6 cards (double sided) on white card stock. A card along with a physical object will be put into envelopes or bags, for the kids to open each day and then put on display on an old printers drawer.

Resources
Below are two PDF files. The first is a simple list of suggested objects/symbols you could use to go along with the scripture for each day. These are merely suggestions, as well as the objects I used/made/found.
The second document includes the day’s scripture, teaching point and suggested object/image. For each day, the actual day that event took place during the holy week is noted. (For example Day 1 is Jesus being annointed at Bethany and it took place on Saturday.) It also lists several verses at the end that would be great verses to read with your kids or practice memorizing. They all center around Christ’s work on the cross, making them so fitting for Easter.
Lastly, the link below is a great resource for understanding the biblical timeline of what happened during Holy Week. The events, time and scripture reference (as well as parallel passages) are all listed in a table. I found this very helpful!
Holy Week Timeline
My heart for this Easter Study
I could write more about all my ideas and thoughts related to this study, but honestly I am not a writer or a teacher. I like to create and help others create. My desire is that whatever I share here would be a helpful tool/resource for families to use leading up to Easter.
And maybe next year I will add some of the parts I hoped I would have been able to do this year. (discussion questions and a parent study guide, external resources, lists of parallel passages, etc.) If you do use this resource, let me know! Also, send any feedback or suggestions for ways I could make it more helpful for you and your family.
Happy Easter!
Emily
Printing tips
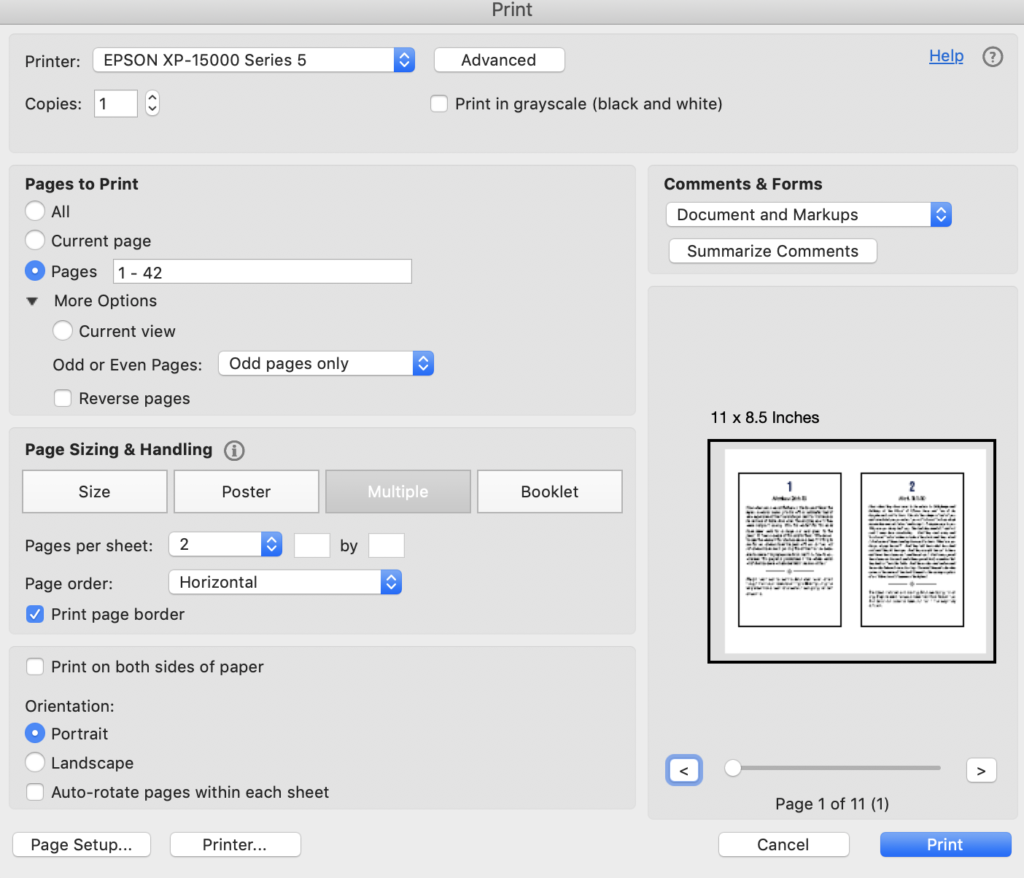
I really struggled figuring out how to make at home printing simple and easy for everyone. Each printer is different and capable of different things. The print size is 4×6 but you can select to print “multiple” and select “2 per page” for a letter size paper. You can also select to print just the odd or just the even pages if you only want the text side or the image side.
EDIT: If you are having trouble printing I am including a text only download and an image only download. Also since printers often reverse when trying to print double-sided, I am including a reversed image download. This might be helpful if you are printing on letter sized paper and 2 cards on each page.
How I printed at home
A brief explanation of how I printed my cards at home. This may not work for your specific printer depending on its capabilities or how it feeds/flips/prints on both sides/ etc.
- Printed on white letter sized cardstock
- Select “multiple” and 2 per page
- Select print “odd” only – this will print only the TEXT cards first.
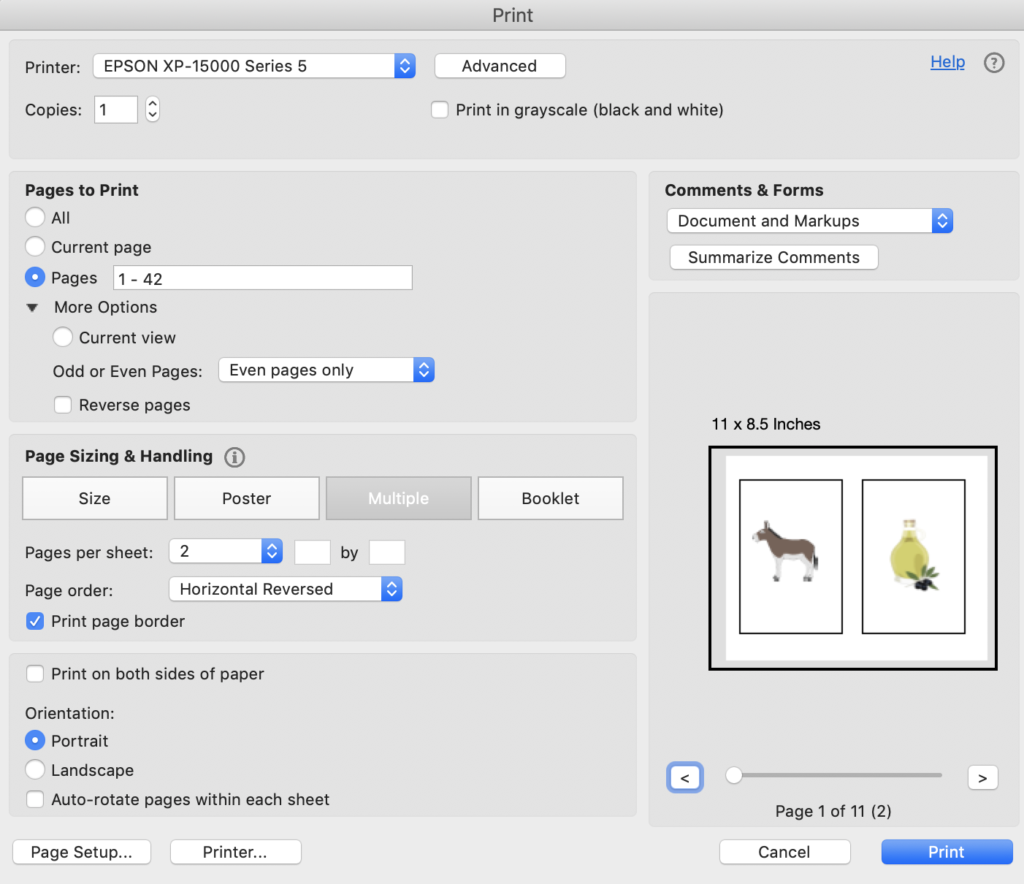
- Put those pages back in the printer to print images on the backside
- Select “multiple” again. 2 per page.
- Now select “even”
- Under page order “horizontal reversed” I had to select this so that the image would print on the back of the proper card.
Hopefully, those instructions and screen shots will be somewhat helpful.
Comments are closed.