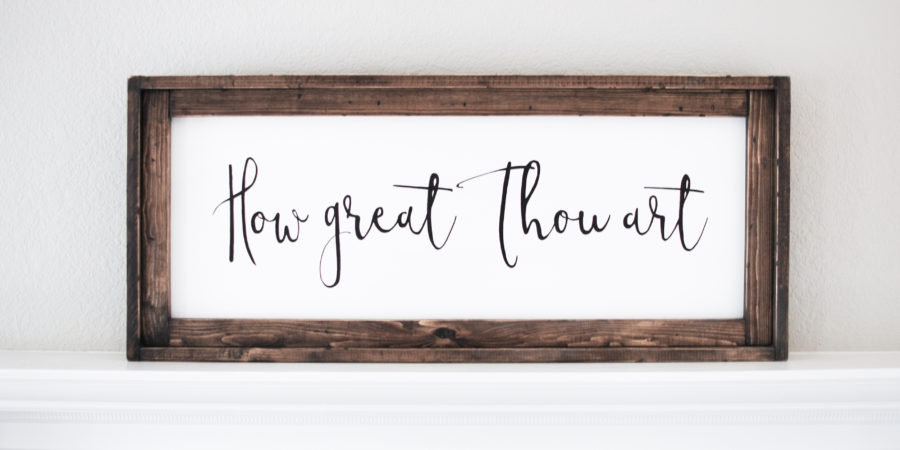
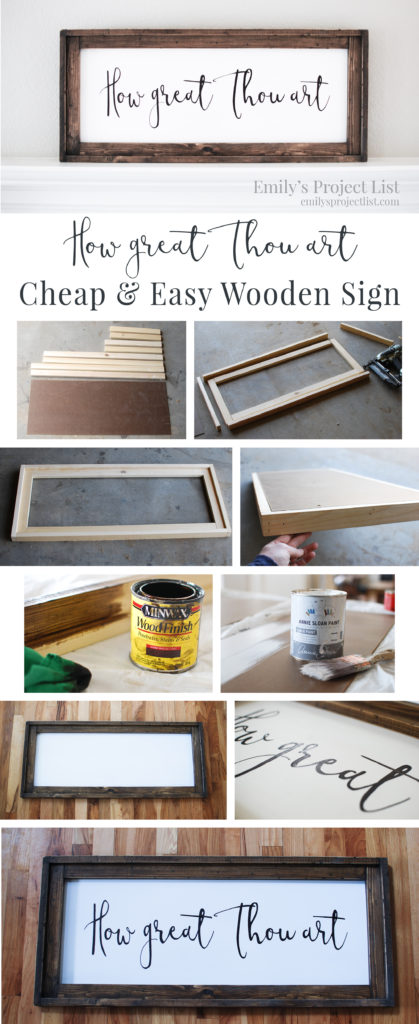
I am continuing my DIY Wood Sign Series with this next one, “How Great Thou Art”. This design is similar to the first sign of the series (which you can take a look at here: Great is thy faithfulness ) although this one is a bit cheaper to make and has a little more rustic and “heavier” frame.
You can make this sign, and any of the other ones in this series, any size you want by adjusting the measurements. This particular size uses two 1″x2″x8′ just perfectly. So, if you go larger than this you may need to buy more wood.
Cost:
This sign cost me about $5-7 to make! Awesome right?! I think this DIY wood sign will cost most people on average $11-13 depending on what supplies you have already. You can check out my cost estimate sheet here!
Supplies:
- (2) 1″x2″x8′ pine wood (like this:wood)
- Hardboard (like this:hardboard )
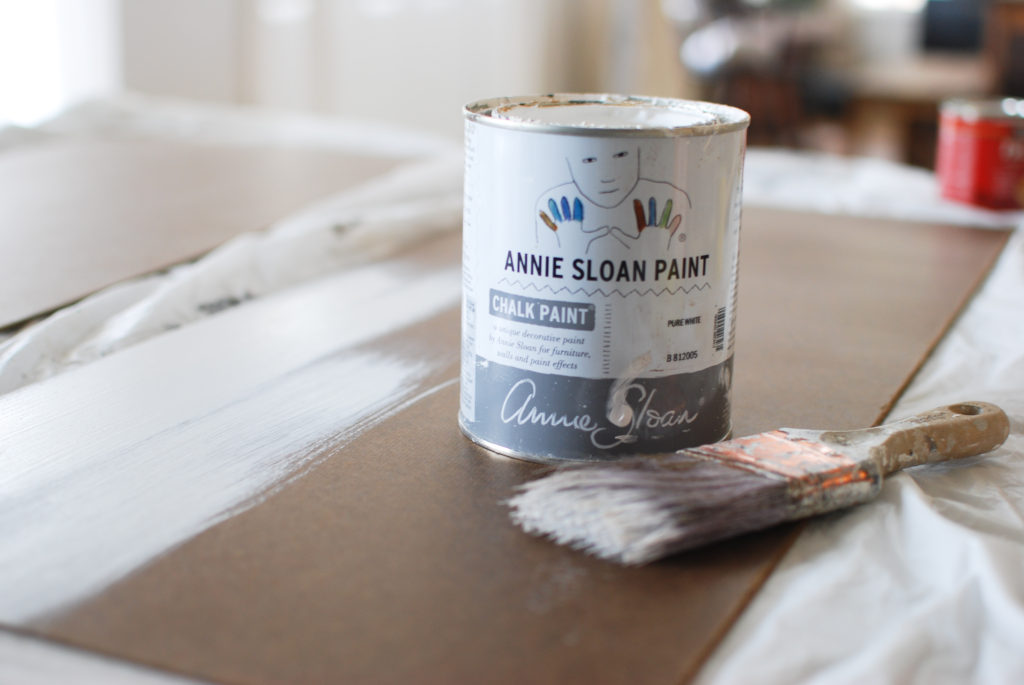
- Paint ( I used Annie Sloan Chalk Paint Pure White)
- Stain (I used Minwax Dark Walnut)
- Sharpie
- Template
- Finishing nails
- Wood glue/liquid nails
Tools:
- Saw
- Measuring Tape
- Hammer or Nail gun
- Pencil
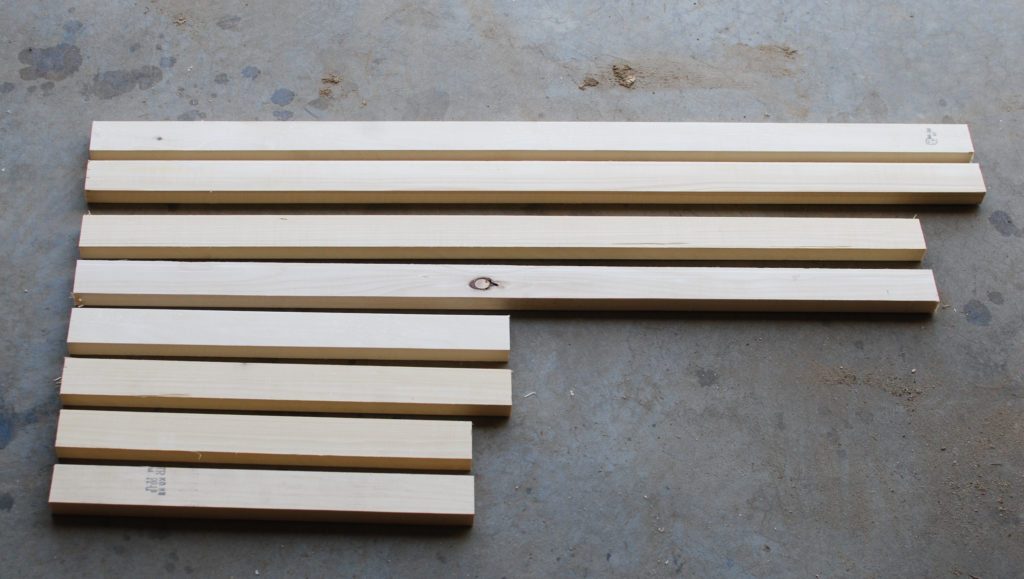
Step 1: Cut wood for frame
To utilize each 1″x2″x8′ piece, with minimal waste, cut one of each size from each 8′ piece. So, cut a 34.5″, 31.5″, 15.5″ and 14″ from one 8′ piece and do the same with the other piece.
- (2) 34.5″
- (2) 31.5″
- (2) 15.5″
- (2) 14″
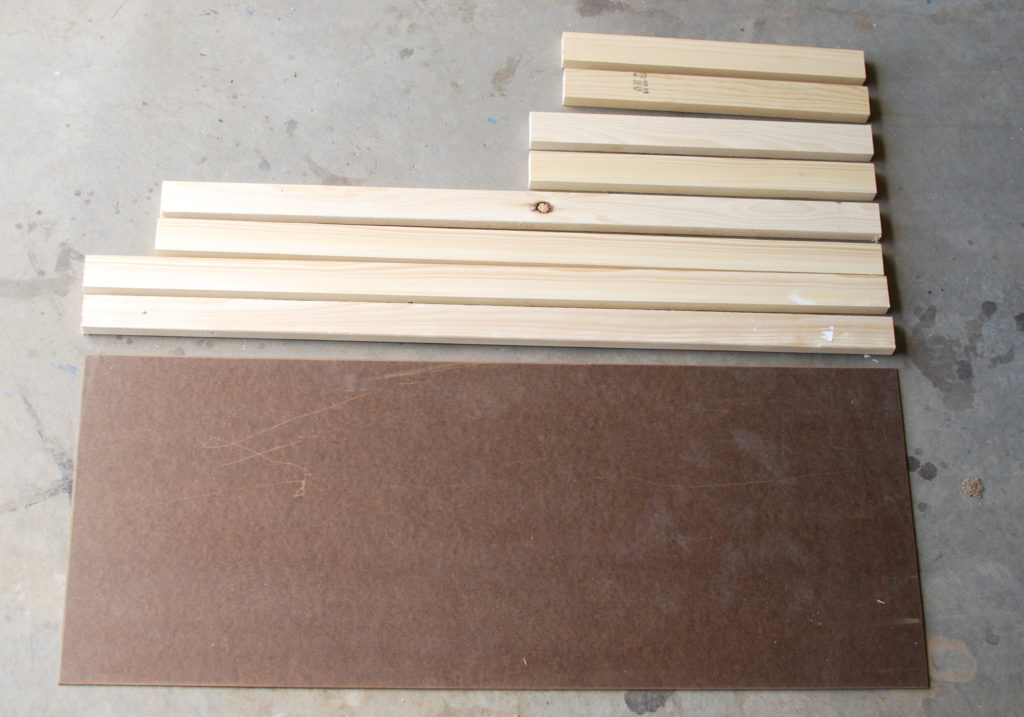
Step 2: Cut hardboard
14″x34.5″ If you do not own a saw that can cut your hardboard to size, most hardware stores will cut it for you when you purchase the 4×8 sheet.
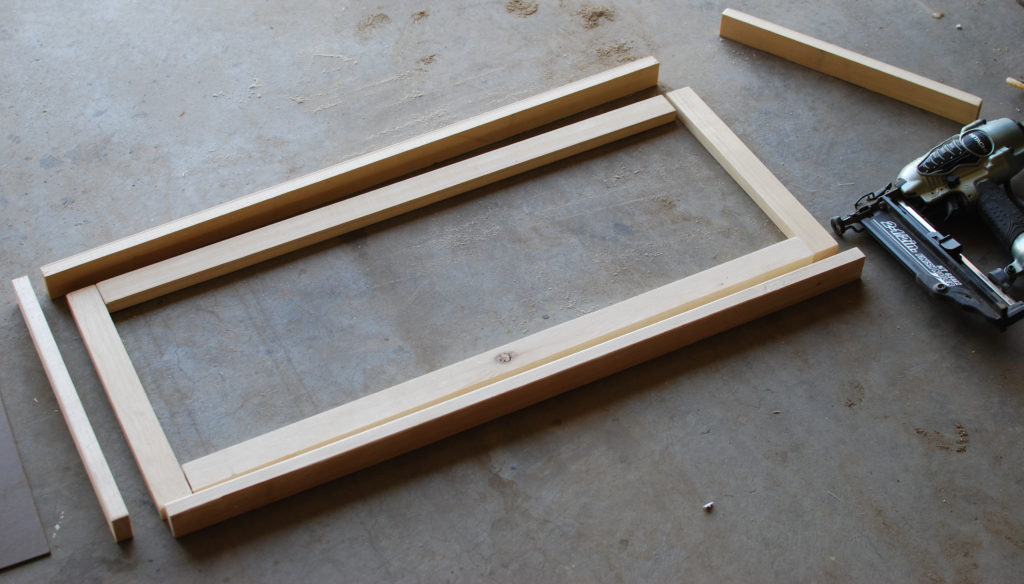
Step 3: Assemble “inner” frame
I usually do a quick sand of any rough edges before assembling any pieces. Lay out your “inner” frame pieces (2) 14″ and (2) 31.5″ like shown in the picture below. You can use a nail gun or hammer/nails to connect the pieces. I also added a dab of glue to the joint.
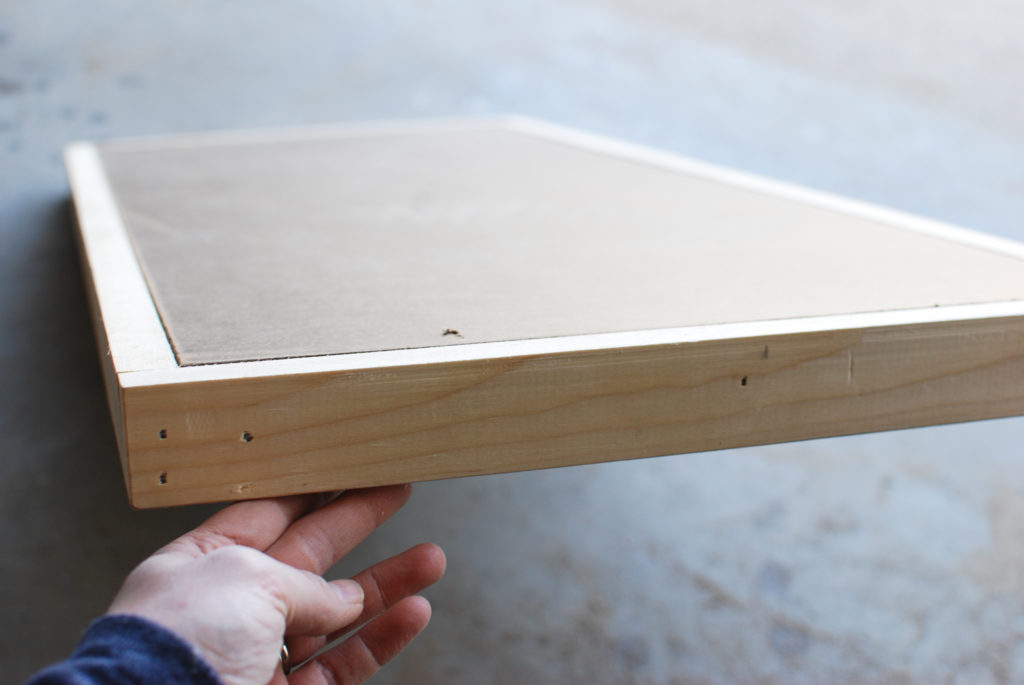
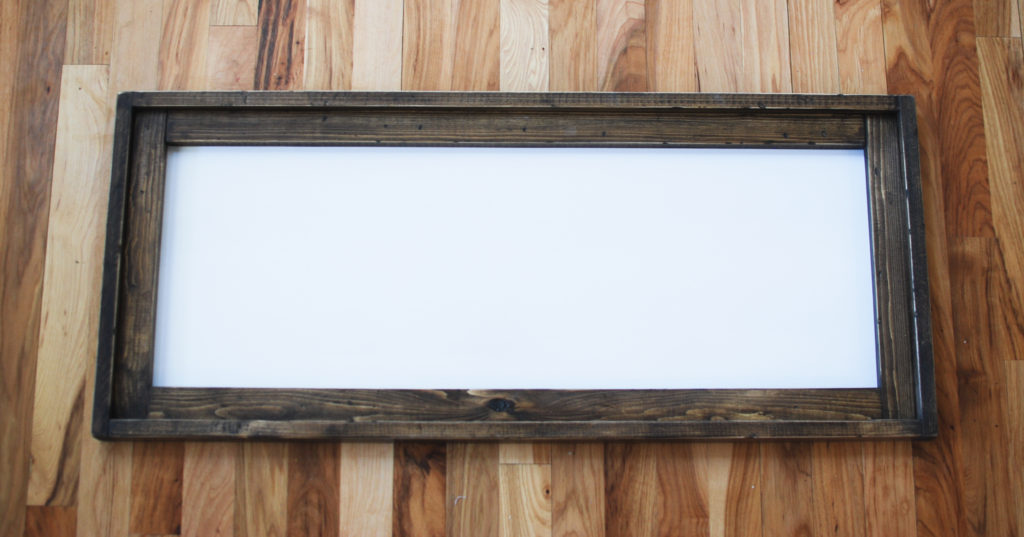
Step 4: Attach “outer” frame
Next you want to attach the remaining frame pieces. In order to create a space for the hardboard to go, lay the “inner” frame on top of the hardboard on a flat surface, then place your “outer” pieces around the edge. Keep in mind the inner frame pieces lay “flat” and these pieces will be on “side”. (just like you see in the image above and below)
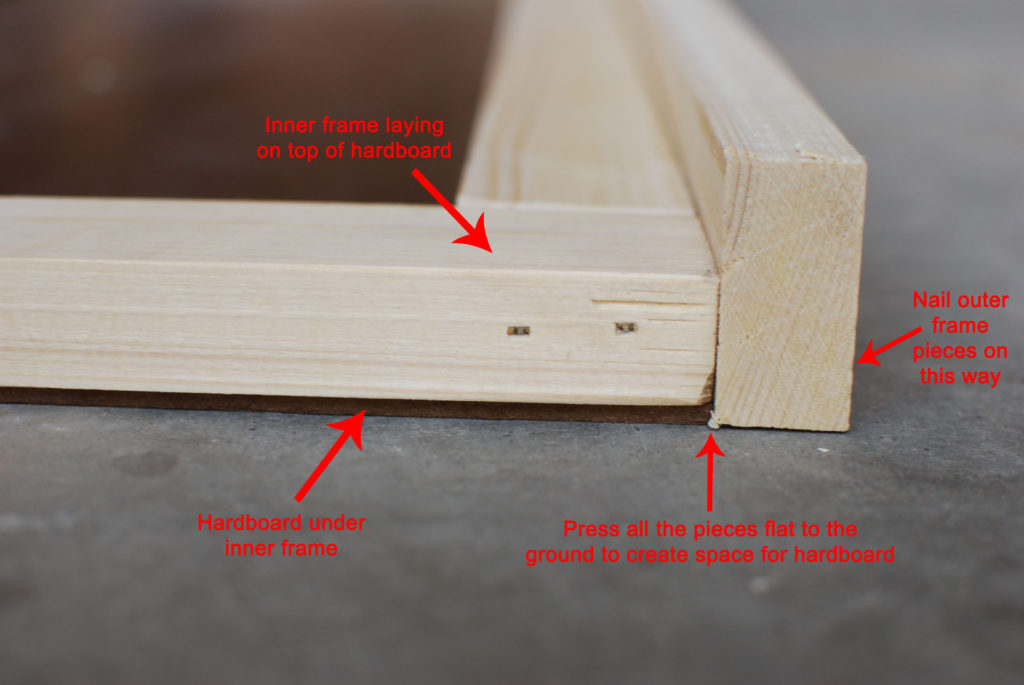
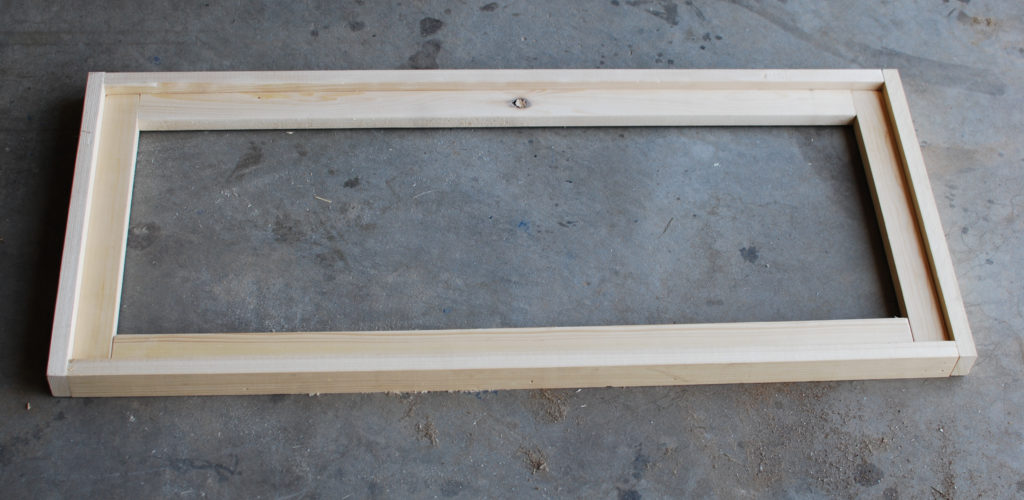
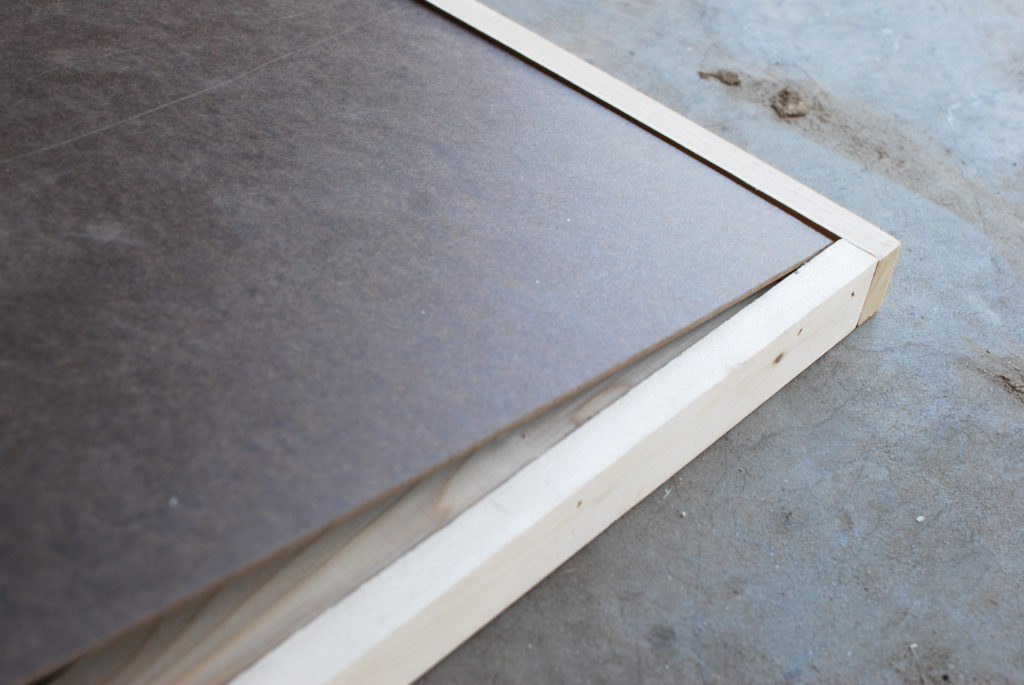
Use a nail gun or hammer/nails to attach the pieces around the frame. When you are done it should look like the pictures below. There should be a nice spot for the hardboard to slide into and create a nice smooth back to the sign.
Step 5: Stain frame
To get a more rustic look, I distressed my frame a bit before staining. I hit it with a hammer in random spots, scratched it with some tools, etc.
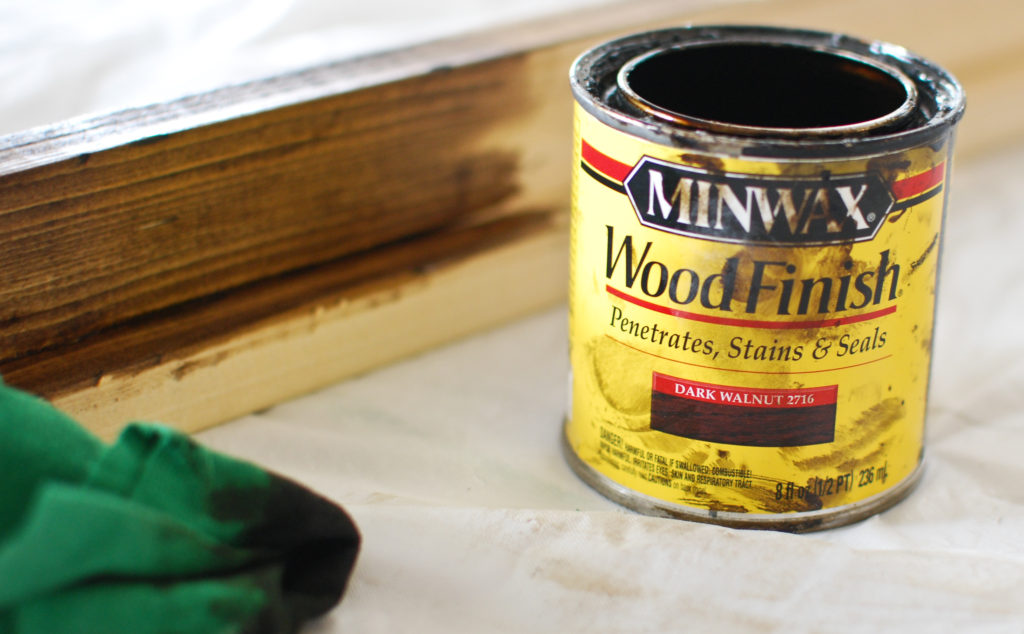

I applied one of my favorite stains, Minwax Dark Walnut, with an old t-shirt like I always do. If you want to watch a video on how I apply stain you can check that out here
Step 6: Paint
While you wait for the stain to dry on the frame, paint the hardboard. I painted mine with white chalk paint. You could also use spray paint or any latex paint you have laying around.
Tip: If you don’t have any spare paint laying around, consider getting a sample paint from the store. It is the perfect size for a project like this, it’s cheap and you can get any color you want!
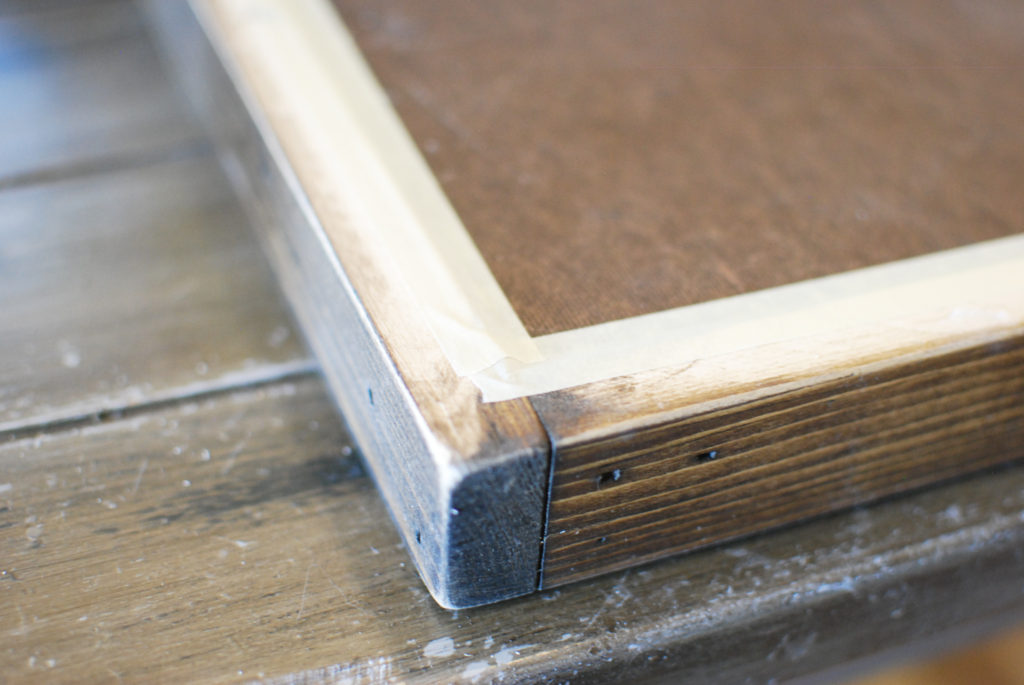
Step 7: Attach hardboard
Last step before adding your words, is to glue the painted hardboard to the back of the frame. After I glued my edges down I taped in a couple places until the glue was dry. Make sure you check the front of the sign and see that no glue squeezed through to the front.
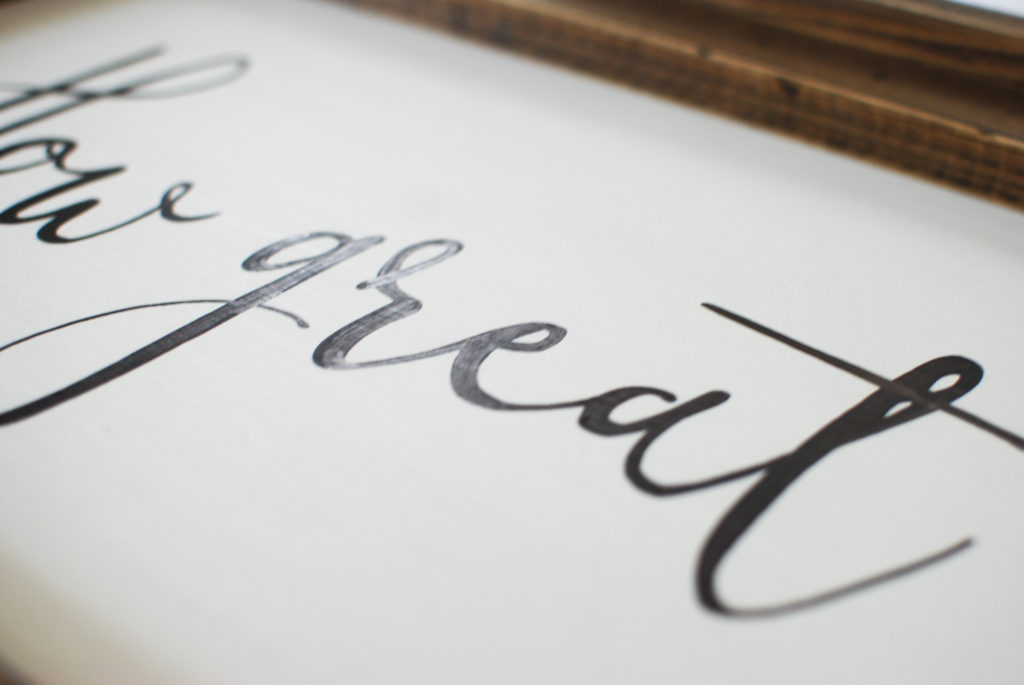
Step 8: Add words!
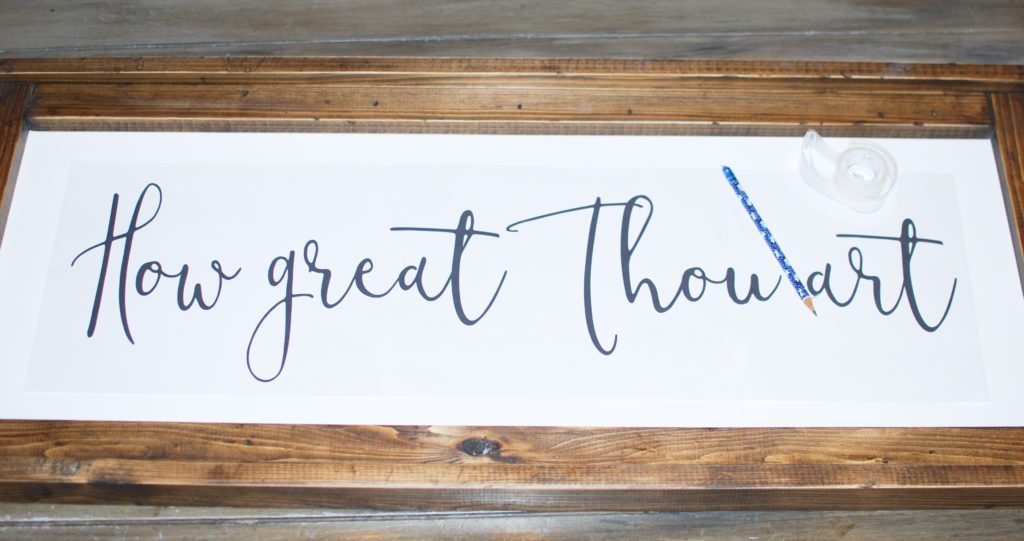
You can print off any phrase or words you like or you can use the same ones I did. I usually use my cameo silhouette to make stencils or cut vinyl letters, but for this sign I used the printed paper and tracing technique.
- Print off pdf files: Page 1 Page 2 Page 3
- Tape together all three pieces of paper
- Center and tape to hardboard
- Follow the instructions in the video.
Tip: If you use this technique you may need to trace the letter outlines on the backside of your paper print out before you trace over the top. The reason for this is that hardboard is…hard and you may not see the indention as well when you trace as you would on other wood surfaces.
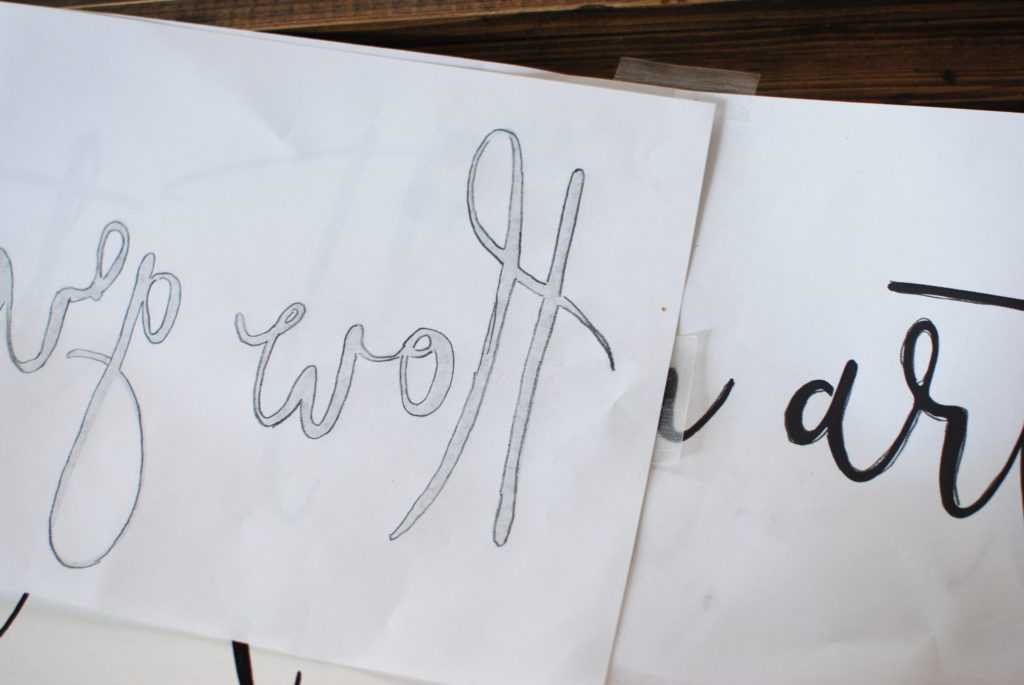
You can see in the above photo I traced on the backside of the paper printout to help when I taped the paper down and traced over the top on the right side.
That’s it! Easy!
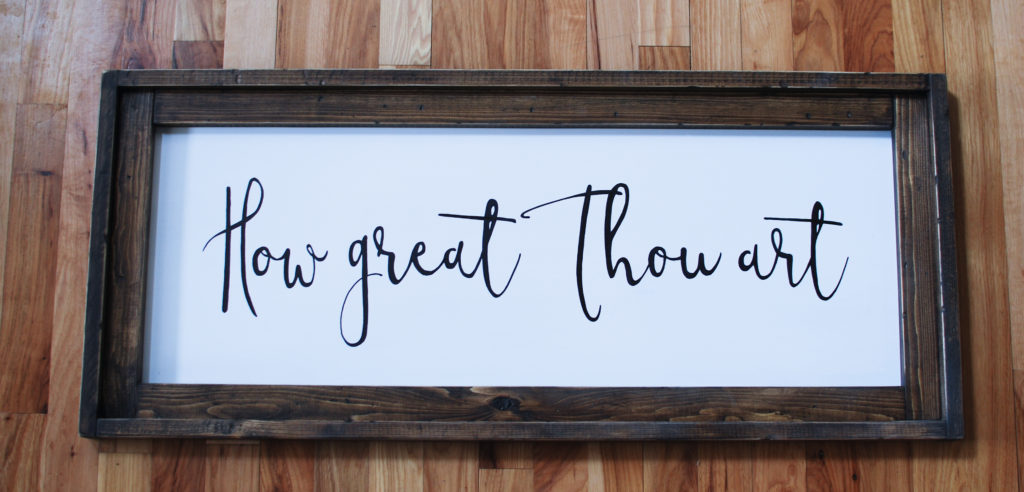
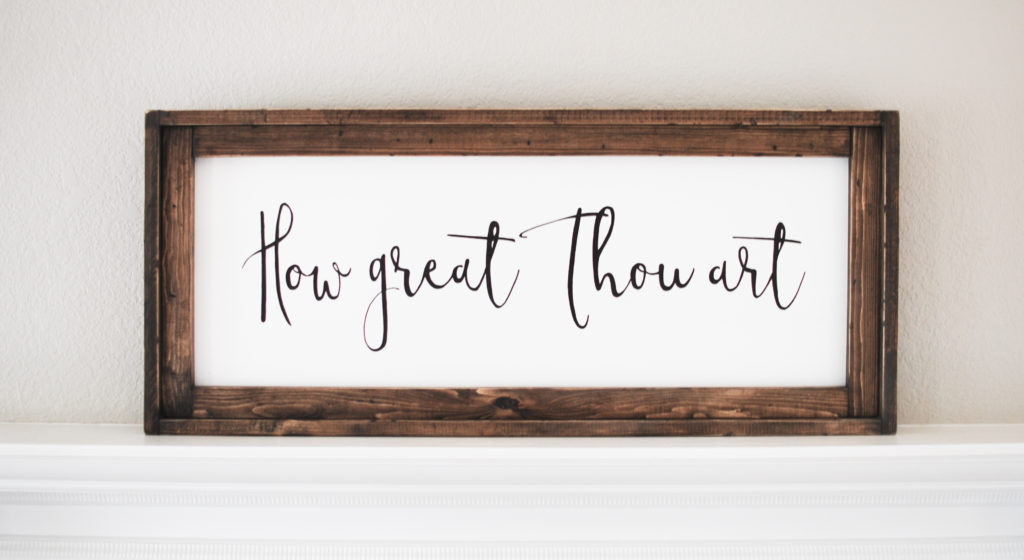
Enjoy! Thanks for looking! If you made your own DIY wood sign I would love to see how they turned out! You can post pictures on the facebook page: Emily’s Project List Facebook Page
Have a great week!!!
Great job & very informative. Did you seal the sign with poly when done??
I did not seal it with poly, although you could. I usually prefer using a polycrylic for these type projects. A spray polycrylic would be a great option if you wanted to add a sealer.
I have been wanting to try these type of signs for months and have been very intimidated! However, after reading your very informative post, I’m really excited to give it a try!
Thank you so much for taking the time to share with us!
I am so glad! So many projects are intimidating until you try them!
When building a sign similar, but with different sizing, do you still use the same calculation for the frame?
If I understand you correctly, yes. You can adjust the frame design to any size dimension you need. And then once you build the frame you can cut the hardboard to fit. Let me know if I did not answer the question. Let me know if I can help you figuring out a specific size you need.
Emily, I am also looking to make a difference size. Could you help me figure out the dimensions?
Yes I can. What is the size you would like it to be?
Hi! I was wondering how I’d adjust the measurements to make a sign that is about 22″ x 15″ ?
Okay! If you use 1×2 material which is actually (.75″x1.2″) Then you should need (2) at 20.5″ (2) at 15″ (2) at 13.5″ and (2) at 17.5″
Love this post! I’m definitely going to be making signs this weekend.
Question: How much space do you leave around the perimeter of the wording? (i.e. 1″ space around plus 1×2 pieces, etc.) Thanks in advance!
Hi! Sorry for the slow reply. So glad you found the tutorial helpful. I don’t have a set measurement for how much space I leave around the edge from the wording. If you are using the printable template I would measure the center of that and the center of the white space of the sign and line up the center marks. Hopefully that makes sense. If you are trying to write “How great Thou art” from the inside frame 1×2 to the bottom of each “o” in How and Thou it is 4.5″ Does that make sense?
Yes, thanks!
Great Explanation!!
Creativity along with practicality
Thank you for this great tutorial. I am excited to try this very soon. The hard part will be to choose a saying, I may use yours, if you don’t mind. What font did you use for this? Is it a standard font or did you have to download it from somewhere?
Thank you!!
I am so glad you found this helpful! Yes you can use this saying. The font style is called Modesty. You can download for free from dafont.com
Hi there! Thank you so much, quick question- did you prep the hardboard with a primer or anything before the chalk paint? Thanks so much in advance!
I did not use a primer before the chalk paint. You could use a primer but I don’t think it is necessary. Thanks
I love your posts thank you.
Thank you so much!
Thanks for the great tutorial! I was wondering what are the total dimensions of this sign?
Glad you found it useful. It is 36″ long and 15.5″ tall
Thank you for these instructions! I am making one for my friend..question though..whatbprogram did you use to type out how great thou art and what size of font did you use?
Hi! The font name is “modesty”. I am not sure on the size used. I believe I typed and printed from pages but I can’t be sure. I will try to do some digging and find out for you.
Hello! Love this! Would you have a cut list for a 50”by 30” project by chance!? Thanks!
Hi! Sorry to be slow responding! If you follow the same basic layout and use 1×2 material (actual measurement: .75″x1.5″) I believe this would be your cut list:
OUTER LONG SIDE: (2) 48.5″
OUTER SHORT SIDE: (2) 30″
INNER SHORT: (2) 28.5″
INNER LONG: (2) 45.5″
FINALLY! I thought I was crazy..I made my first sign two weeks ago using hardboard…the brown wall paneling…I loved it. Finally someone else that does this too and with great instructions on how to make a different frame!
Yes I love using hardboard! Cheap and smooth finish. Glad you enjoyed the tutorial.
Thank you so much for this tutorial! I wanted to make signs and frames like this but did not quite know how! I am so greatly appreciative! Thank you!! ❤️❤️❤️
You are welcome! Glad you found the tutorial helpful!
Hi! I can’t wait to make these signs.
I was curious what my cut list would be if I want the final sign dimensions to be 20 inches by 10 inches and how big for the hardboard.
Thank you!
Hello! I am assuming you are using 1×2 pieces of wood. Actual dimensions is .75″ x 1.5″ So if you want the final frame to be 10×20″ you will need…
2x 18.5″. (20″ minus the thickness of 2 side pieces .75″ and .75″ = 18.5″)
2x 10″
2x 15.5″ (18.5″ minus thickness of 2 side pieces 1.5″ and 1.5″ = 15.5″)
2x 8.5″
And the hardboard should be approximately 8.5×18.5 but honestly can be a bit smaller than this to create some wiggle room.
when you did this did you use a paint marker or actual paint? or markers? what did you use to make the letters black? Thank you! this is a great tutorial! <3
If I remember for this sign I used a black sharpie paint pen. I have used just a regular sharpie for different projects, although I find the paint pens are a little more vibrant.
Hello! I am doing this sign and am at the tracing the letters part and I cannot get an indention in the hardboard! I am pressing super hard. I don’t understand what you mean by tracing the back side of the printed paper – how does that help get an indention in the hardboard? Thanks for your help!
Hello! Yes it can be hard to get an indentation in hardboard vs real wood. By tracing the backside of the printed paper you hopefully get some of the pencil graphite on the paper so that when you trace over it on the right side it presses that down and leaves a slight outline. Chalk may also work? This may not be helpful if your background color is darker and you can not see the pencil. Hopefully that makes sense. Good luck!