A couple of weeks ago I started working on our master bedroom update. I have been wanting to make some small changes for quite some time.
In fact, when I was pregnant with the twins, I was absolutely convinced that our bedroom ceiling HAD to be repainted before they arrived. Our walls were a very light gray/almost white color, while our ceiling was a yellowy-cream. I feel strongly that ceilings should be white. Well, the twins are 20 months old now and I just finished the ceiling last week! Woo-hoo!
I also decided I wanted to paint the walls a new color. Usually, I stay away from any actual color and go for a neutral, but decided to be brave and try a little color in our room. I had painted our master bathroom Sherwin Williams Sea Salt about 6 months ago and decided to try it in our bedroom. I LOVE how it turned out!
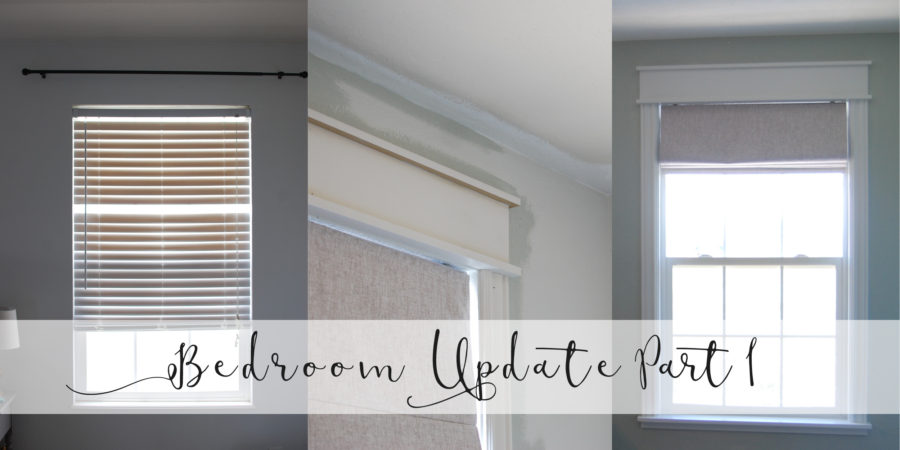
Adding trim to our windows has also been on my list since we moved into our house! All of our window have a white sill, but no casing or trim. I feel like trim can go a long way in adding interest to a room and giving a more complete look. And this is a relatively easy project to do, with a pretty big impact.
I don’t want to wait until I complete everything before sharing on here the final reveal. So you can enjoy our bedroom update in parts…
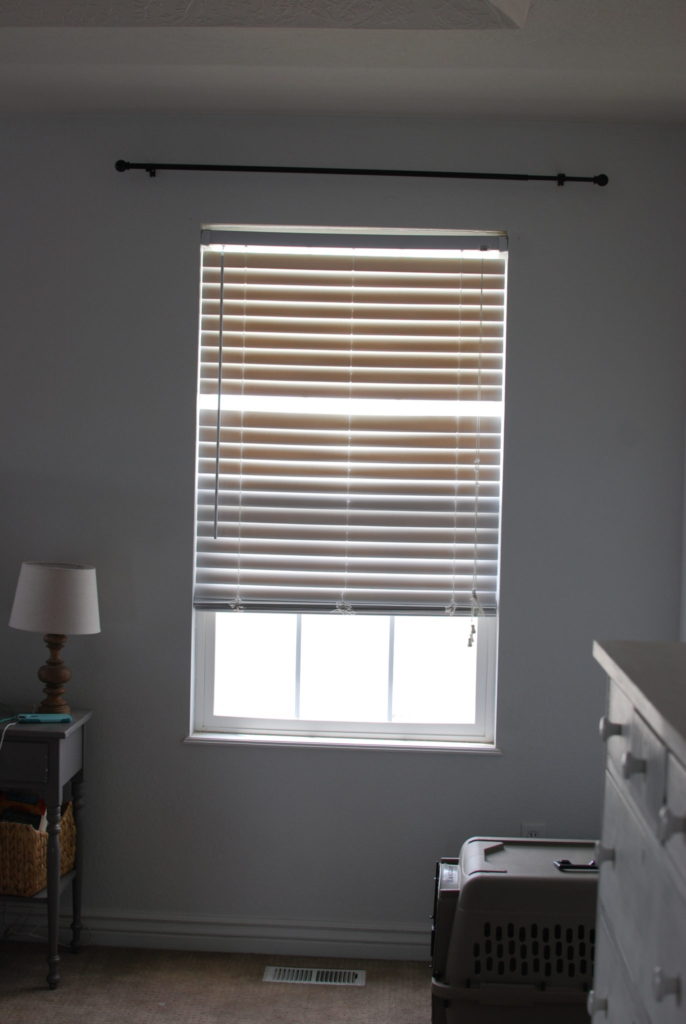
A couple BEFORE photos to get started…
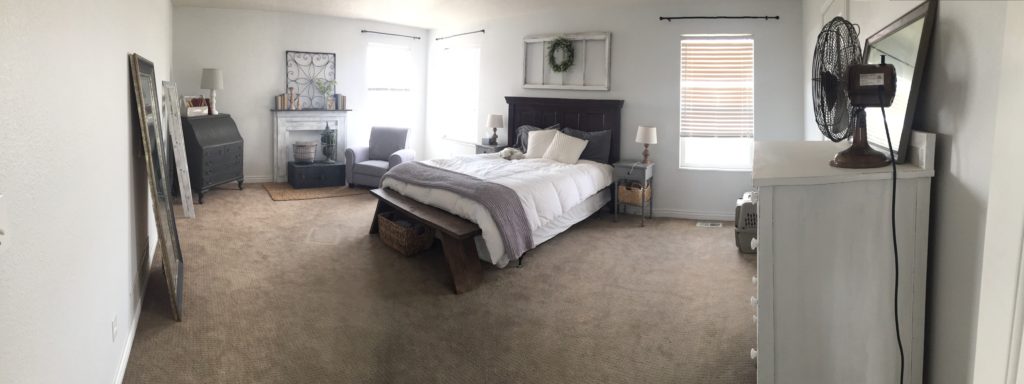
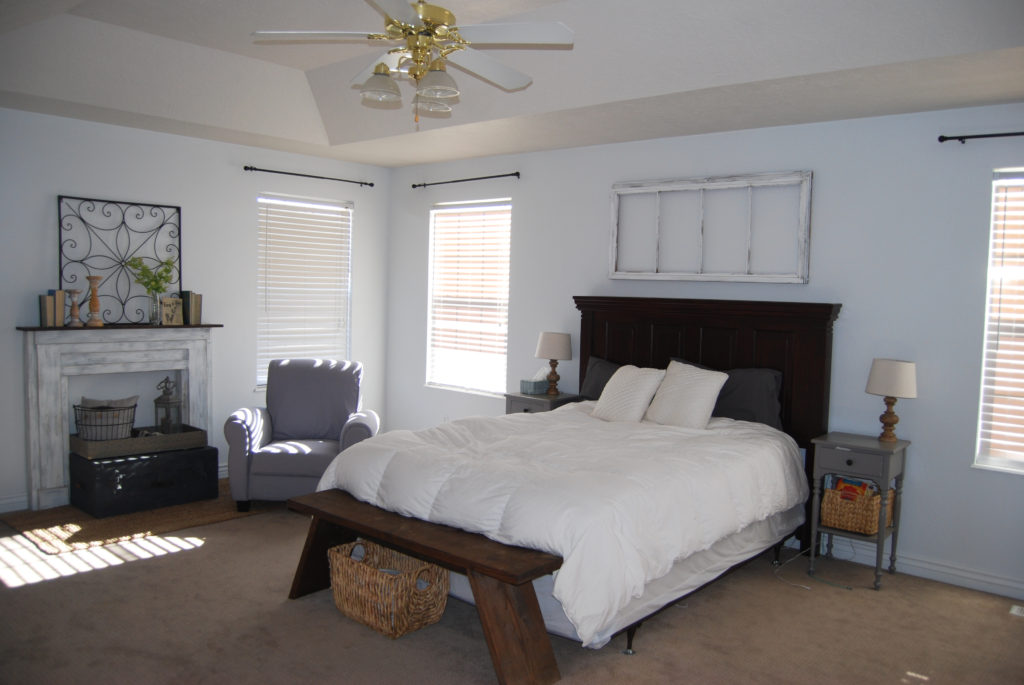
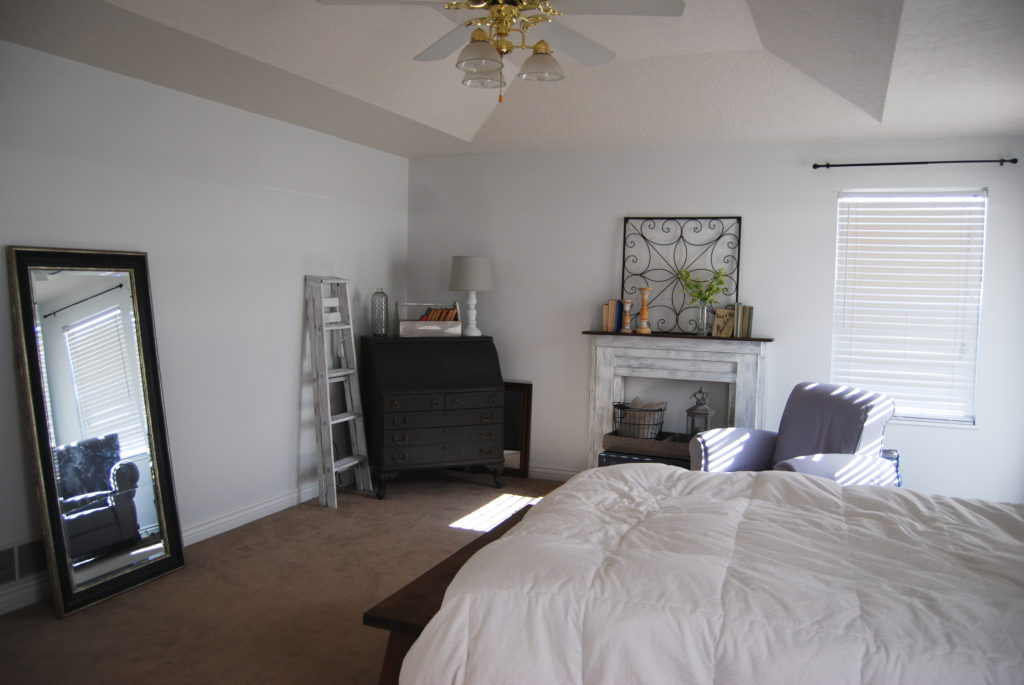
The room on a whole is not in bad shape, I mostly just want to change it up a bit. The windows however…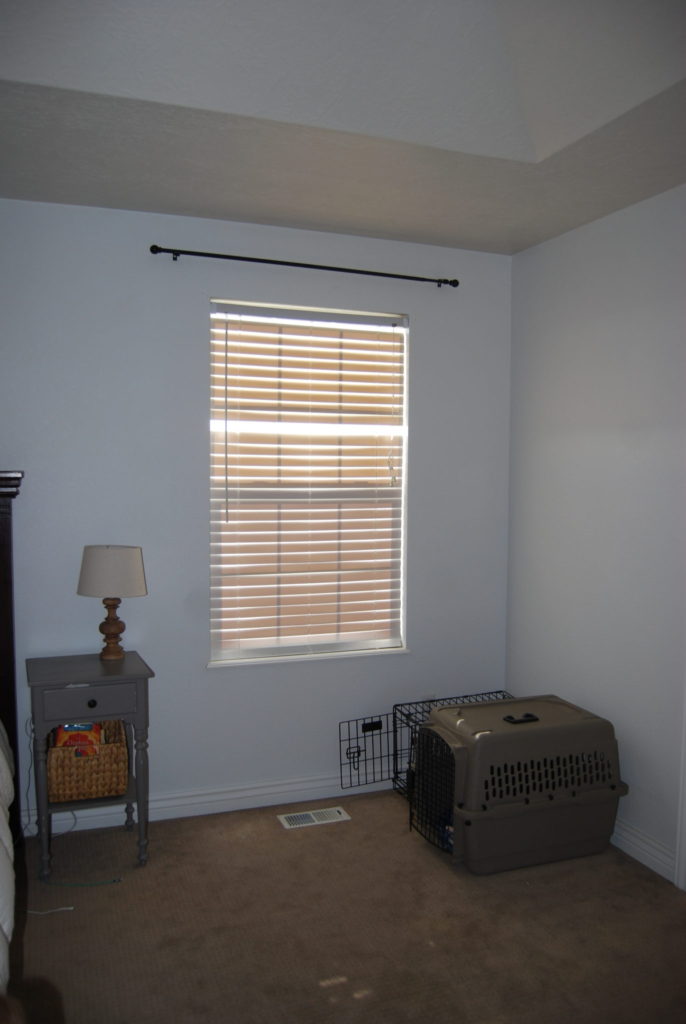
 I am not going to give you a complete tutorial on how to add trim to your windows, because there are already many great tutorials out there, and everyone’s windows are a little different. Instead of a full tutorial with step by step instruction, I am going to give out some of the basic steps.
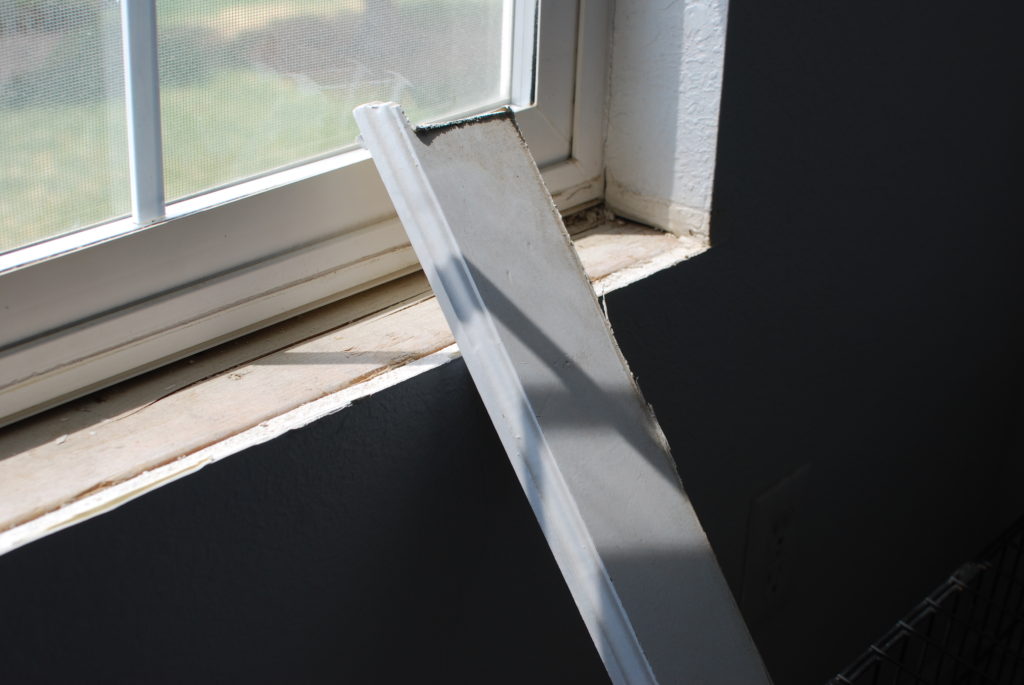
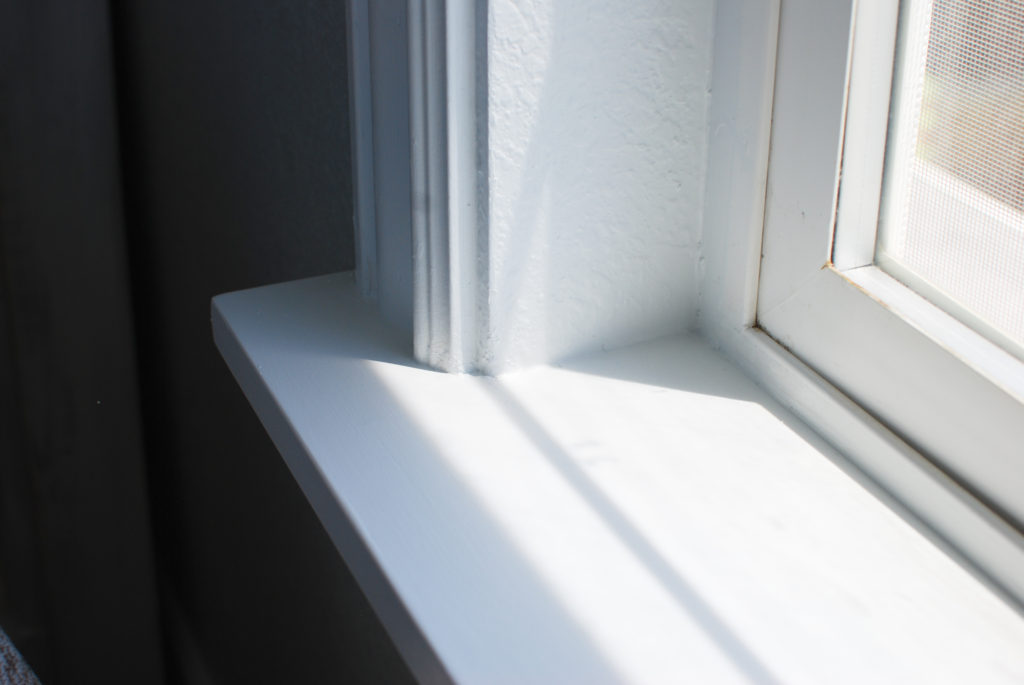
1. Remove any existing trim or sill. Mine had a single board as the sill. Use a utility knife to score around the edges (to cut through the paint and existing caulk) then use a flat bar and hammer to pop it out.
2. Determine the style/look you want for your trim, make measurements and install with a nail gun.
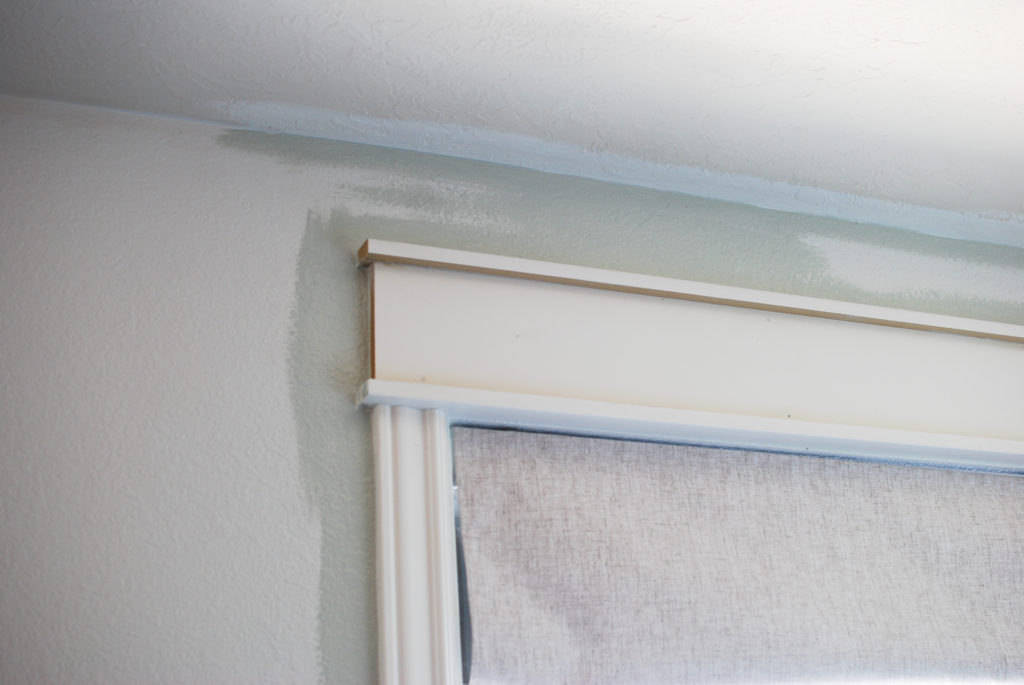
3. Caulk. Adding caulk makes your newly installed trim look professional and seamless. It is amazing what a difference this step makes. I added caulk along all the edges and corners.
4. Paint!
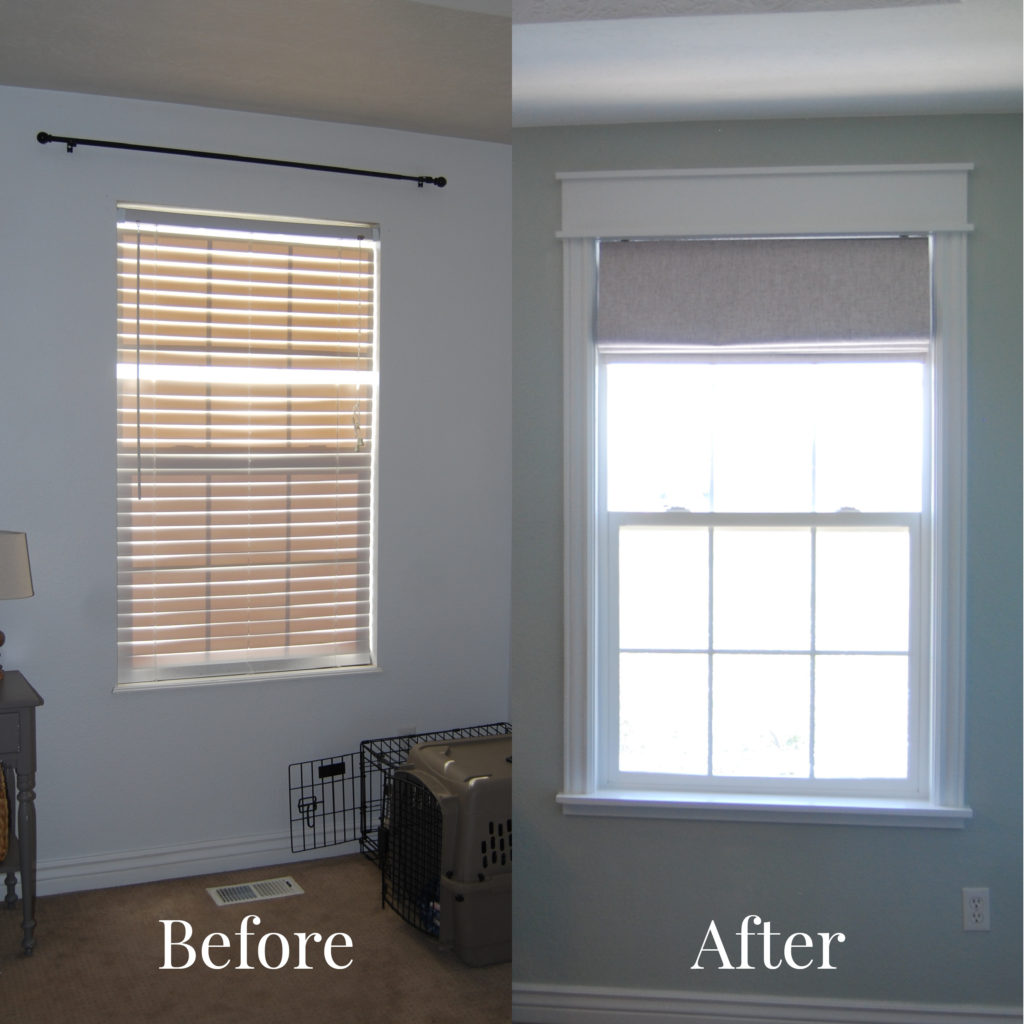
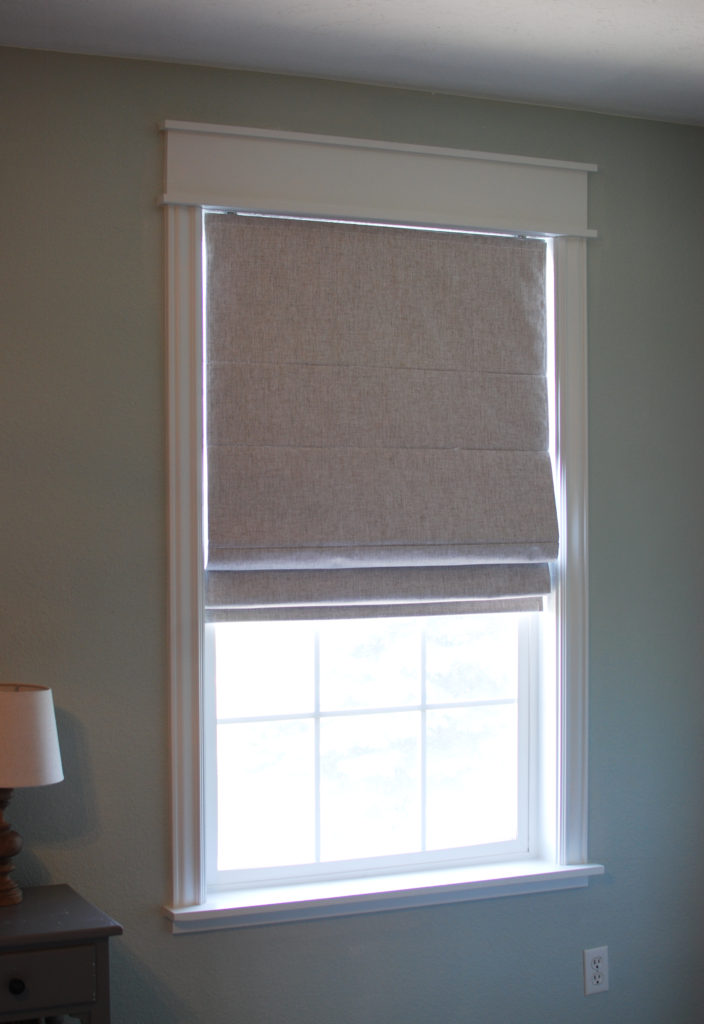
You probably noticed in the above photo that I painted the walls! After I initially put up the white trim, it did not really “pop” like I had hoped against the existing wall color. I needed a little more contrast to make the trim really stand out.
I actually really enjoy painting so this was a fun project for me. What I don’t like about painting is the chaos that occurs while in the middle of a paint job. Furniture moved to the center of the room, paint brushes drying at the bathroom sink, drop clothes all over the floor, etc.
You can see a little of that chaos in this video I shared on my facebook page. painting crazyiness
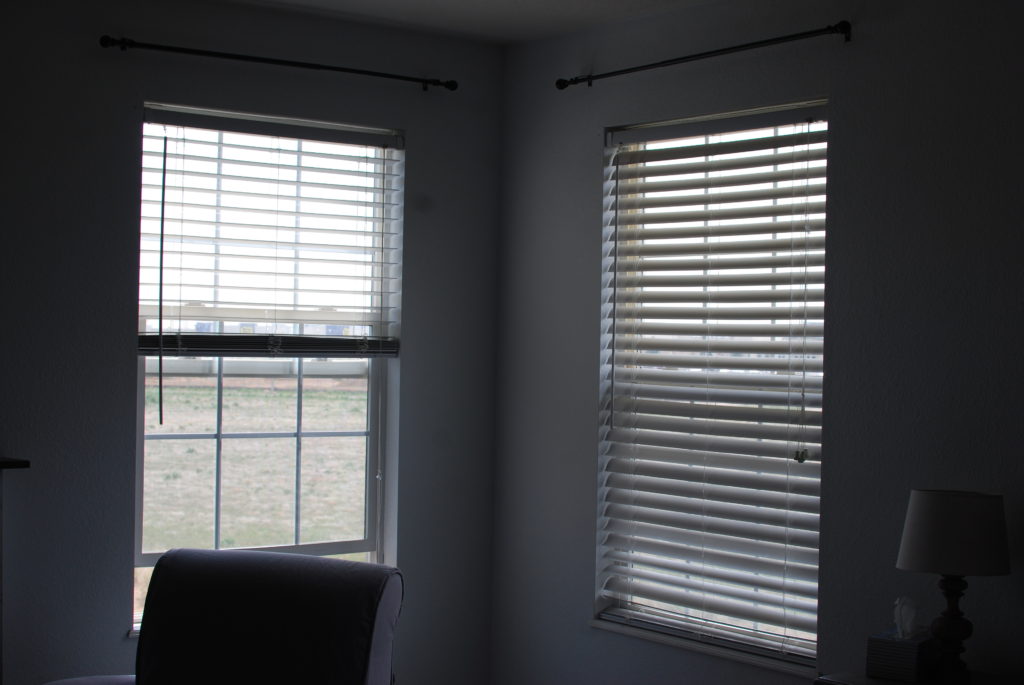
Below you can see that I had not painted the window trim yet but had just started to paint the walls and the ceiling.
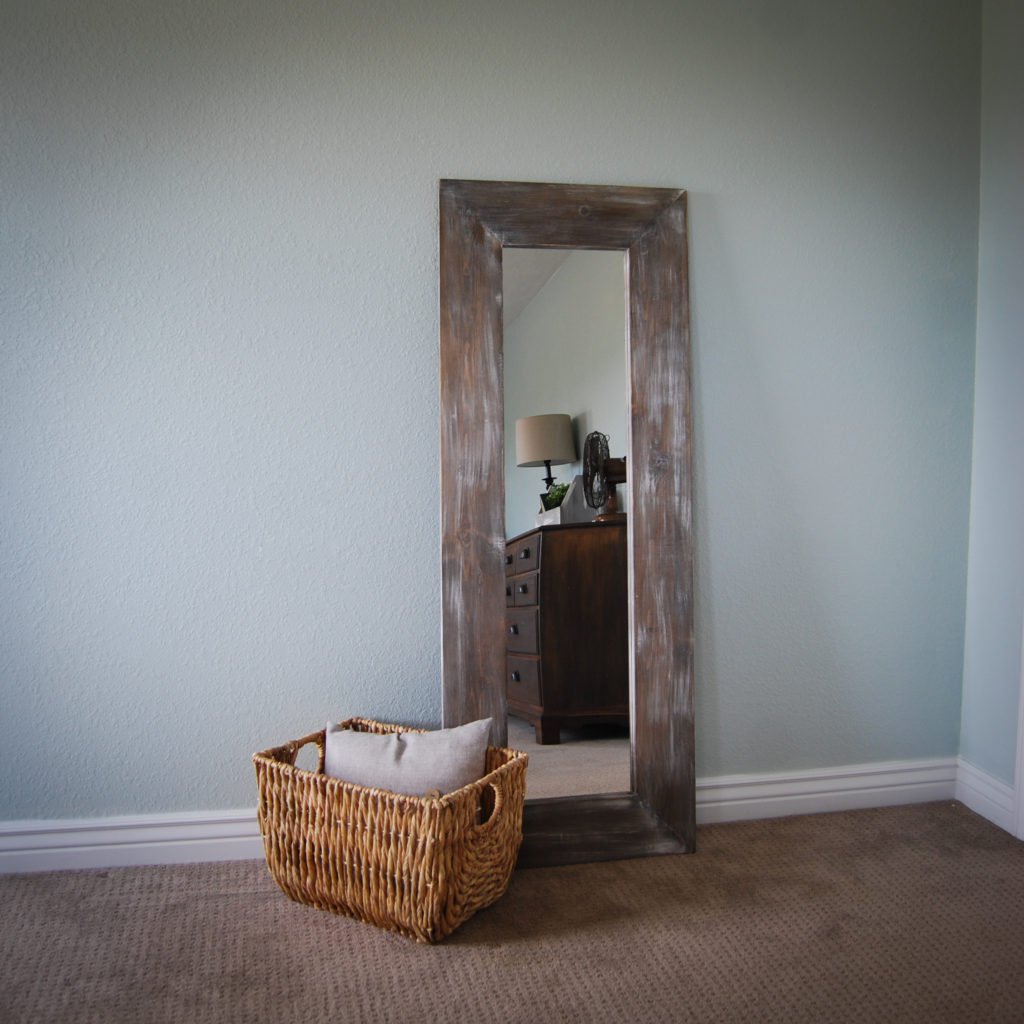
You may notice in the above picture that this is not the same mirror in the before pictures. One of my children had run into my old mirror, creating a huge crack. I replaced it with a cheap mirror and DIY frame.
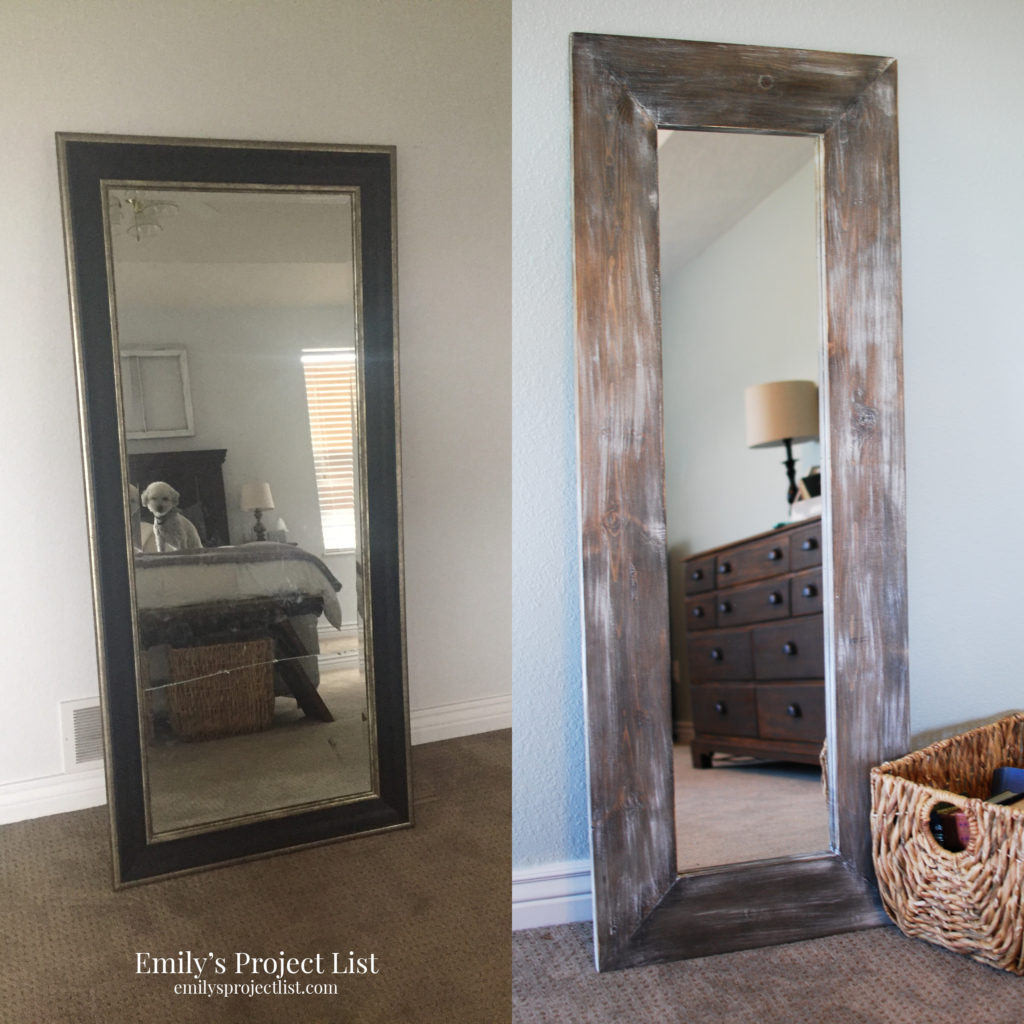
You may see a little sneak peak at my “new” dresser in the mirror reflection. You will see more on that dresser later!
Stay tuned for the rest of our master bedroom update! Hopefully, this blog will encourage you to start working on your own updates, that maybe you have been holding off on doing.
Thanks!
Emily
I have windows just like these without trim. Is there a way I can just add trim without adding the jamb?
Thanks