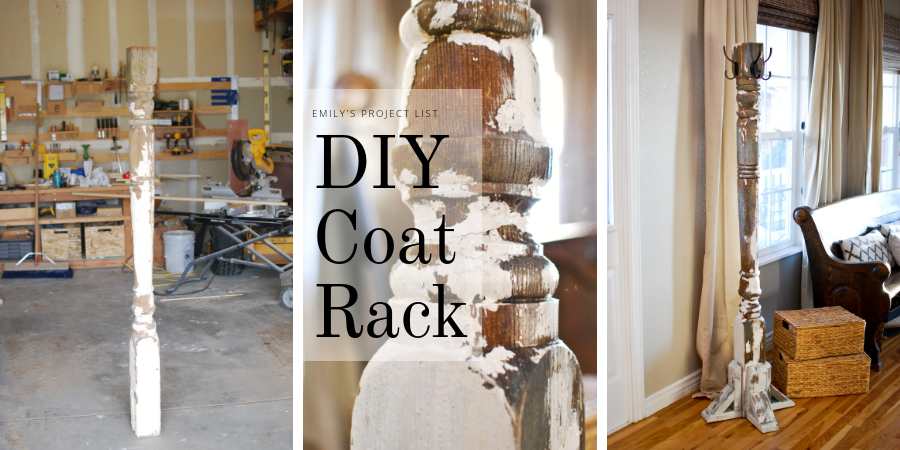
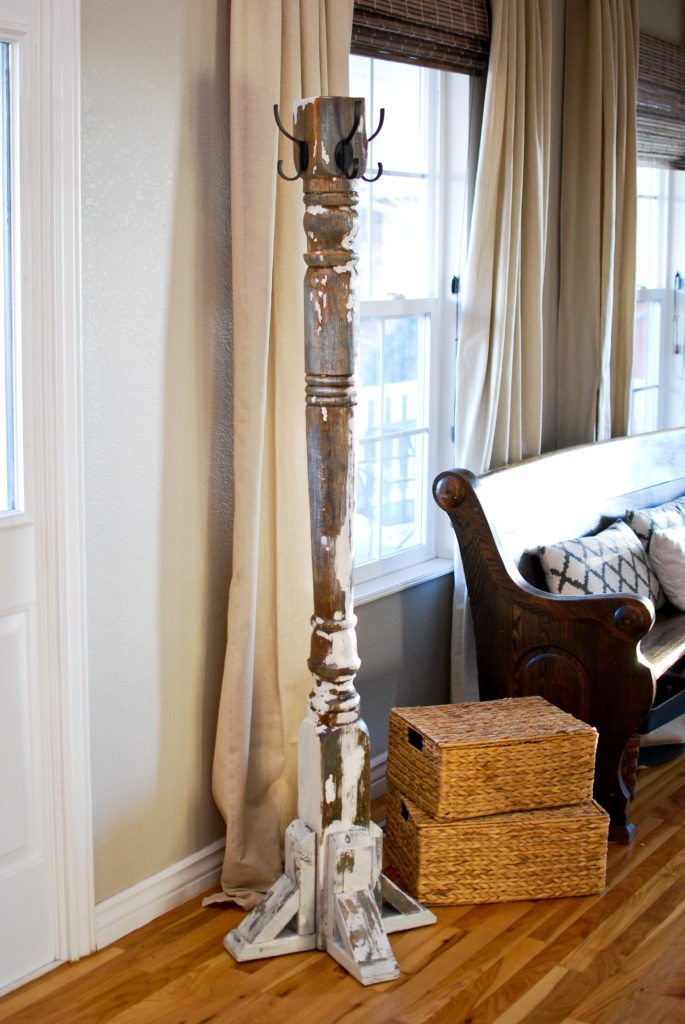
Finding a new purpose for something old is always exciting to me! I was able to repurpose an old post into a DIY Coat Rack! We always need more places to hang coats, bags, hats and such for when we have friends and family over.

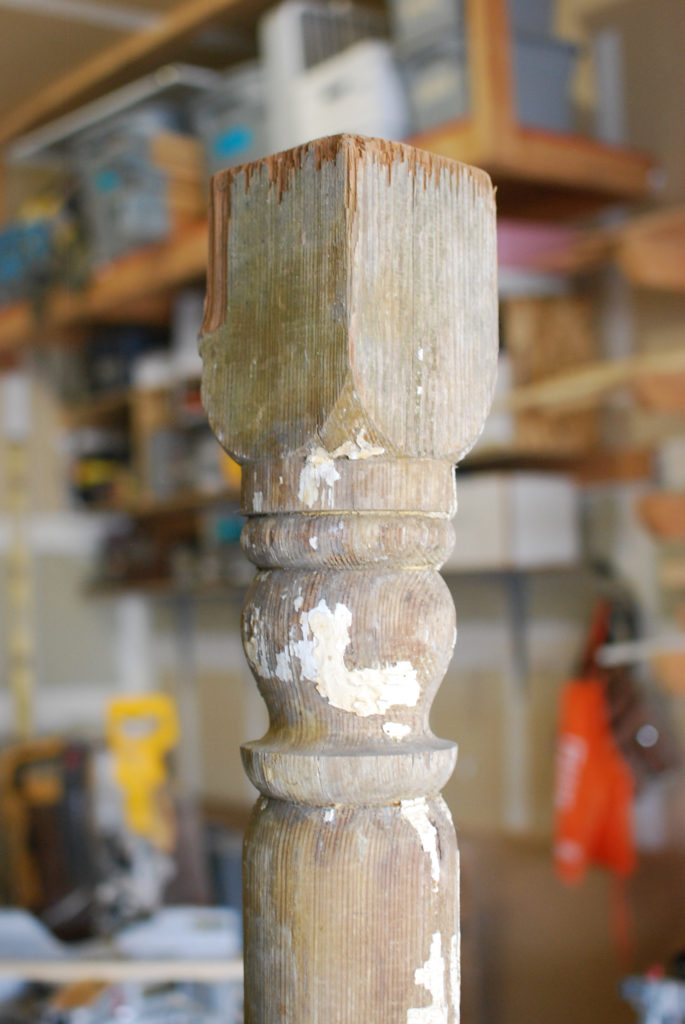
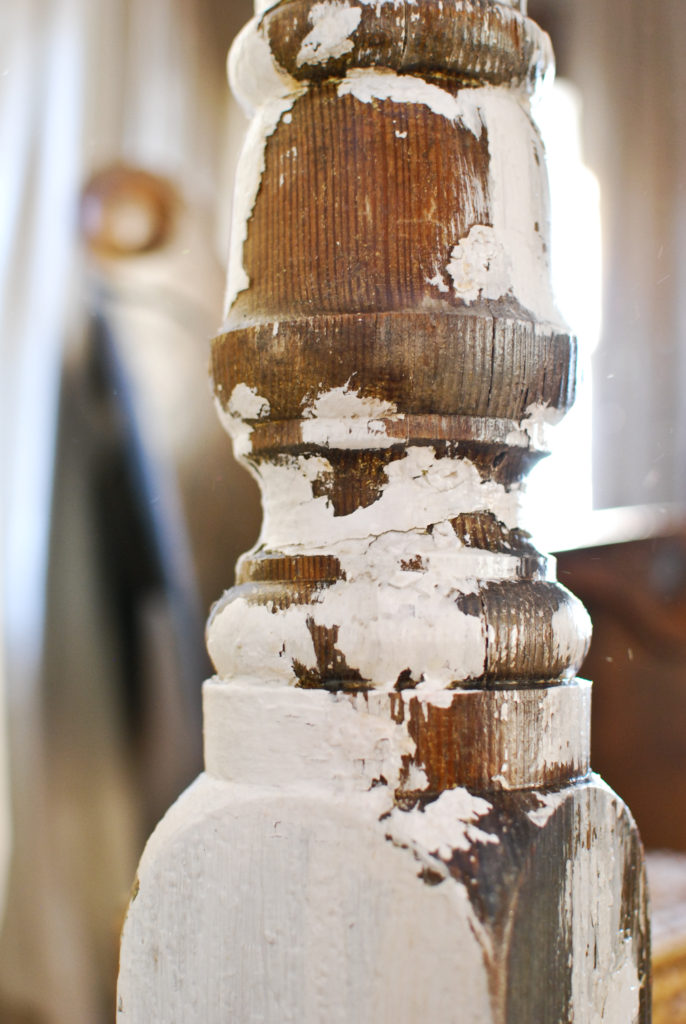
Several years ago, I snagged two large wood post at a garage sale, not knowing at the time what I was going to use them for. They were wonderfully worn and covered in chippy paint. Perfect…for something…like a DIY coat rack!
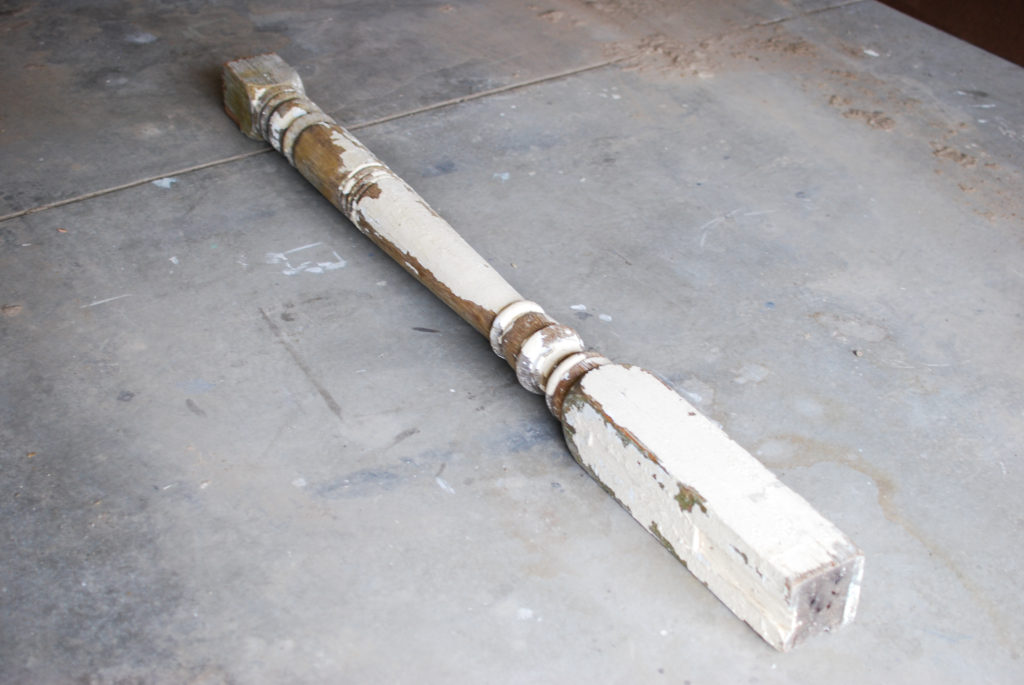
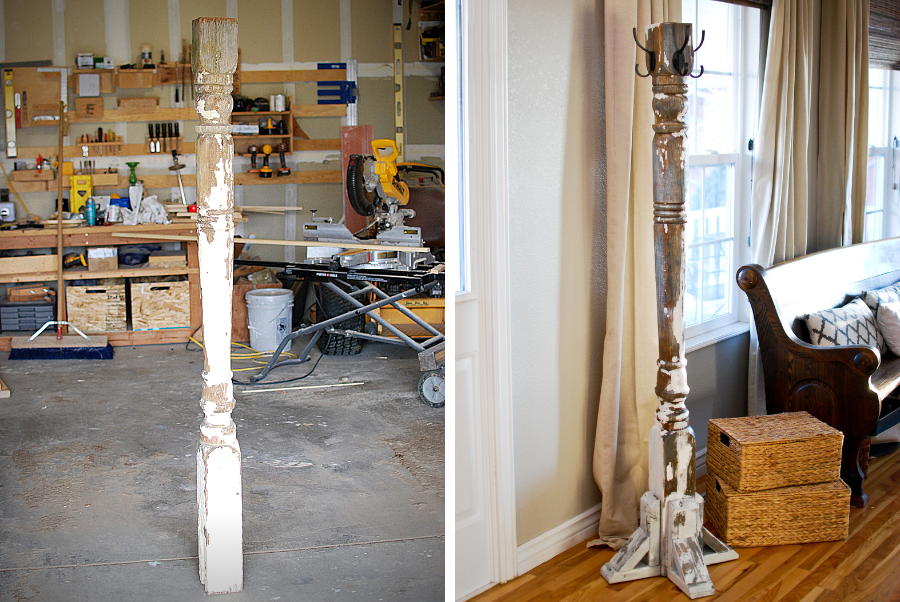
Before
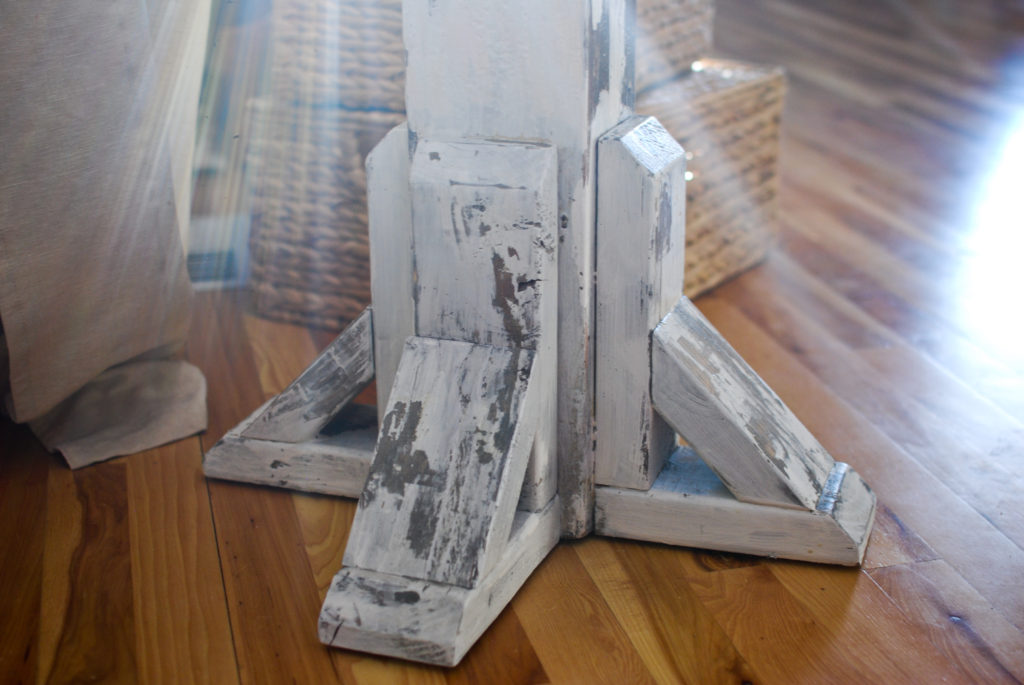
Make a base from scrap wood
To make the base legs, I cut down some 2×4 scraps, glued them together and screwed them to the base of the post. I don’t have any photos of making the base, but it’s pretty simple.
Paint over existing paint
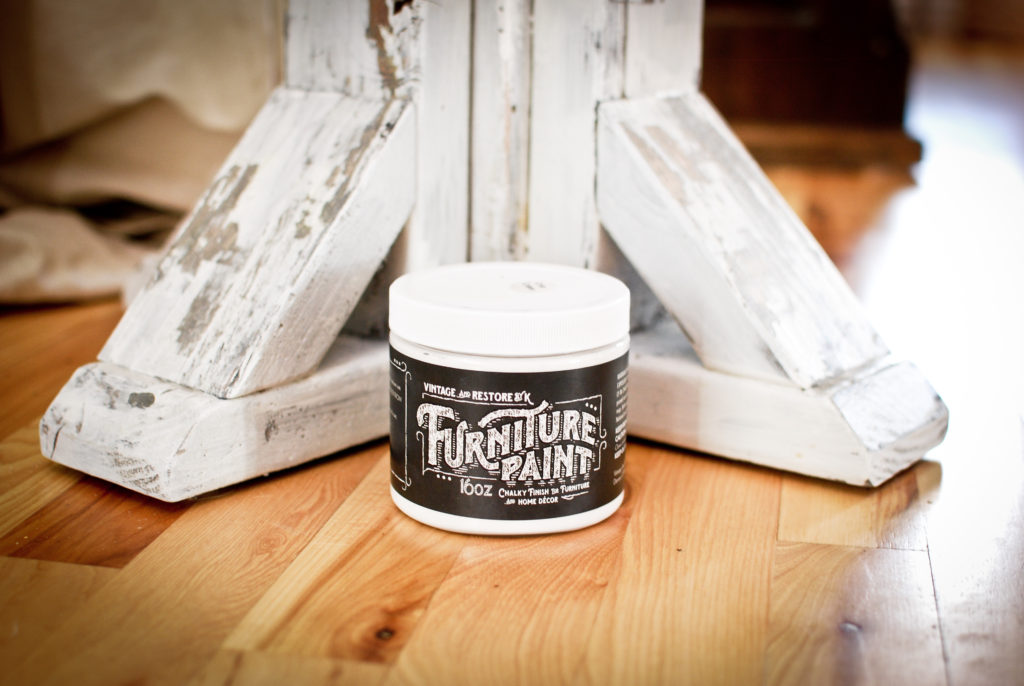
The original paint was perfectly chipped and cracked, but was a very yellowy cream color. And a yellow-cream was just not going to work for me. Also, I needed to paint my new base of 2×4’s to match.
My 5 year old once said, “My mom loves white!” and he is spot on! I do love white, so obviously I painted my DIY coat rack, white! I used Crisp Cotton White from Vintage and Restore by K and it worked like a gem.
To see the same chalk paint in a different color check out this dresser. You can check out all her awesome chalk paint here.
This post contains affiliate links for your convenience. Which means if you make a purchase after clicking a link, I will earn a small commission. The great thing is, it won’t cost you a penny more!
I painted over the existing paint and then added some more paint in areas I thought needed a bit more.
Distress/scrap
To get a similar chippy paint look on my “new” DIY coat rack base I followed these steps.
- Stained 2×4’s with Minwax Classic Gray stain- trying to match the weathered wood of the post
- Lightly painted wood with white chalk paint.
- Before the paint was fully dried I used a metal putty knife to scrape the paint and “chip” it. This technique gave me a more chipped look over a smoothed/worn look that you sometimes get if you distress with sandpaper.
Seal paint
Because the old paint was so thick and chipped I decided to seal everything with some coats of polycrylic. Since this is a coat rack where people will be hanging and removing their coats often, I didn’t want any paint to chip off in the process.
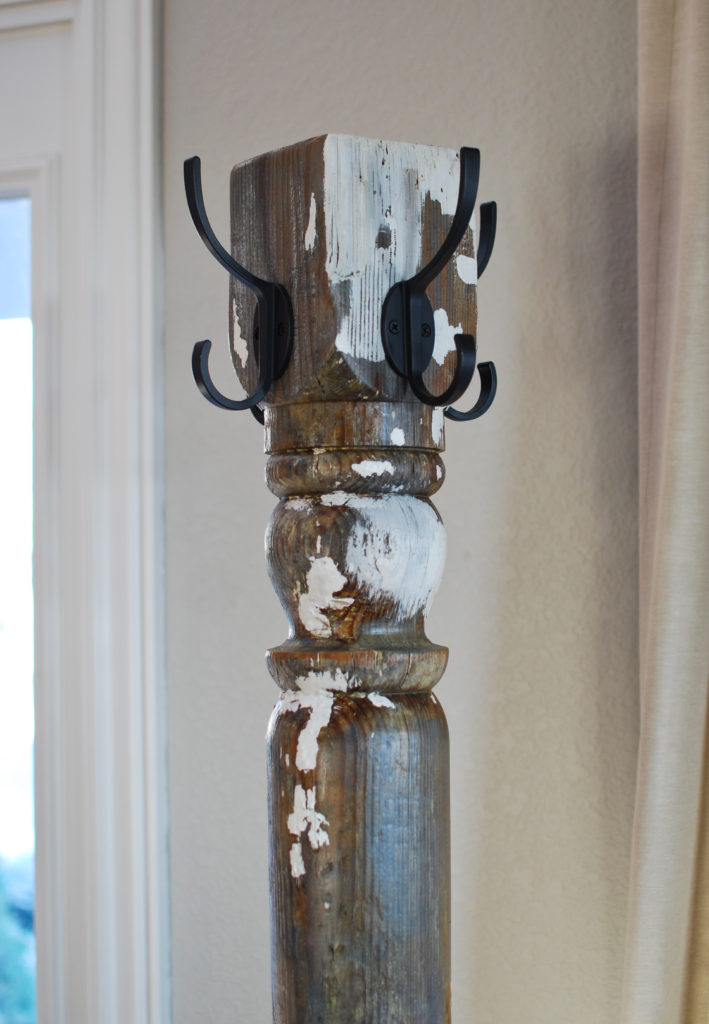
Add hooks!
Lastly, I added 4 hooks to the top portion on the post! Easy!
DIY Coat Rack
Thanks so much for stopping by today!
Emily
Comments are closed.