I have been updating our master bathroom for the past 3.5 years (progress takes time right?!) and we just completed a big update!!! If you missed the first part of the remodel you can check it out here! Today I am excited to share some more of our Master Bathroom before and after photos!
The carpet in our master bathroom is finally GONE!!! I am so incredibly thrilled to have tile and also happy to say that I did not install it myself. Originally, when I started looking at tile I had fully intended to try my hand of installing it myself. After some discussion with my husband and some honesty with myself we decided to hire it out.
When we found a friend of a friend who was available and reasonable we pulled the trigger. I’ll share a couple of my thoughts on the project then get to the pictures.
My thoughts…
Do I think it was worth it to pay someone else? Yes and here is why.
- The amount of time. It took 4.5 full days for a professional to complete the project. So that being said, I am guessing it would have taken me about 2 months! Not an exaggeration because…kids! 🙂
- Learning curve. I have never done tile so I would be learning everything for the first time. This adds extra time and opportunity for lots of mistakes.
- I was able to spend my time working on my other ongoing projects while the floor was being done!
It did cost more money to have someone else do it than doing it ourselves, but I think in this situation it was well worth it. I am a little bummed I did not do it, because I do like trying new things. And I don’t have the pleasure you get from completing a project on your own. But I think I am coping well. haha
Okay time for some pictures! First a little reminder of the starting point…
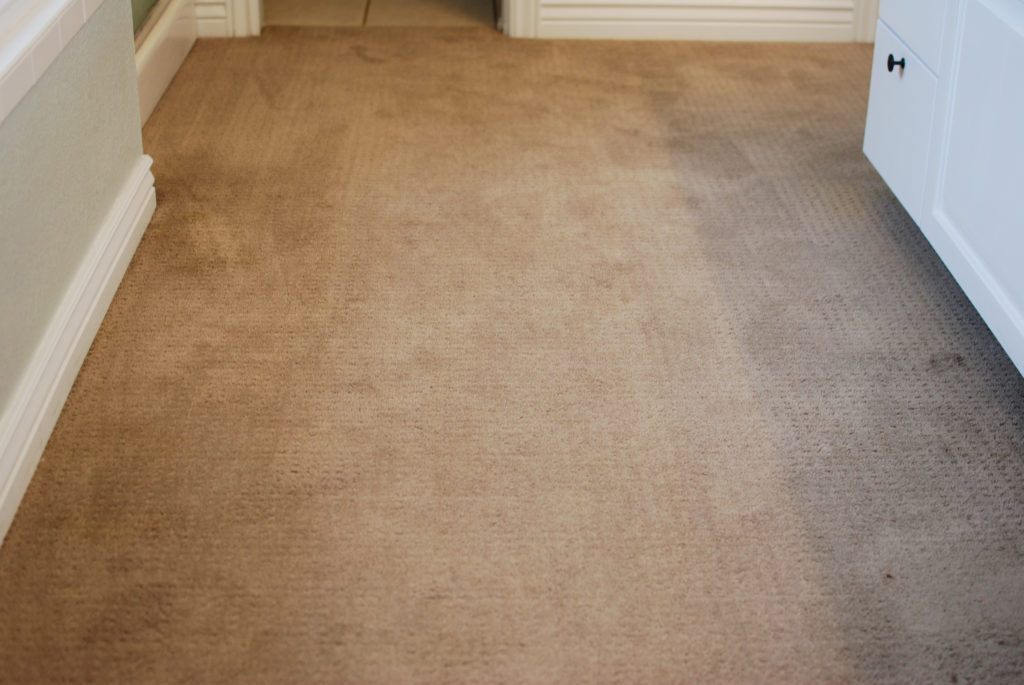
Carpet was pulled! Backer board installed.

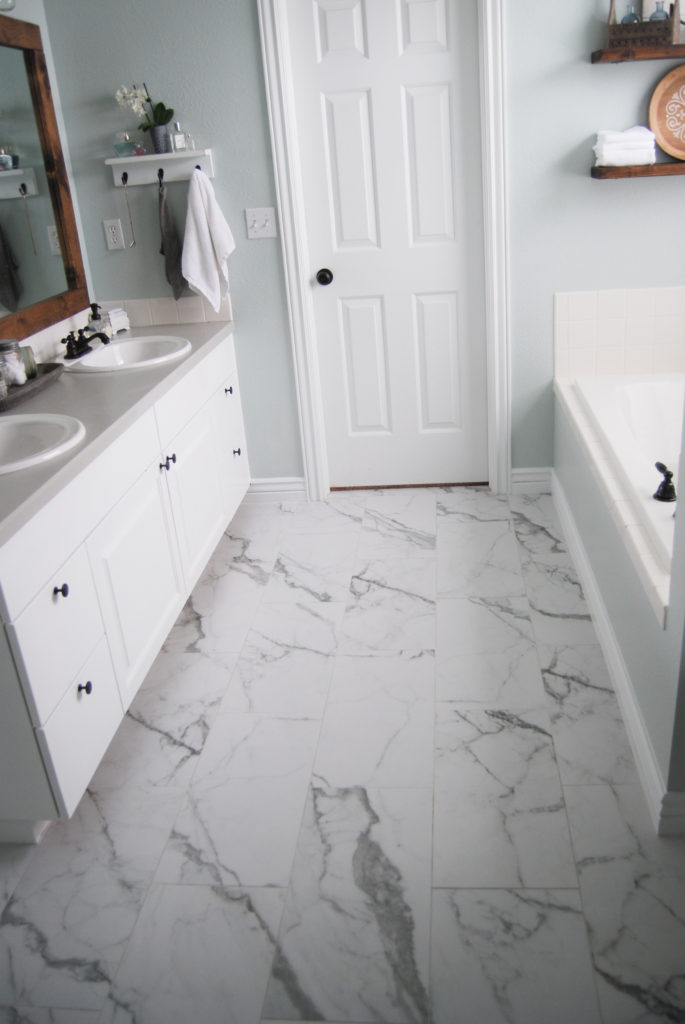
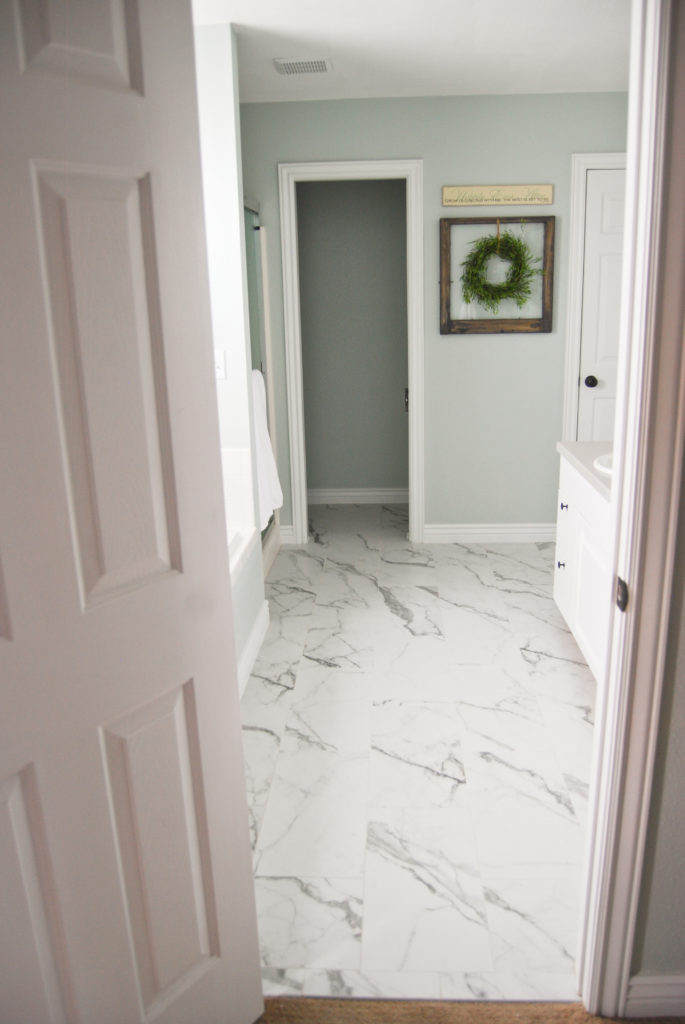
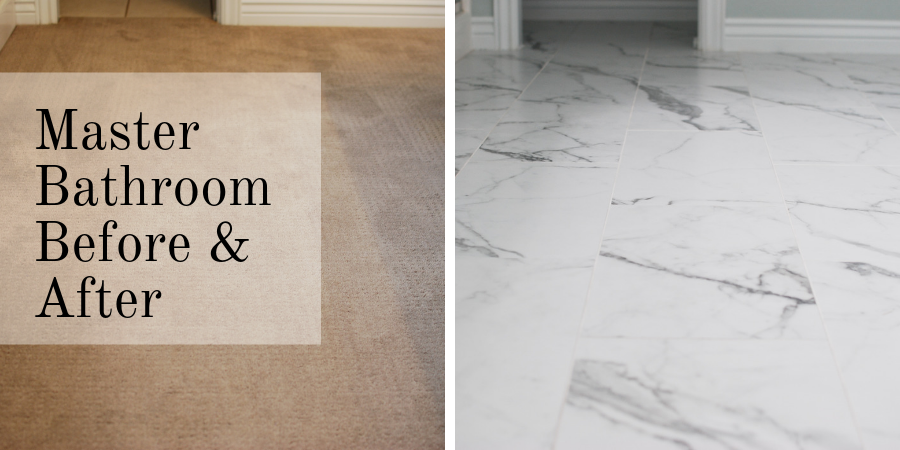
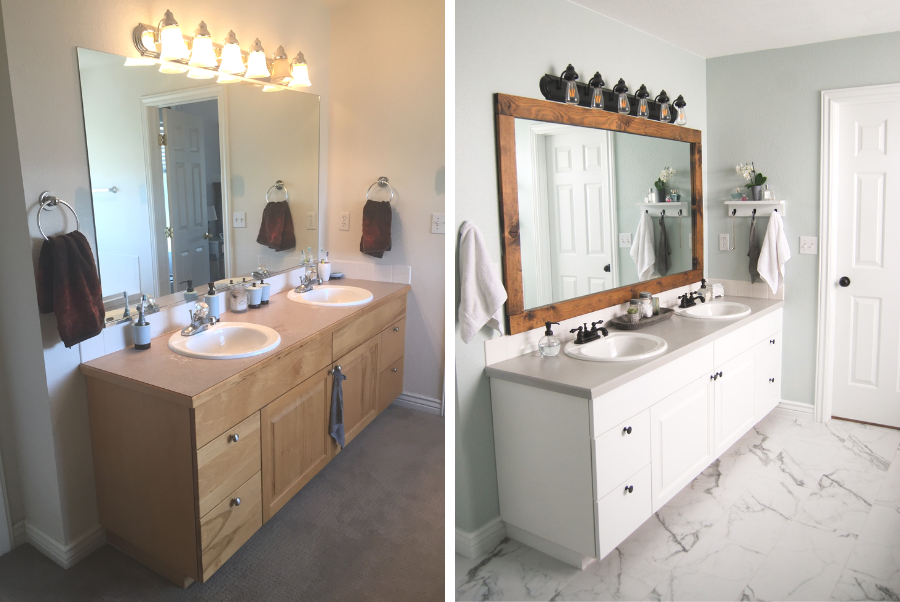
Master Bathroom Before and After
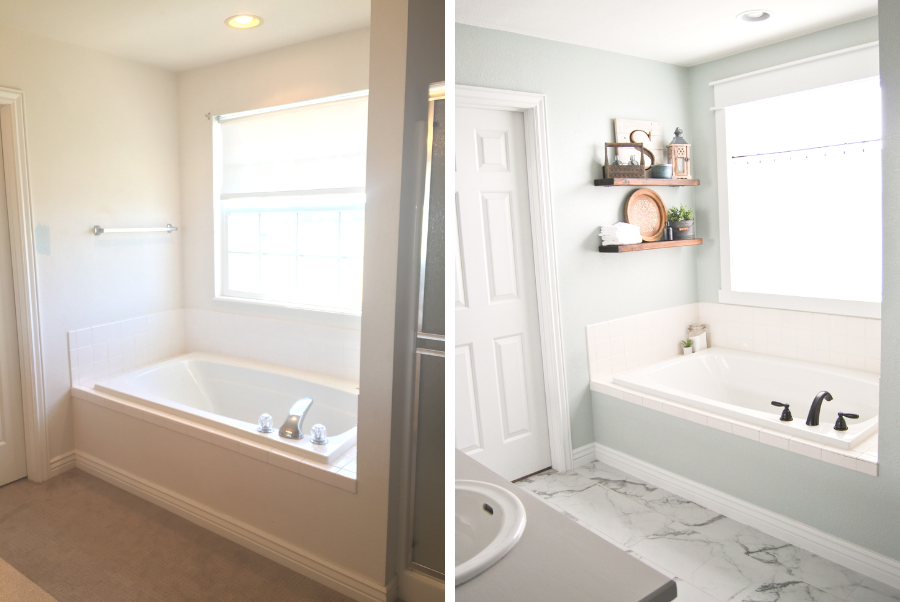
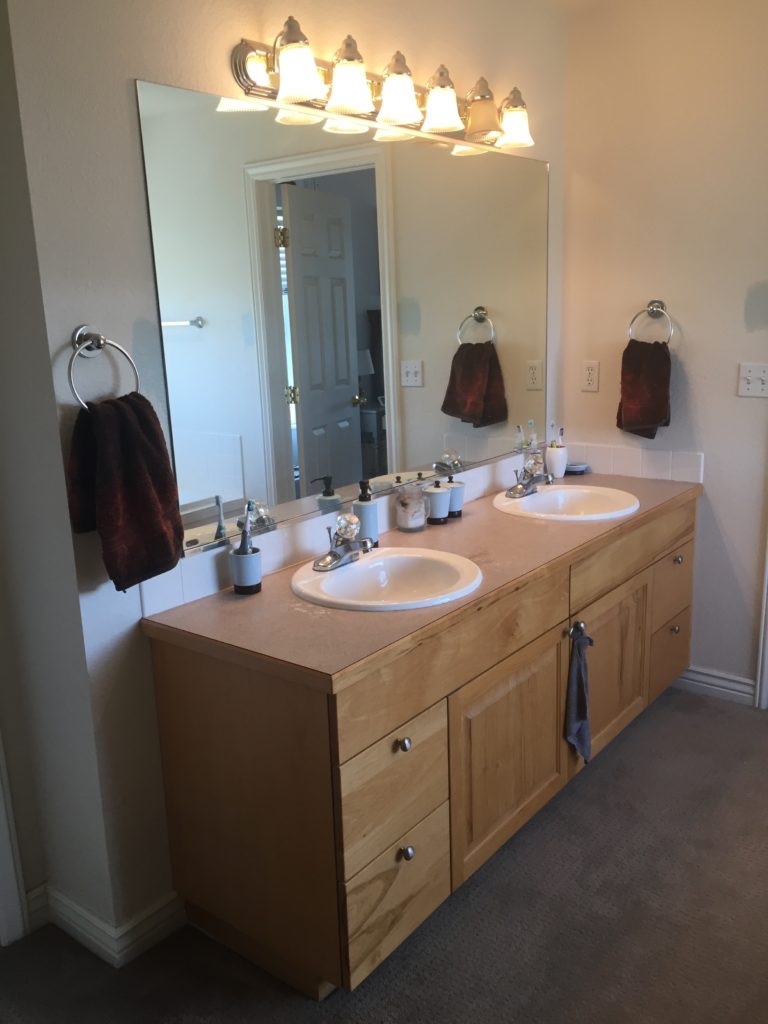
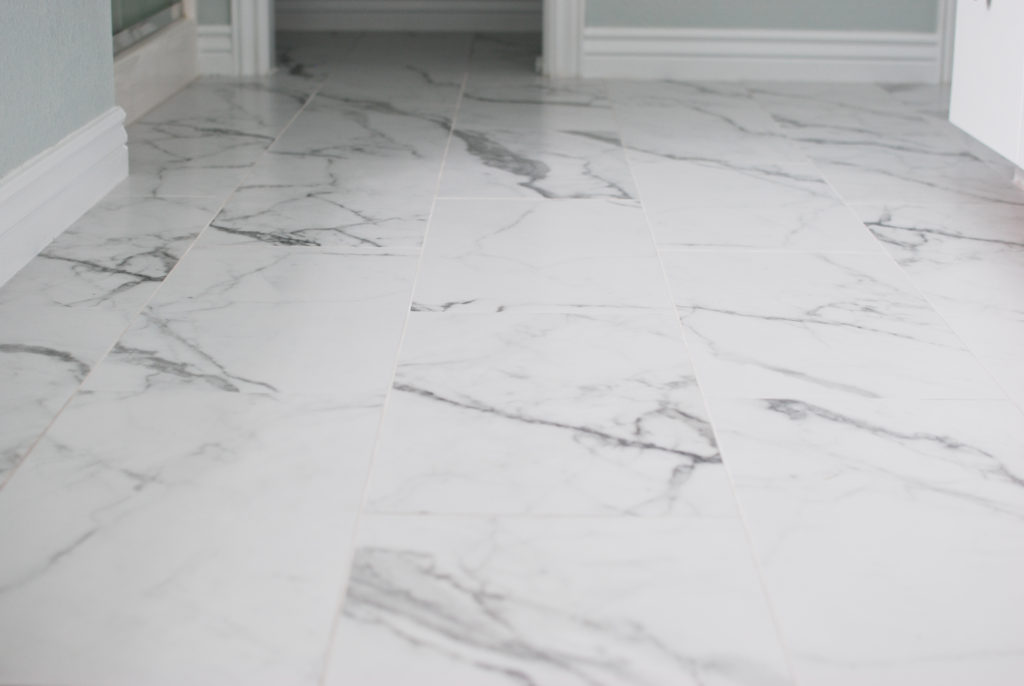
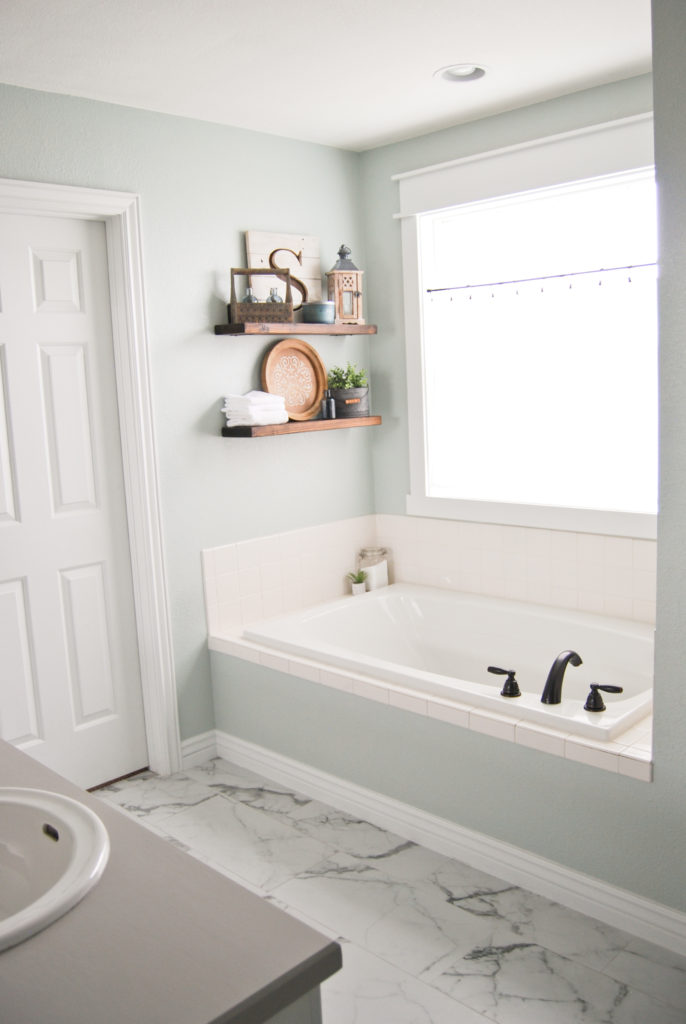
The tile I selected was Statuary White 12×24 from Lowes. We have now had the floor for about a month and I still love it! Also you may have noticed I replaced the tub faucet, with this one! It was an easy project that made a big difference.
Emily
What a beautiful transformation Emily! Thank you for sharing the journey and inspiring and encouraging the rest of us to take on our own project lists.
Absolutely beautiful!
Beautiful! Your tile choice lightens up the room and makes it look so clean. Great budget-friendly ideas on the whole room!
Thank you!
Hi Emily, great job!
can you please tell me the maker of the paint and color number or name?
thanks
The wall color is Sherwin Williams in color Sea Salt.
thanks Emily I actually have that swatch, really nice 🙂