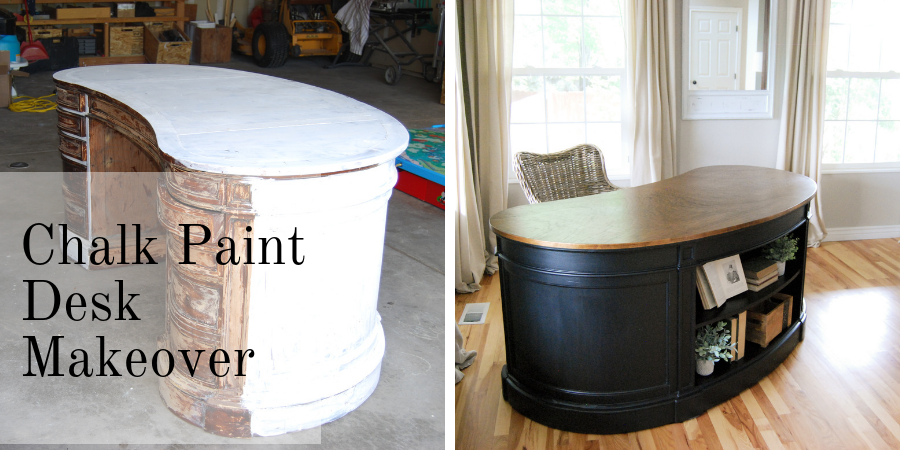
If you have been around here long, you know I love a good before and after and this chalk paint desk makeover is the perfect example of transformation! I was lucky enough to find this massive desk at a garage sale…FREE! I will give you the simple steps I took for this makeover, although I admit I did not take process photos. You can also check out some of my other furniture makeovers.
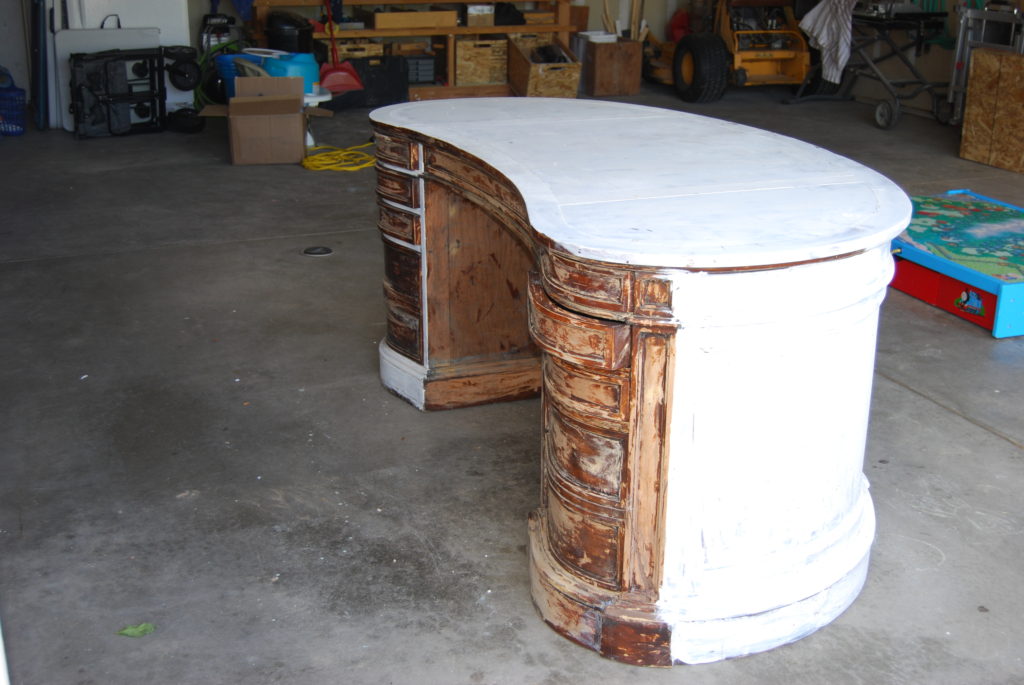
Before…
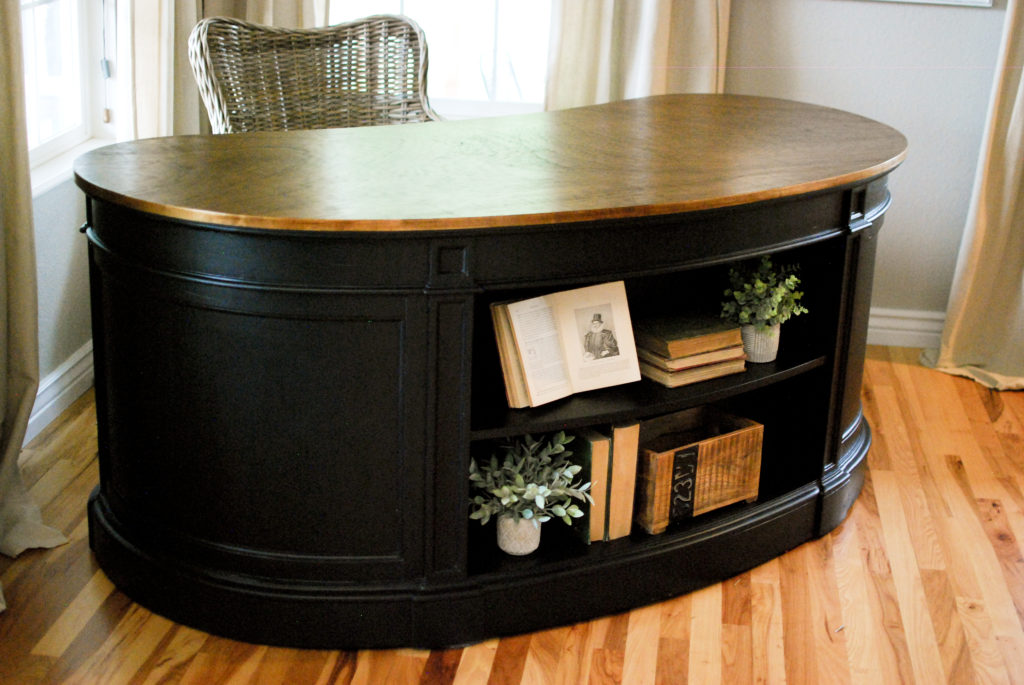
After…total desk makeover!
Desk Makeover steps
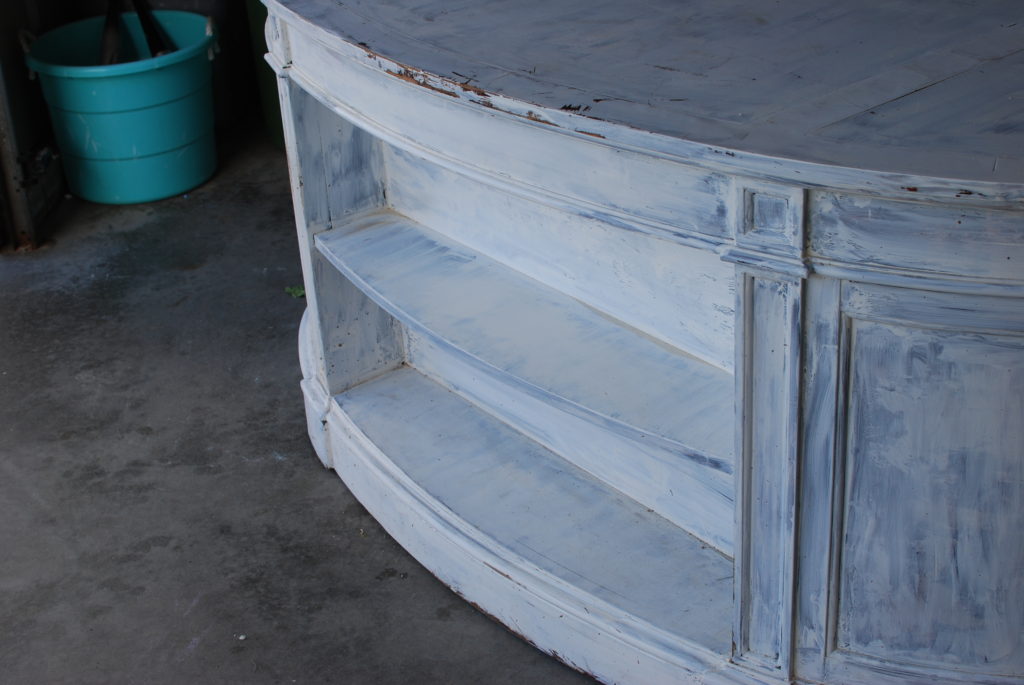
- Clean really well. A rag and water is usually enough.
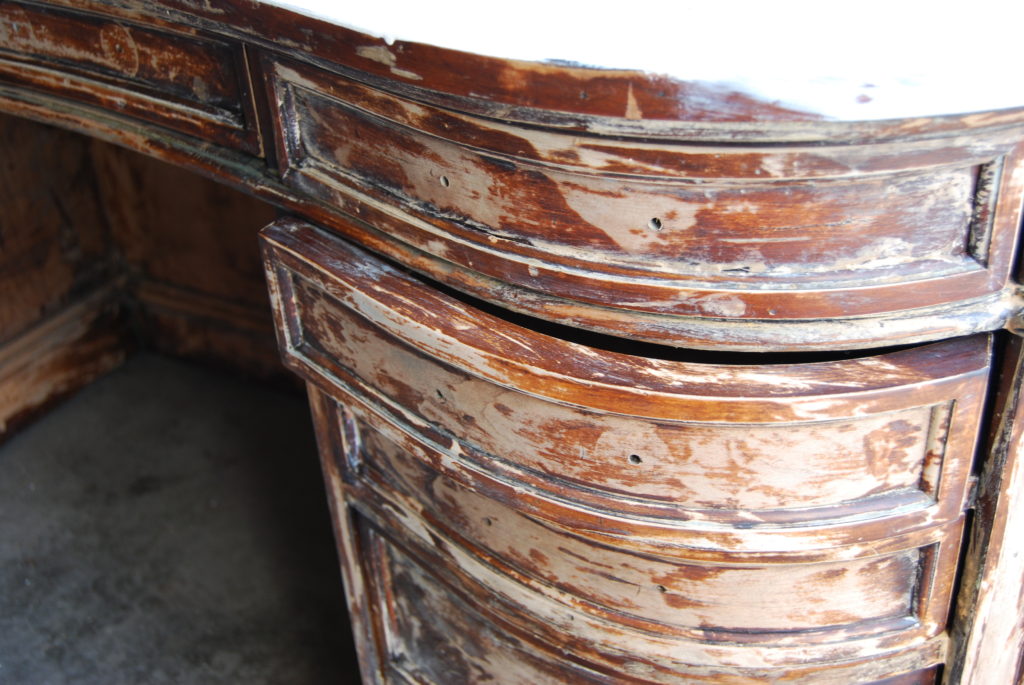
- Sand any rough areas. Not important to sand the whole piece, which is the beauty of chalk paint.
- Patch any holes/cracks. Then lightly sand.
- Remove drawers to make it easier to paint
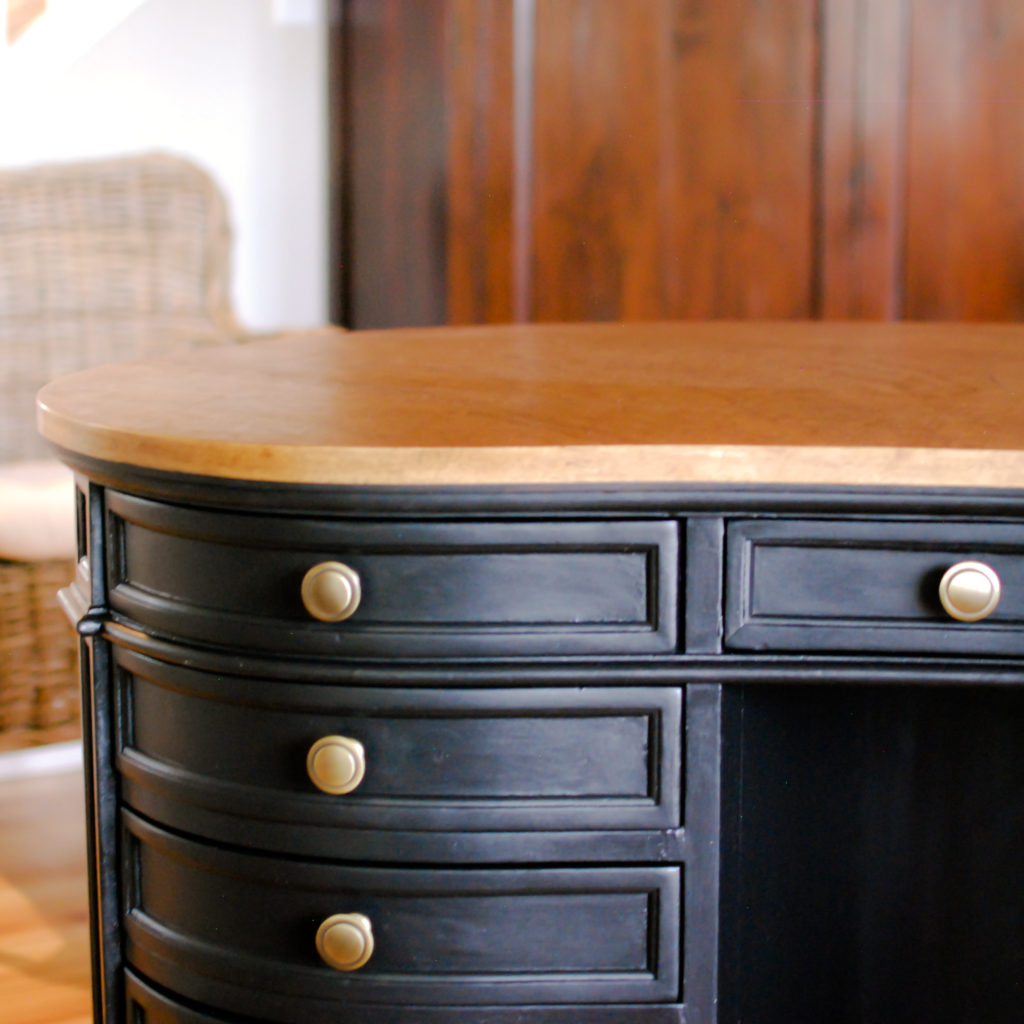
- Paint with chalk paint. This is what I used: Cast Iron
- Add new wood top.
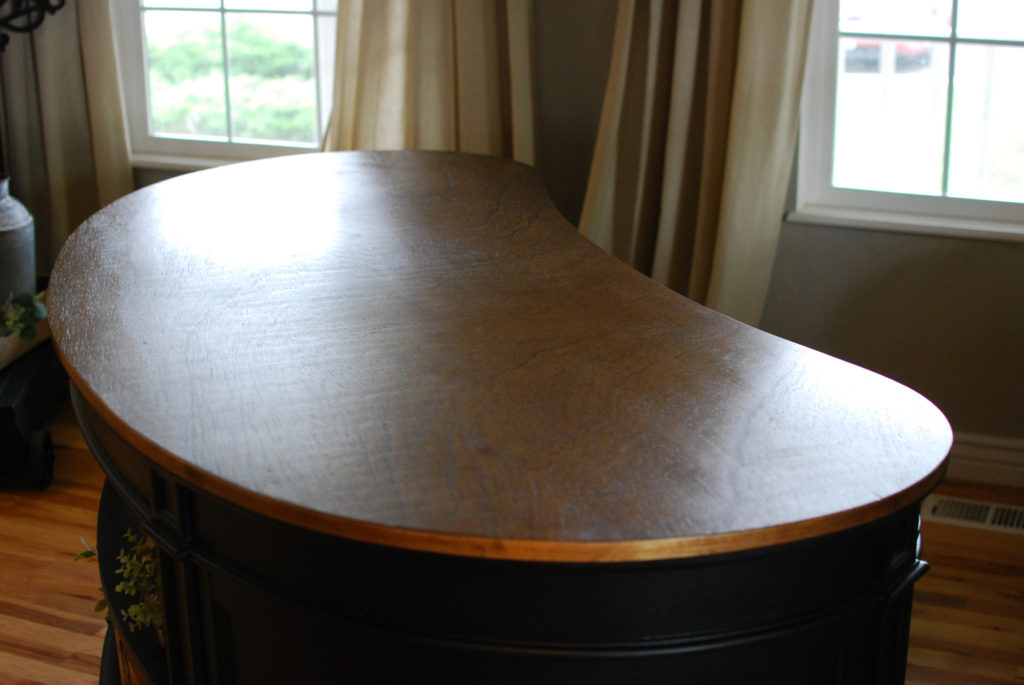
- Stain/seal new top. Stain is Minwax Provincial and Minwax wipe on poly.
- Wax painted surface. Furniture wax I like: Clear Furniture Wax
- Add new hardware.
New Wood Top
I felt this desk makeover needed a wood top, to break up the black base. The new top was actually fairly easy to construct. I laid a piece of plywood on top of the desk. Traced around the desk on the underside. I used my jigsaw to cut out the desk top, then glued and clamped it down to desk. And to finish the plywood edge, I used wood veneer edging. This product is actually really easy to use and turned out just as I pictured! I lightly sanded around the edge after applying the veneer, then stained and sealed.
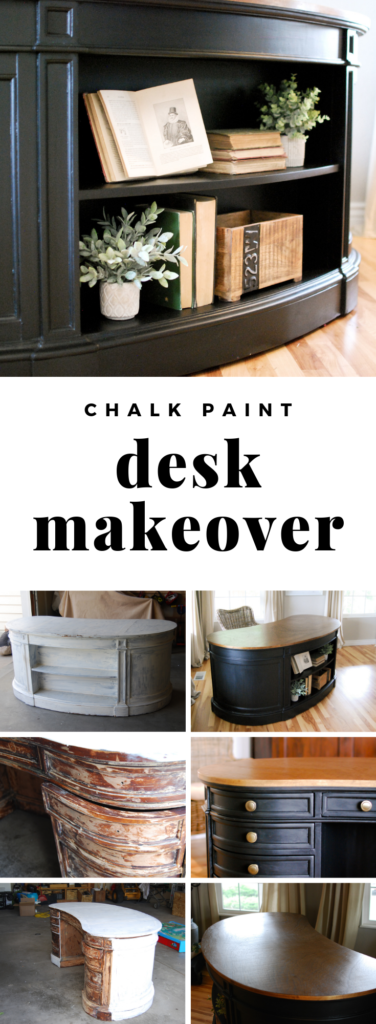
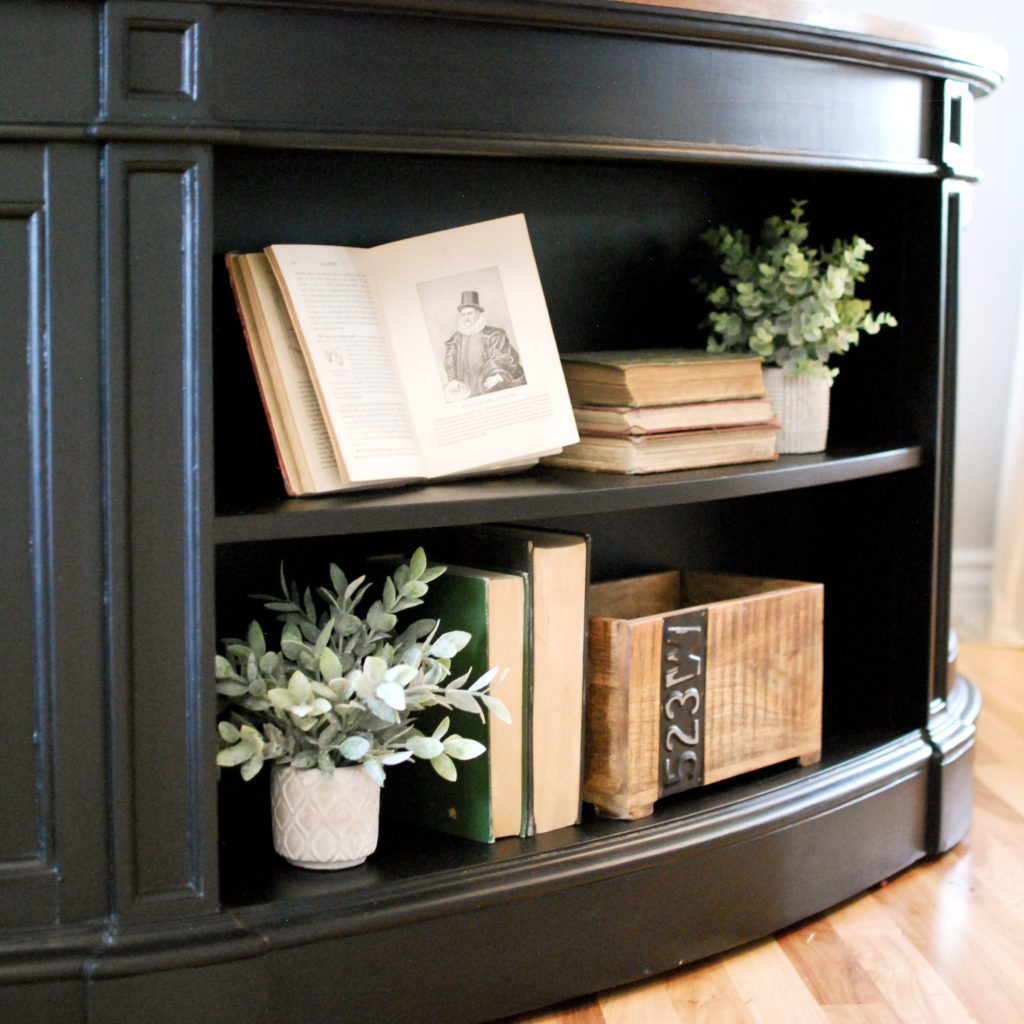
What I love about this desk is the unique curved shape and the built in front bookshelf! So happy I came across this piece! If you come across any great used furniture pieces that just need a little tlc, consider chalk paint for a full makeover.
Emily
Beautiful!! Really well done! I love the idea of using plywood with the veneer edging – economical and turned out looking very nice.
Thank you! A lot more affordable than solid wood (which you can’t even find in that width) 🙂