The twins’ room refresh came about as a result of wanting to switch out the cribs for big kid beds. (cue mommy tears, that her babies are too big for cribs anymore) That small change, was the start of a series of many minor changes in their room. Their room is FULL of several small DIY projects that I hope to share eventually. I will touch on several in this post and will write separate posts for a handful of specific projects.

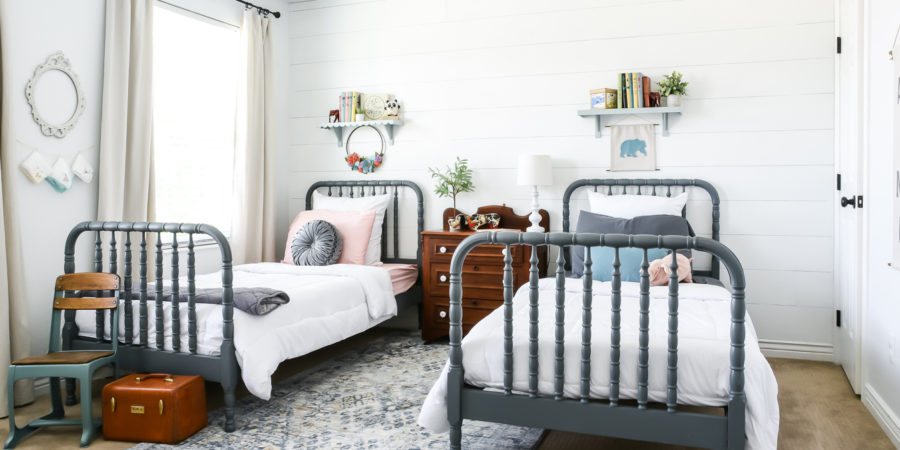
Twins Room Refresh: “New” Beds
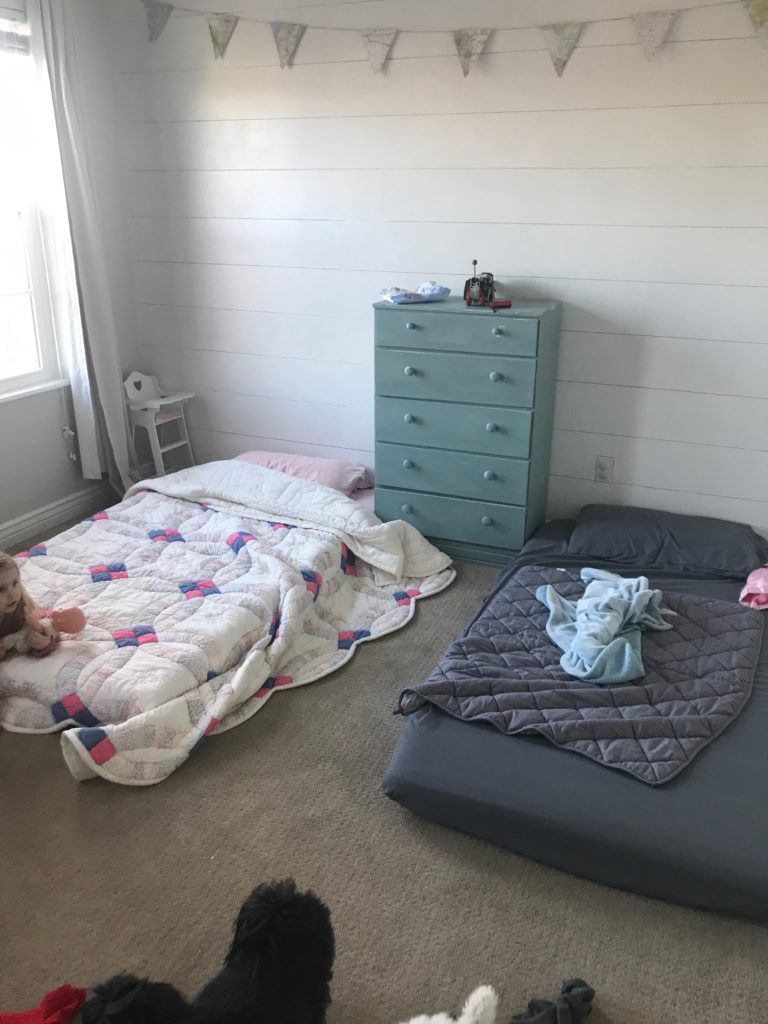
Let me start with the change that kickstarted all the other changes. Swapping out cribs for big kid beds. I hunted for over a month for bed frames, both used and new. It was hard to find two used ones that worked together and it was hard to find new ones that fit my budget for the room refresh. We started with just mattresses on the floor. Honestly, it worked great and helped them transition from the cribs.
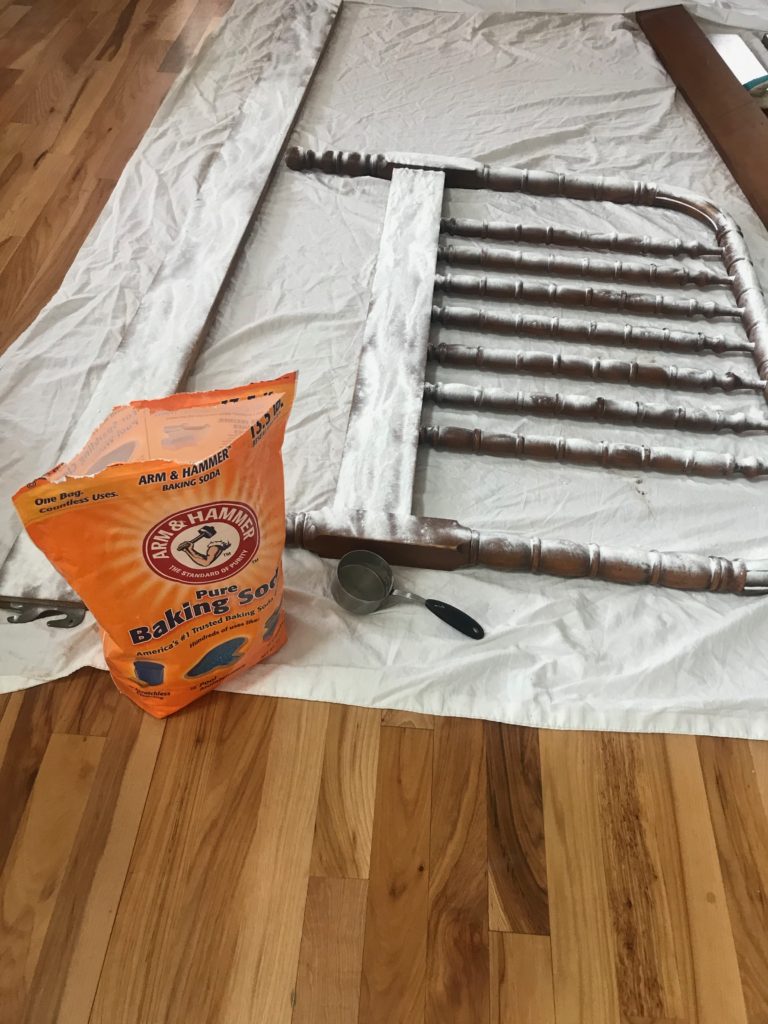
Finally, I was came across 2 antique matching wood frames on marketplace. They were a steal of a deal and I was able to pick up in our neighborhood! They had a stinky musty smell to them, but after having them dusted with baking powder and aired out in the sun I was able to get the smell neutralized and ready for paint.
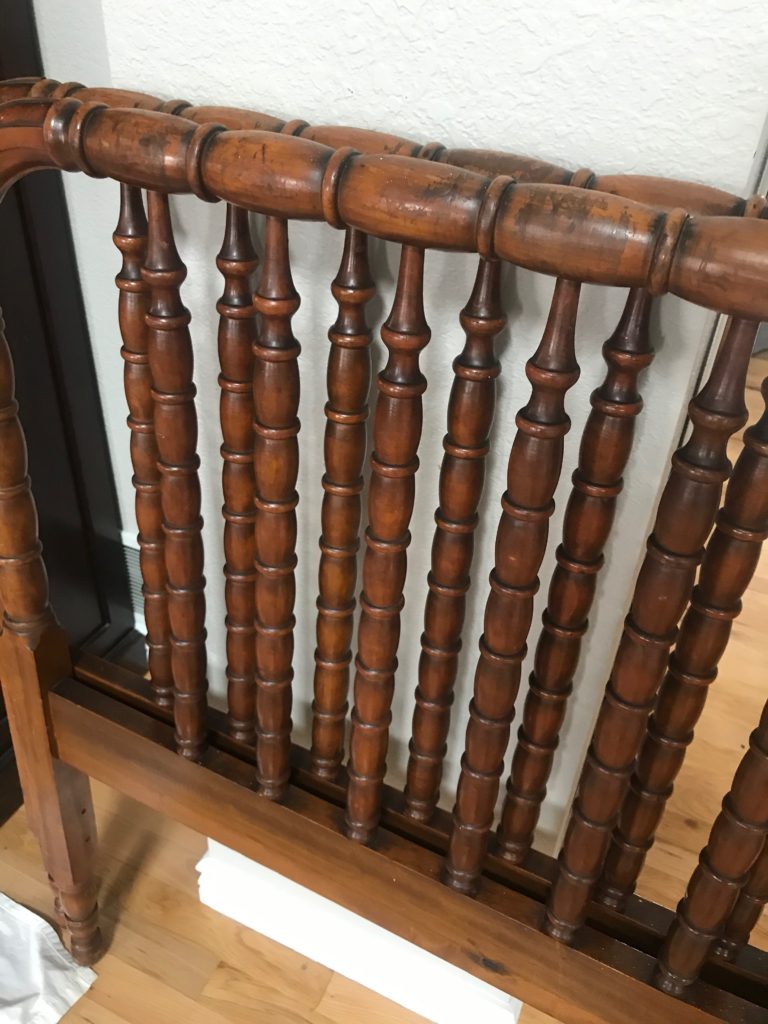
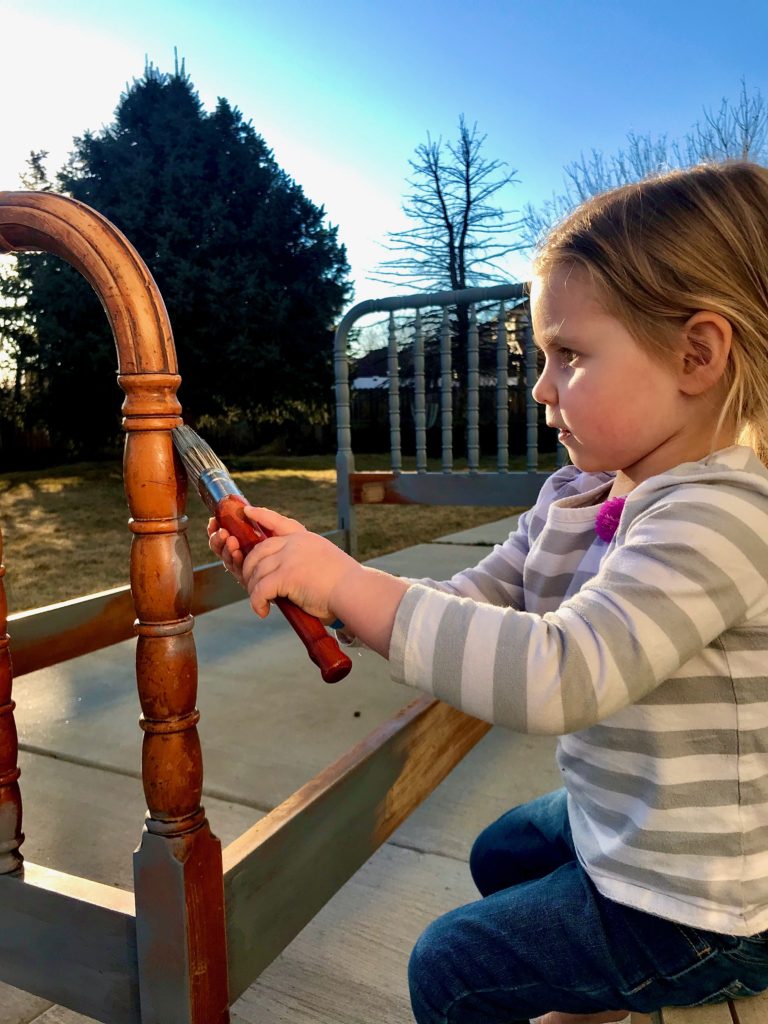
The twins and I primed the frames with zinnser bullseye 1-2-3 and painted them Valspar Web Gray. I used Minwax spray polycrylic to finish them.
Scrap wood shelves
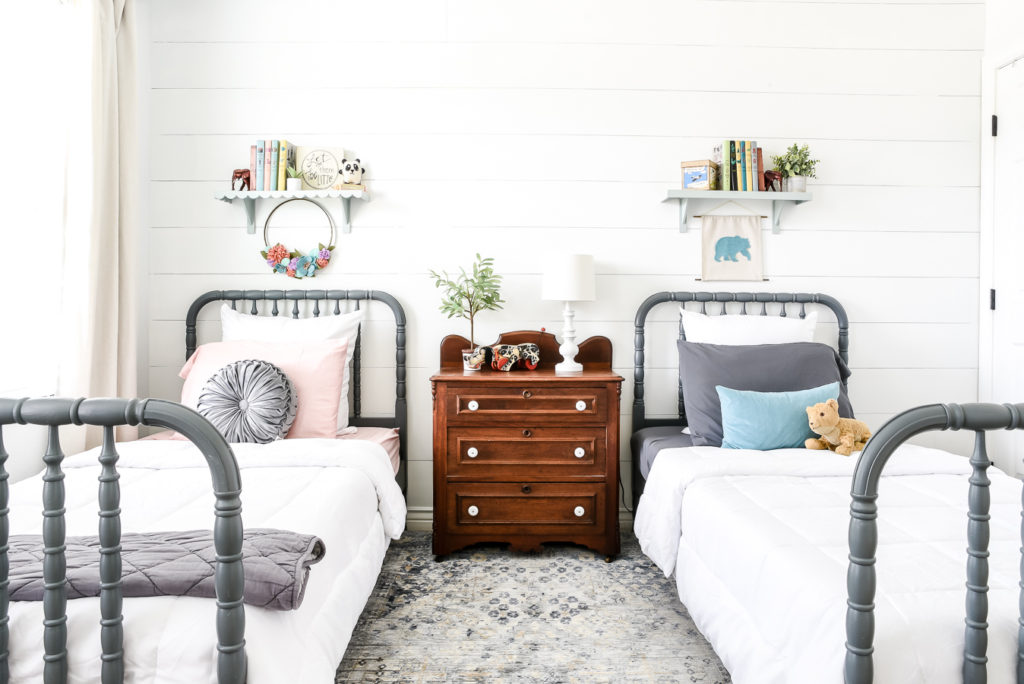
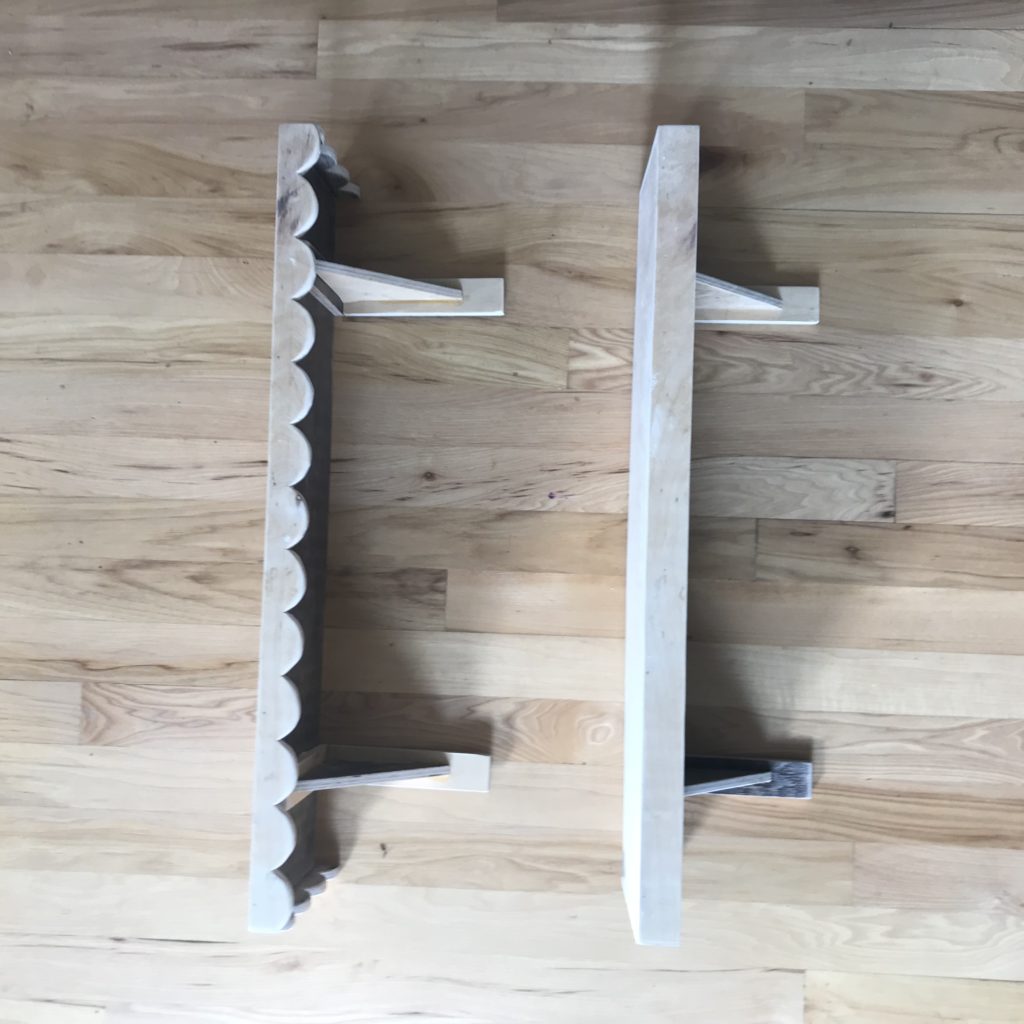
Over each bed I built a small wood shelf from scrap plywood I had laying around. I don’t have many pictures or notes to show how I built them, since I was just winging it. The shelves are the same size and color but one has a scalloped edge front and one is straight.
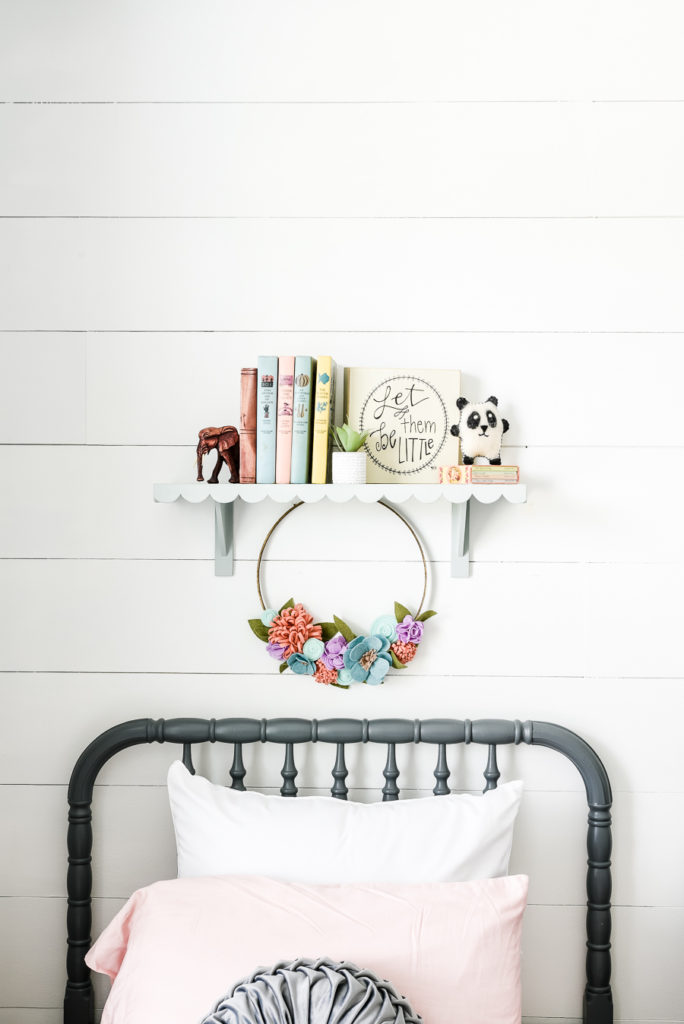
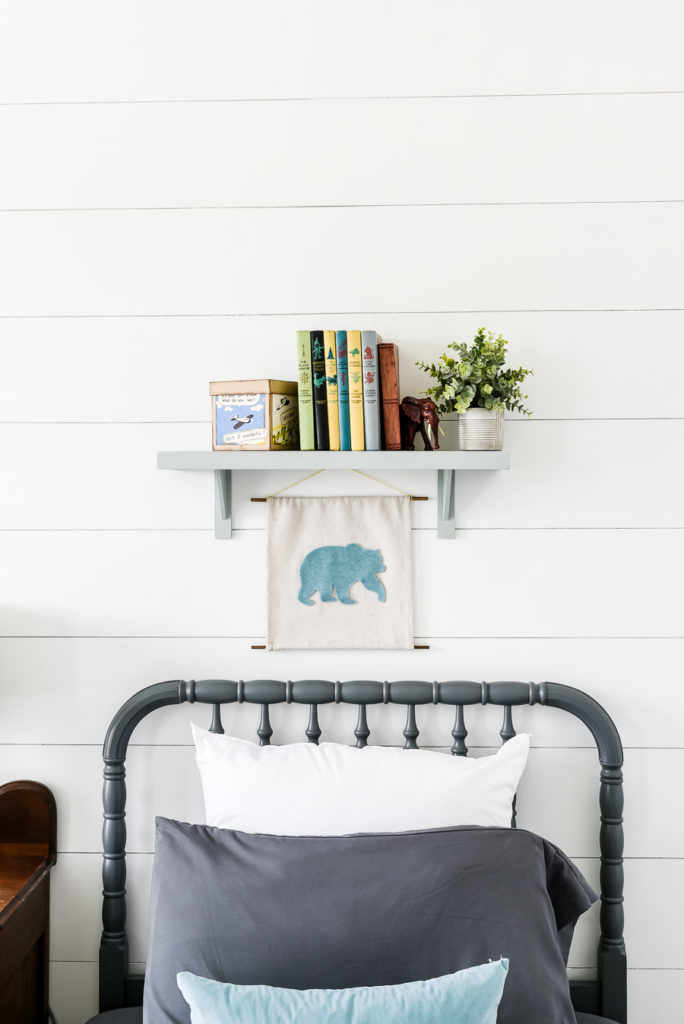
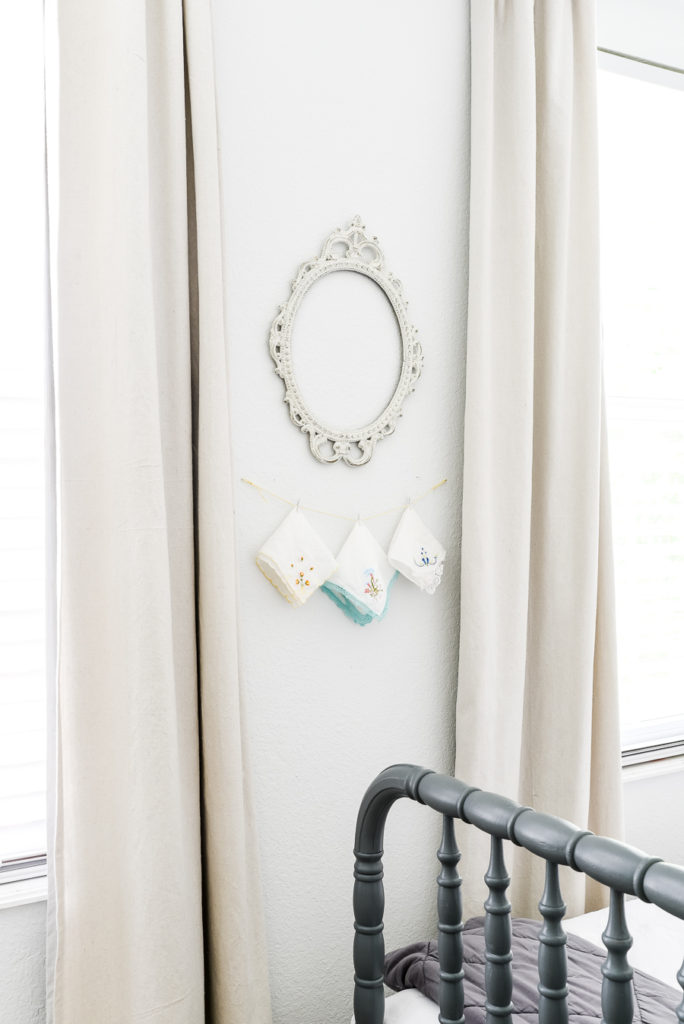
I have a tendency to want everything to match and be symmetrical, but I wanted each kid to feel like their bed and space is a little different too. The girlie has an embroidery hoop and felt flower wreath I made years ago and little man has a canvas wall hanging. (I made his little bear picture in less than an hour one day. I will share instructions for this in another post!)
DIY Alphabet Wall Hanging

One of the mini projects in their room, is the DIY Alphabet Canvas Wall Hanging, which I already posted. This a cheap and simple project anyone can do with minimal supplies. This is made from a similar canvas drop cloth, which I also used years ago to make the curtains.
Other elements…
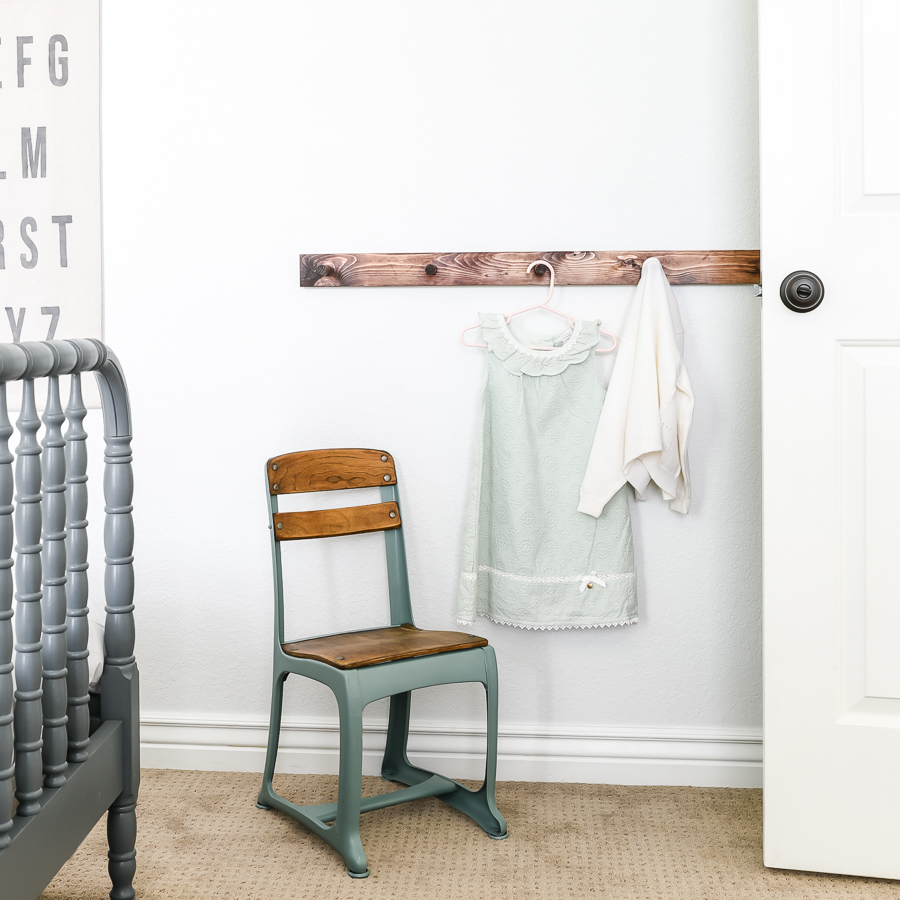
I mentioned at the beginning of this post there are many small projects in this room, some of which I will be writing about later. There is a vintage school chair I painted, wood wall pegs I built from scraps and a tiny play kitchenette made from a thrifted nightstand from years ago.

The twins room refresh reminds me…
Progress and change is a process. This room is a perfect example of an update that is really the product of months of many smaller projects. It is so easy for me to want to update a space over a weekend, but that is rarely a realistic option. It takes time to find the right piece of furniture (like these twin beds or some of the other vintage pieces collected over years) or to make custom decor (like the shelves and wall hangings) or for the budget to allow for other changes. (like new mattresses and bedding)
And of course TIME. Not everyone has large chunks of time to renovate an entire room in a couple days. It happens occasionally, when a weekend is completely open, childcare is available and you have all the supplies ready and on hand, but I think this is rare. It’s more of a little by little process, slowly checking one project at a time off the list.
Emily
Comments are closed.