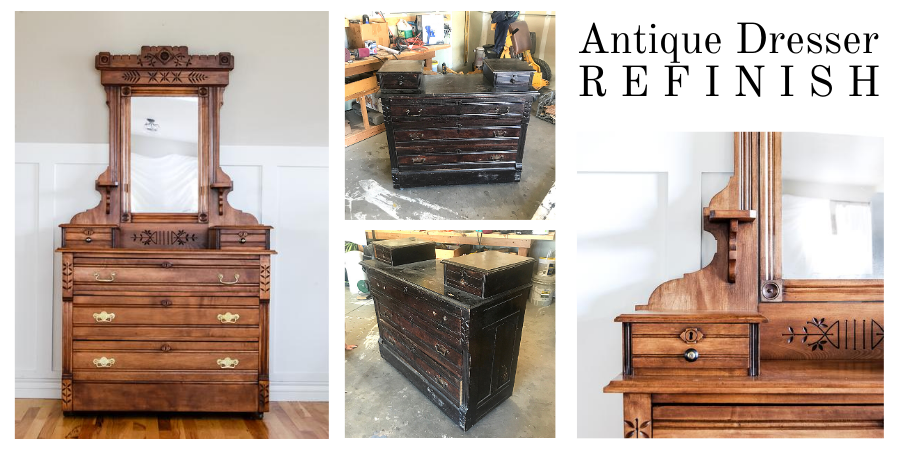
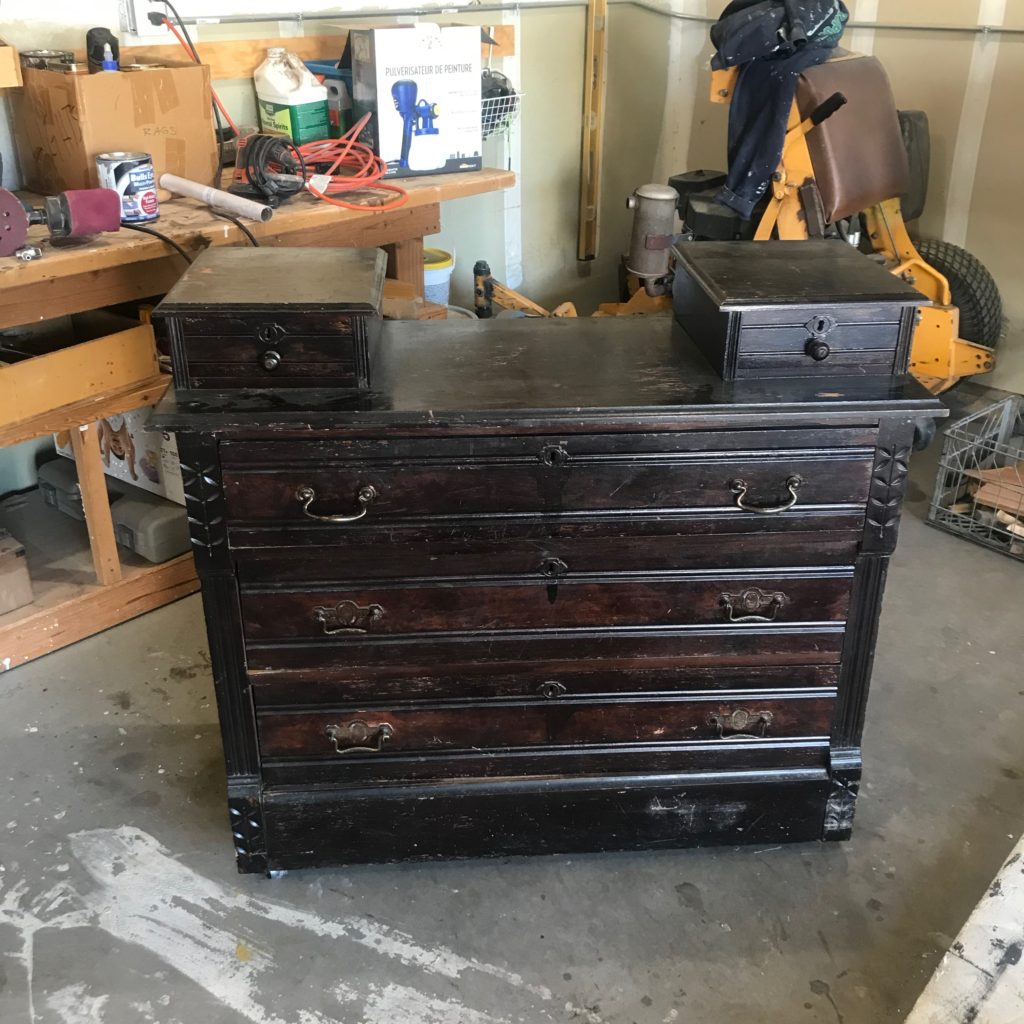
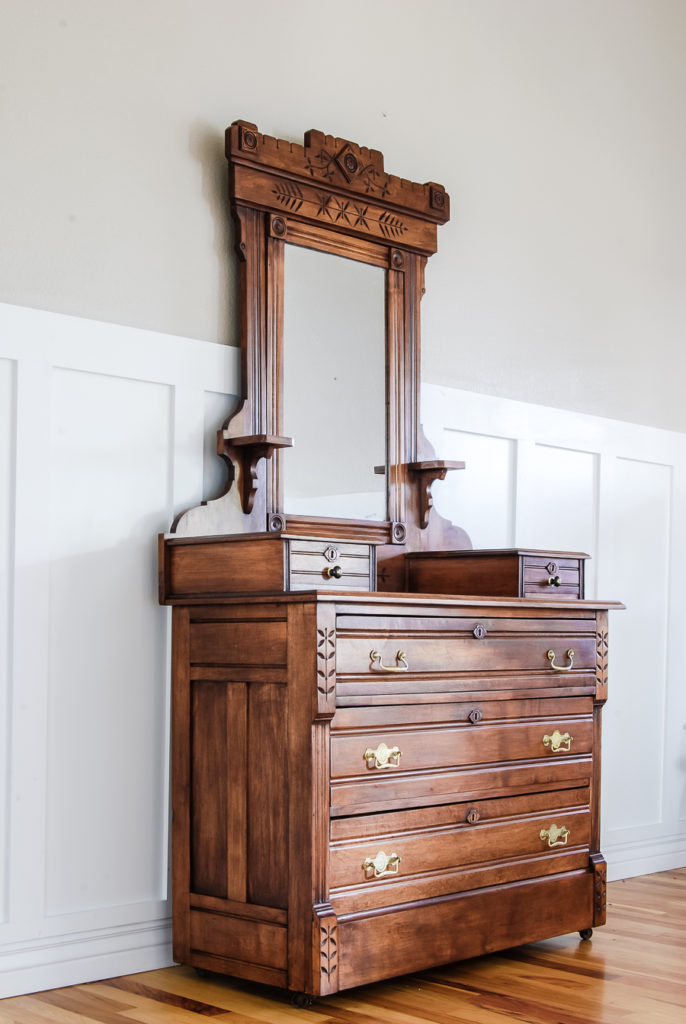
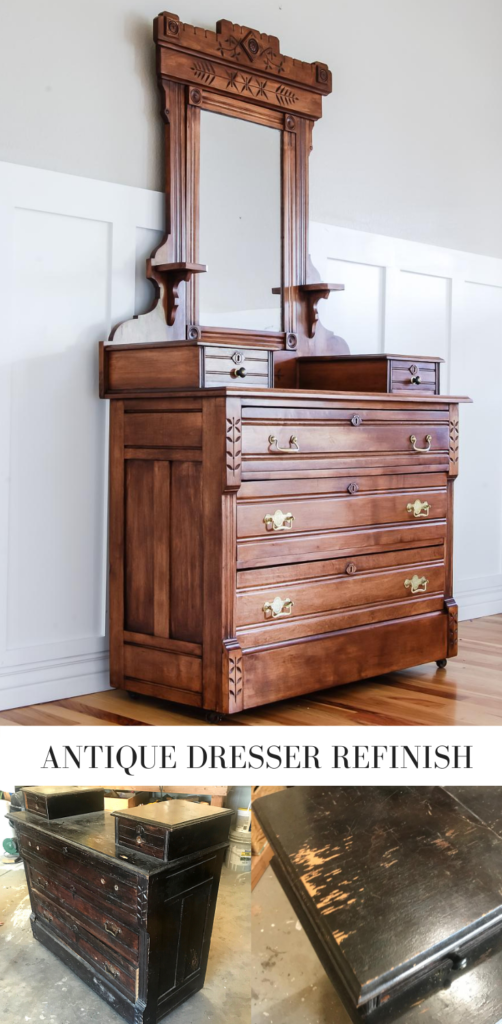
This week I get to share an antique dresser refinish project. And it’s a beauty. This project came to me through friends, who graciously asked if I could restore a family heirloom for them. I was happy to agree. Even in the rough condition it was in, when I first saw it, I knew it was an amazing piece and would be very beautiful.
Research for antique dresser refinish project
Before jumping into the how-to, details and pictures, I want to share a bit of what I learned about this particular dresser. From my limited research, this appears to be an Eastlake style dresser. Charles Eastlake was a designer who favored more geometrical shapes, simple lines and ornamental carvings, moving away from the curvier victorian designs.
If this dresser is an Eastlake design it may have been crafted as early as the 1890’s, making it 100-130 years old! This age would also fit with the timeline our friends gave us for how long it has been in their family. So neat!
The plan…
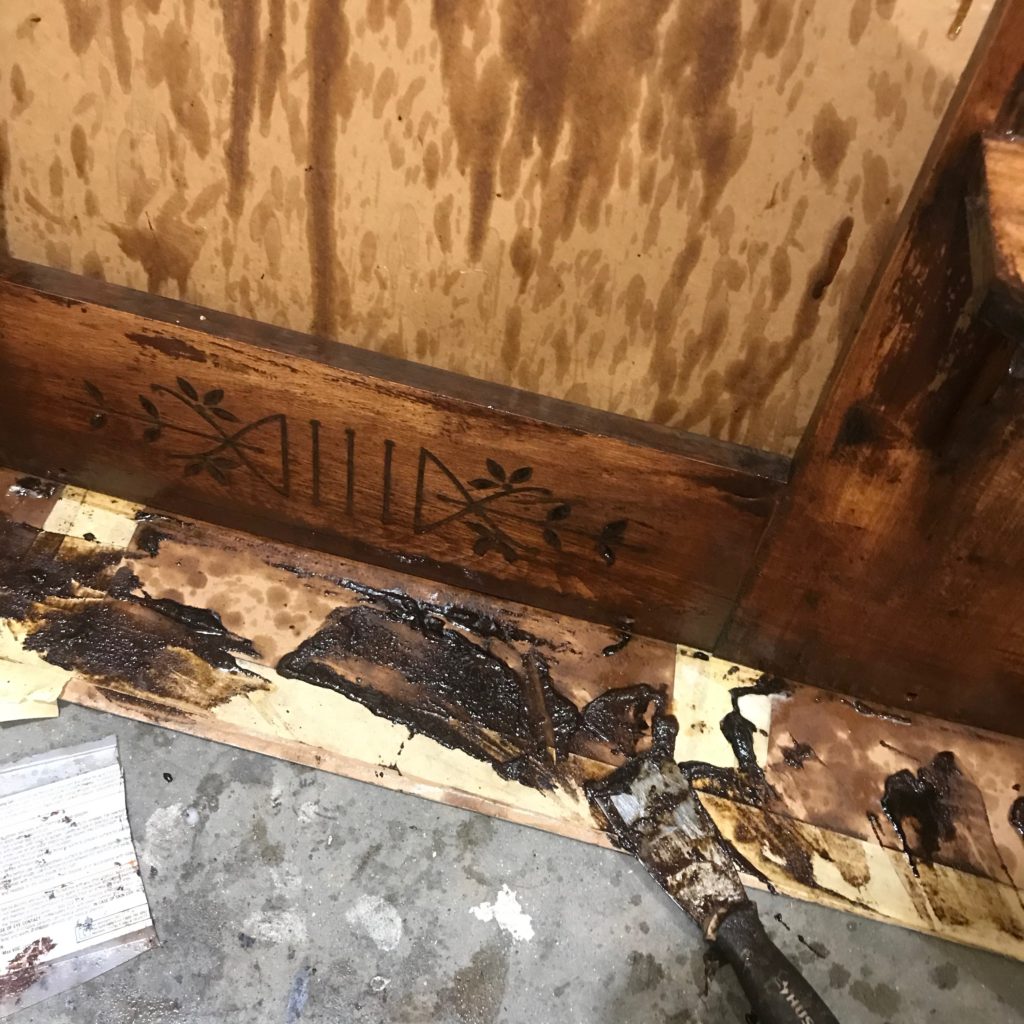
I was so happy that the goal was a wood stain finish. Painting furniture is an amazing and often perfect solution for giving new life to old or used furniture, but sometimes the natural beauty of the wood needs to be preserved. Unfortunately, that means stripping off the existing finish, getting down to bare wood, then staining and finishing. This is not an incredibly difficult process but rather tedious and time consuming. I will not be sharing all the details in this post.
Want to know more about the messy process of stripping a finish? Check out my post Refinished chairs. I follow these same basic steps of applying stripper, scraping, cleaning with mineral spirits and steel wool.
Antique Dresser Refinish Steps:
- Remove hardware
- Repair joints/cracks: glue and clamp
- Fix drawers
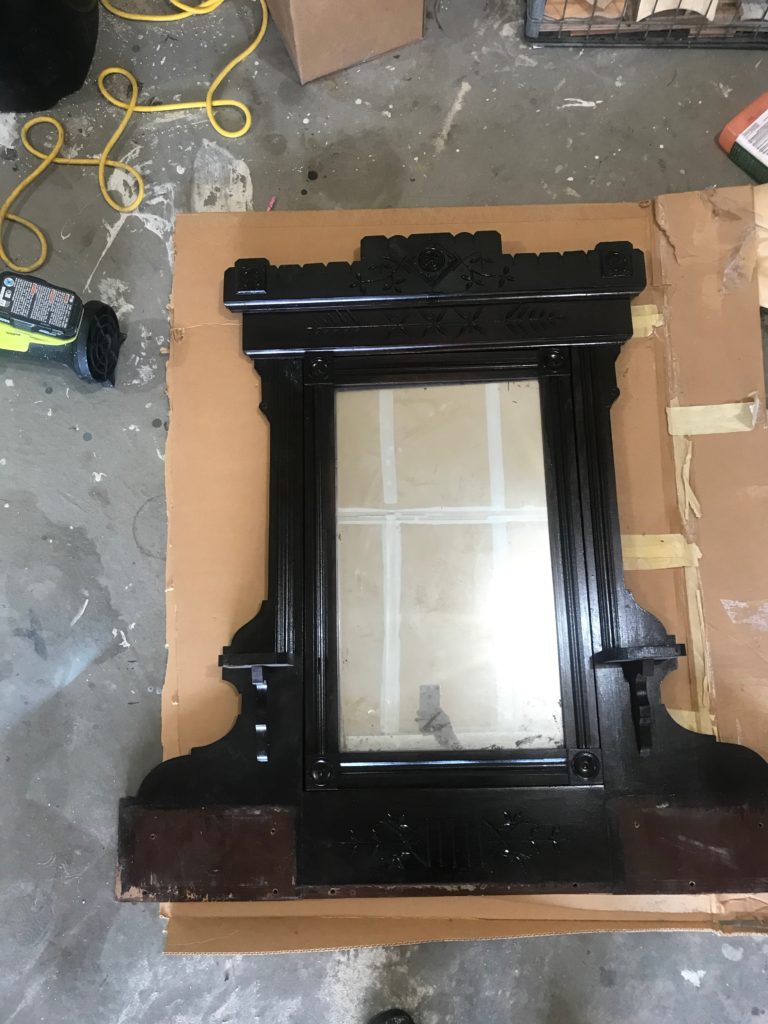
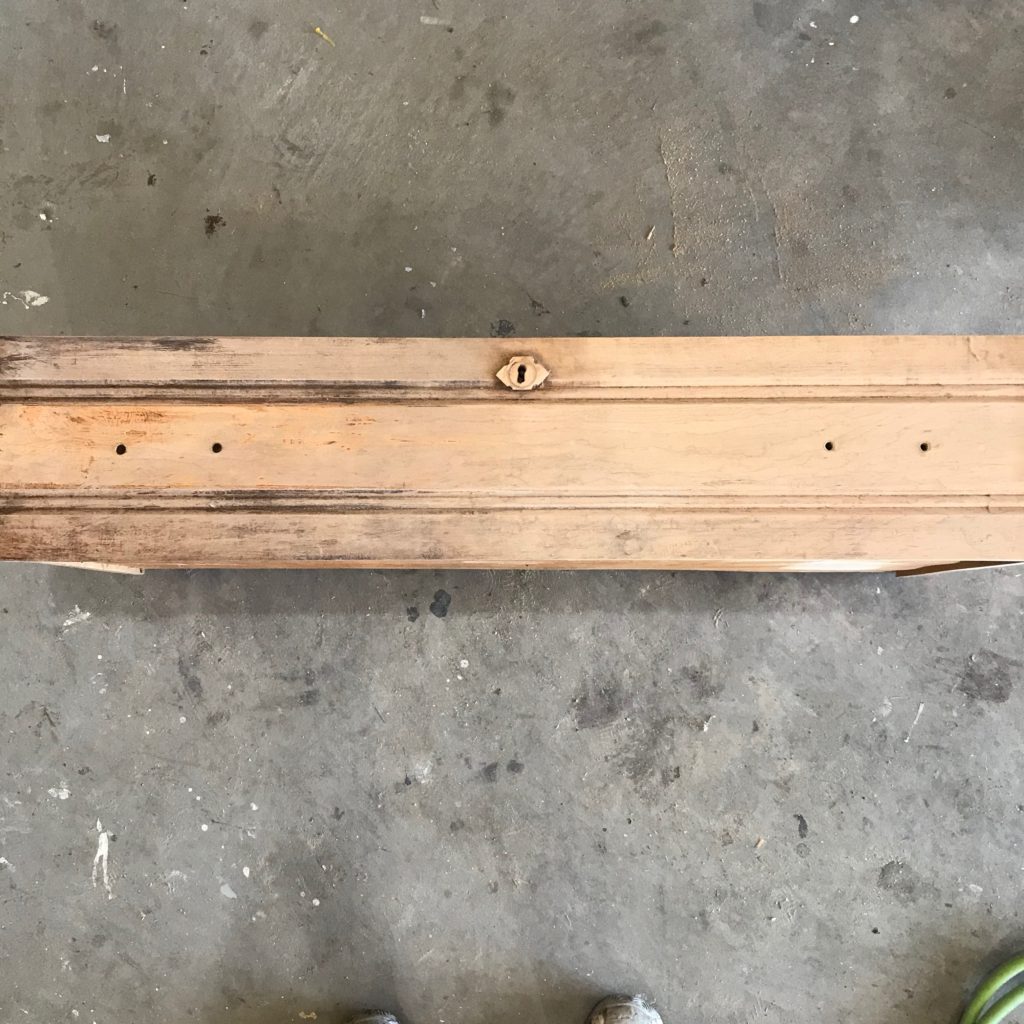
- Strip old finish
- Sand
- Stain
- Finish with clear coat of polyurethane
- Hardware
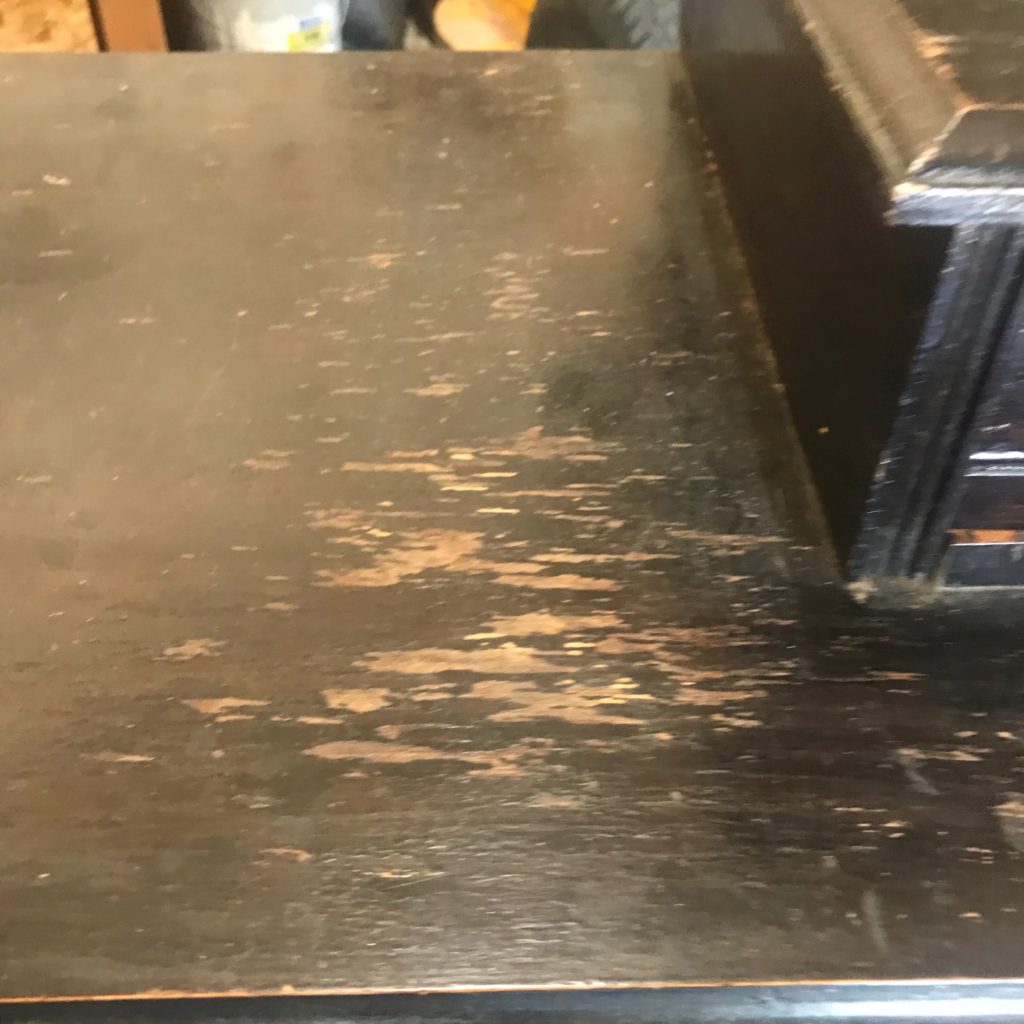
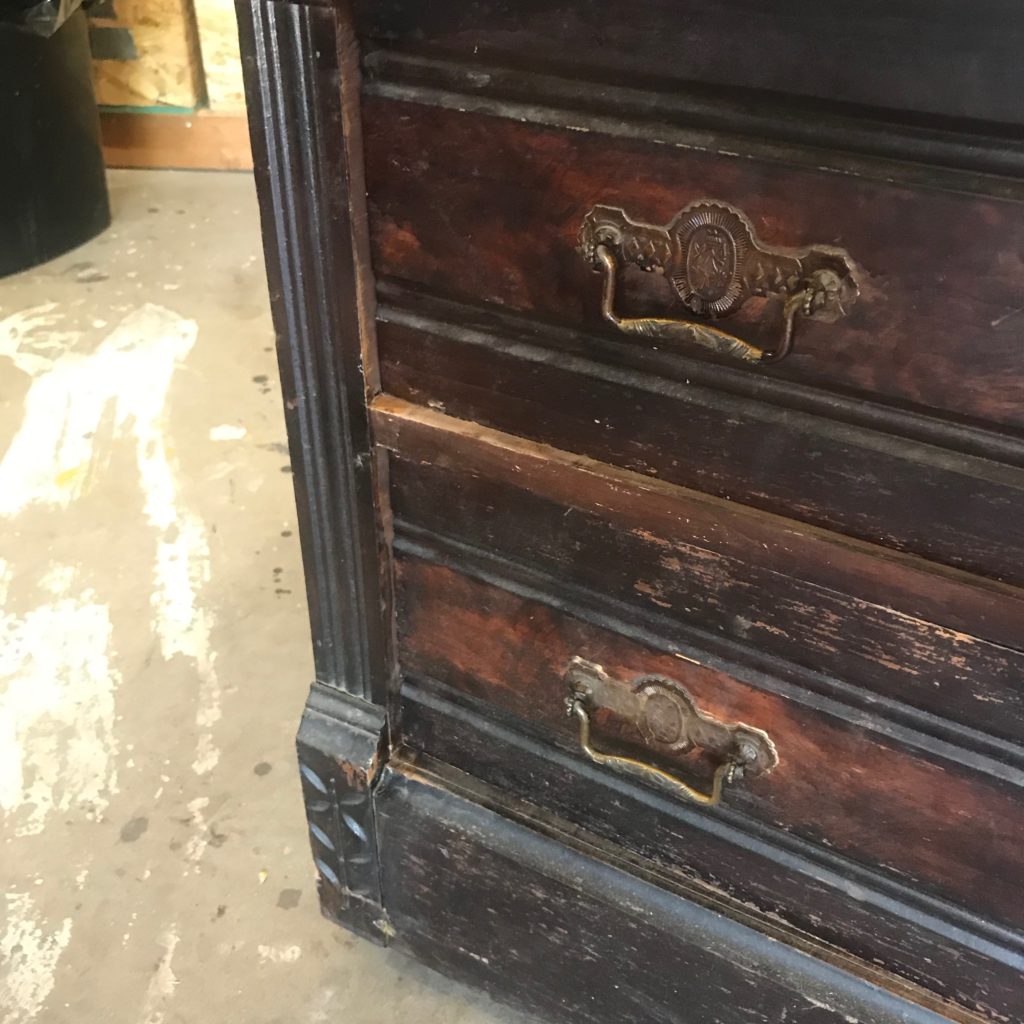
Most antiques, especially ones as old as this one, have some wear and tear. Joints have separated, things have shifted, warped and moved. I like to start a refinish project addressing these repairs. Many of the joints for this dresser needed to be tightened up with some wood glue and clamps.
The drawers also needed to be tweaked a little. The slides and stops had over time broke or shifted. This made it difficult to close the drawers smoothly and to shut evenly. Easy enough to adjust. After repairs are made then it’s time to strip the old finish off.
Sanding
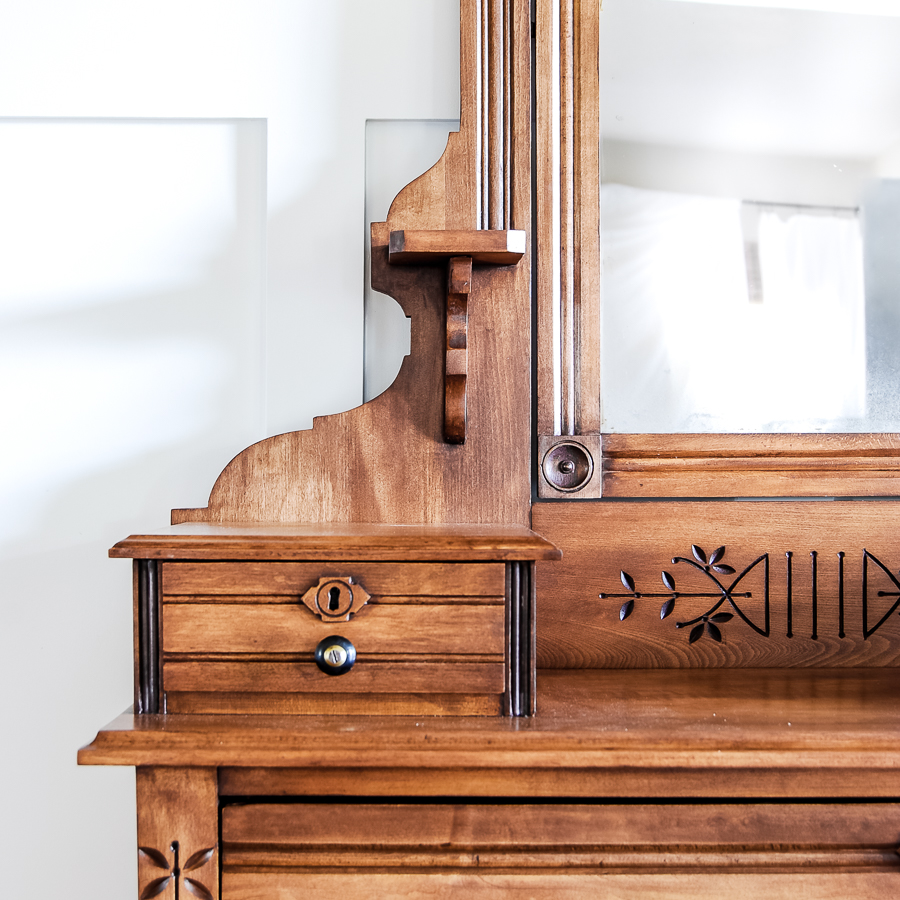
After stripping the old finish and clean up, it’s time to sand. I used a combination of electric sanders and hand sanding. Getting into all the tiny details of this piece took a fair amount of time. On projects like this get a good playlist going or audiobook and make the most of it. Not hard work, but time consuming.
Stain and Finish
ALWAYS use a pre-wood conditioner in a restoration project to minimize blotchy spots, inconsistency, etc. Even with a wood conditioner stain doesn’t always go on as even as desired. I used Minwax Gel Stain color Hickory. Gel stains are easy to apply and give a nice finish.
To seal and protect, I finished with Minwax Wipe-on Poly in satin finish. Super easy to use and gives a nice hand rubbed look. No brush strokes, which is a huge plus!
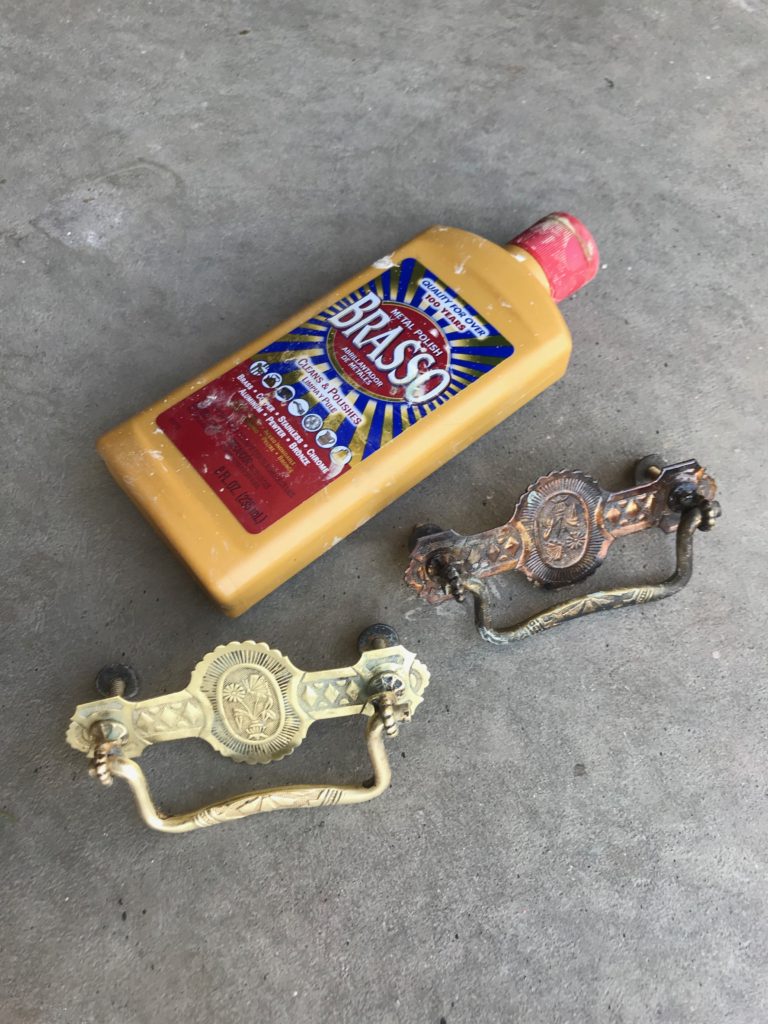
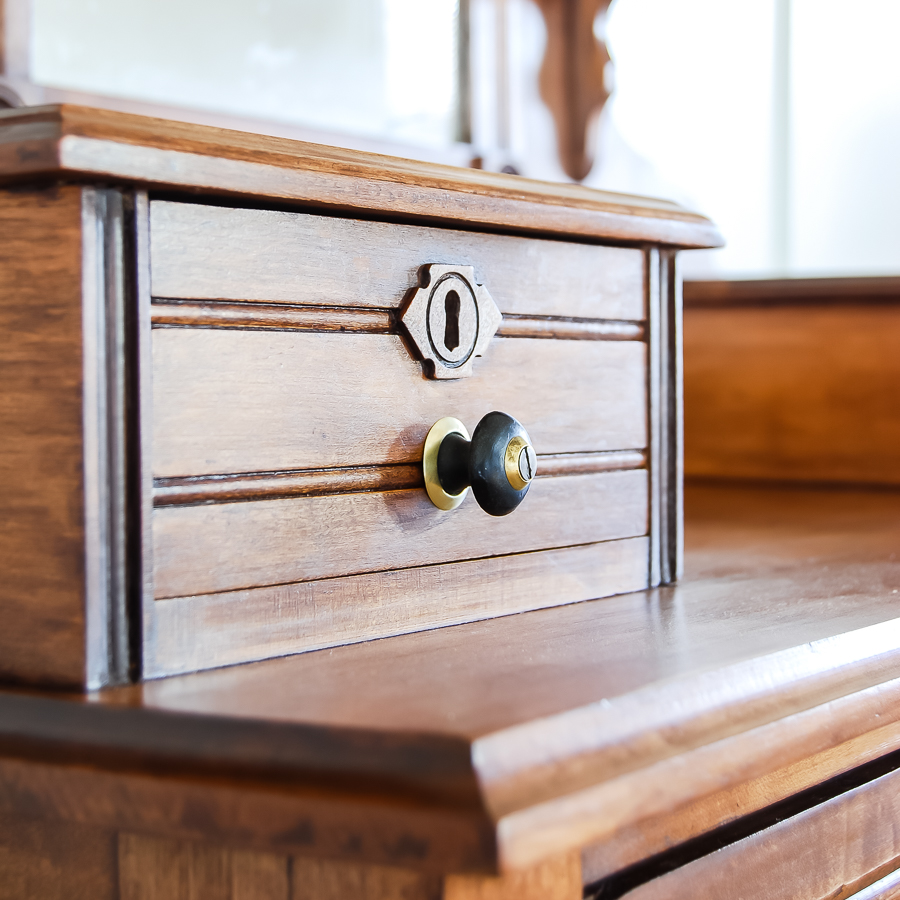
Hardware
The original hardware was in rough, but salvageable condition. A little bit of time and effort…
QUALITY
What I love about this dresser and what I am reminded of often when working with older pieces, quality. Quality craftsmanship, solid wood construction and detail. This is a unique and beautiful piece, that hopefully continues to be passed on through the generations. Take a look at the after photos!
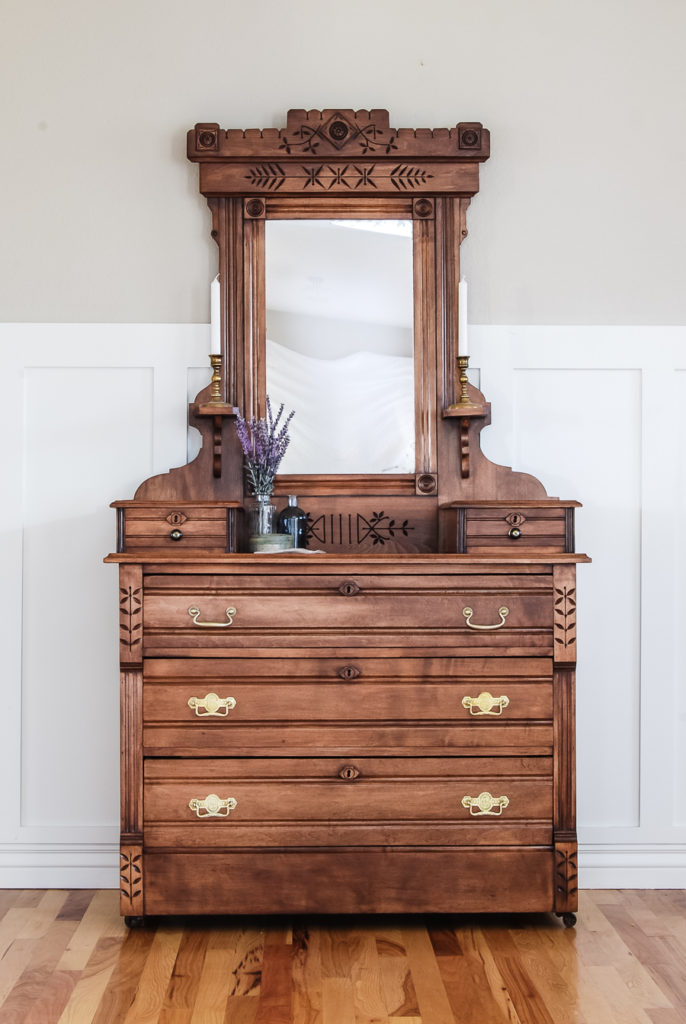
I am so pleased with how this dresser came together. Refinishing furniture is a very rewarding endeavor. It can be a process to be sure, one that takes time and effort but the results are worth it. Hopefully the transformation of this antique dresser refinish encourages you to take on one of your own refinishing projects.
Have a wonderful day!
Emily
Absolutely beautiful!
Thank you!