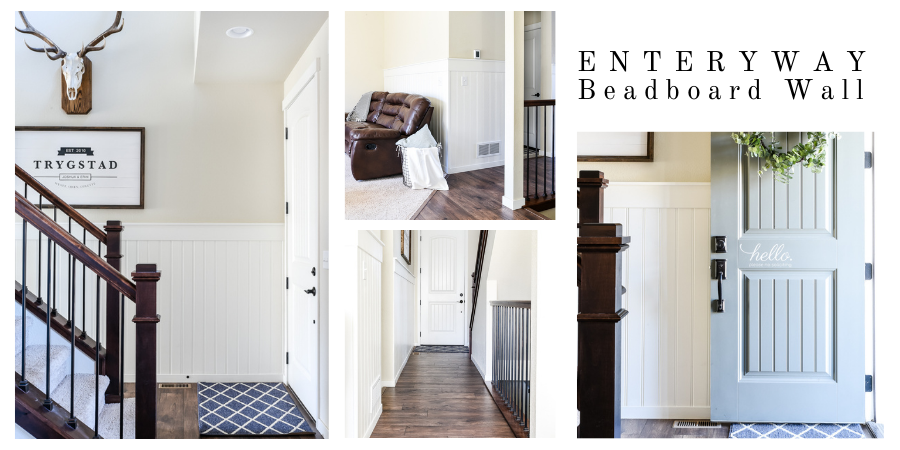
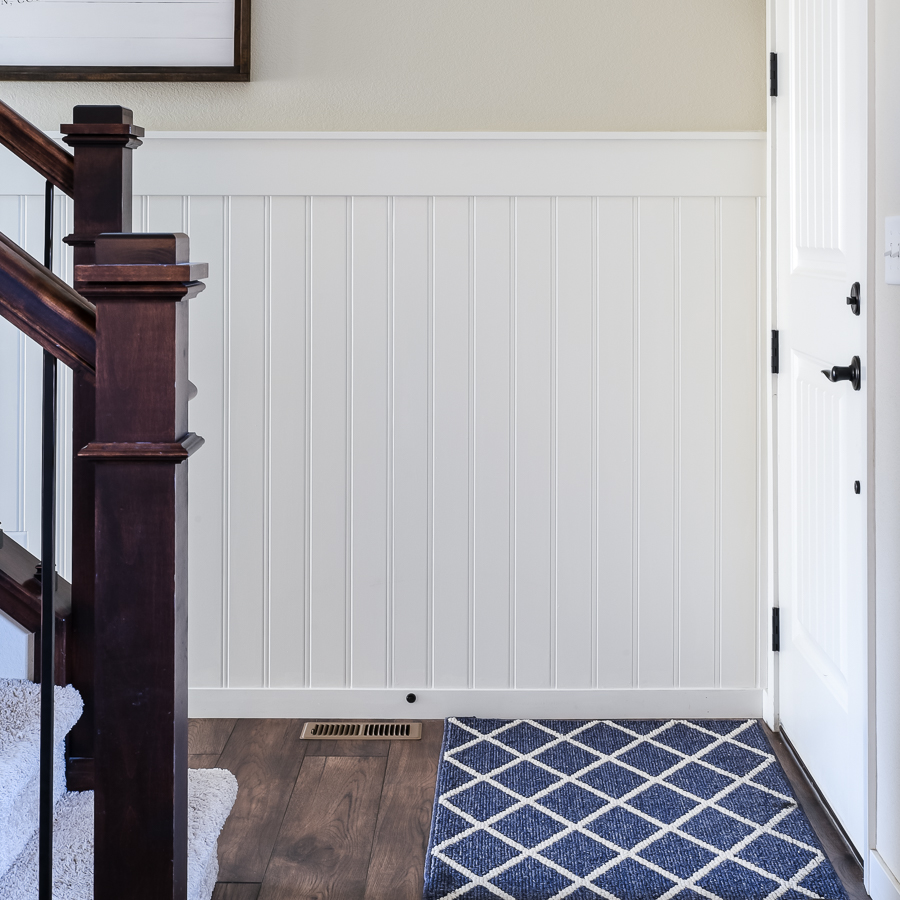
Last week I was able to complete an entryway beadboard wall treatment! And boy is it a beauty! Sadly, this beautiful beadboard is not in my home but in a sweet friend’s. Over the past several weeks I have been working on projects at friends’ homes. It has been awesome and life giving to me in so many ways to be able to use my experience to serve some dear friends.
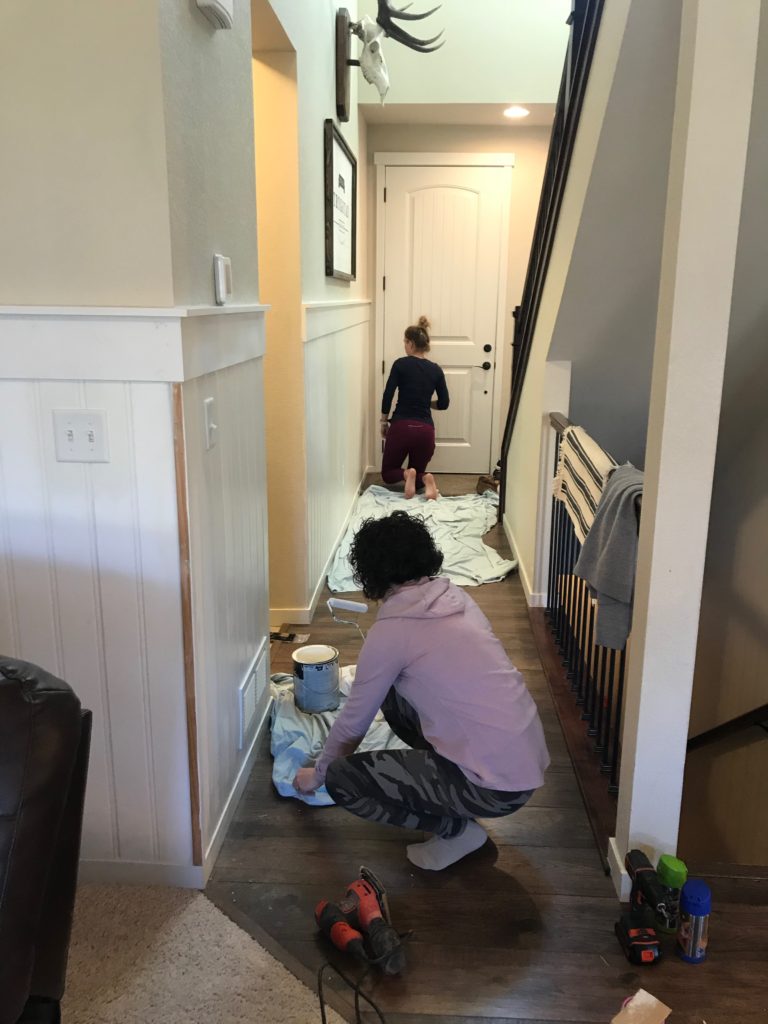
This project took about 5 days to complete. Five days working around school drop off, nap times, lunch, endless snacks, school pick up and normal life. With uninterrupted time I think this project could be done in a weekend.
This would also be a great beginner project! Minimal tools needed and fairly straightforward!
Entryway Beadboard Materials:
- Beadboard paneling: She chose this wider style beadboard which I LOVE
- 1×6 MDF trim board
- 1×2 MDF trim board
- Paintable caulk
- Paint
- wood filler/spackling
- electrical box extender (optional)
- wood corner trim piece (optional)
Tools
- Measuring tape
- Level
- Nail gun with nails
- Jig saw
- Drill and bit
- Circular saw or table saw
Getting started…
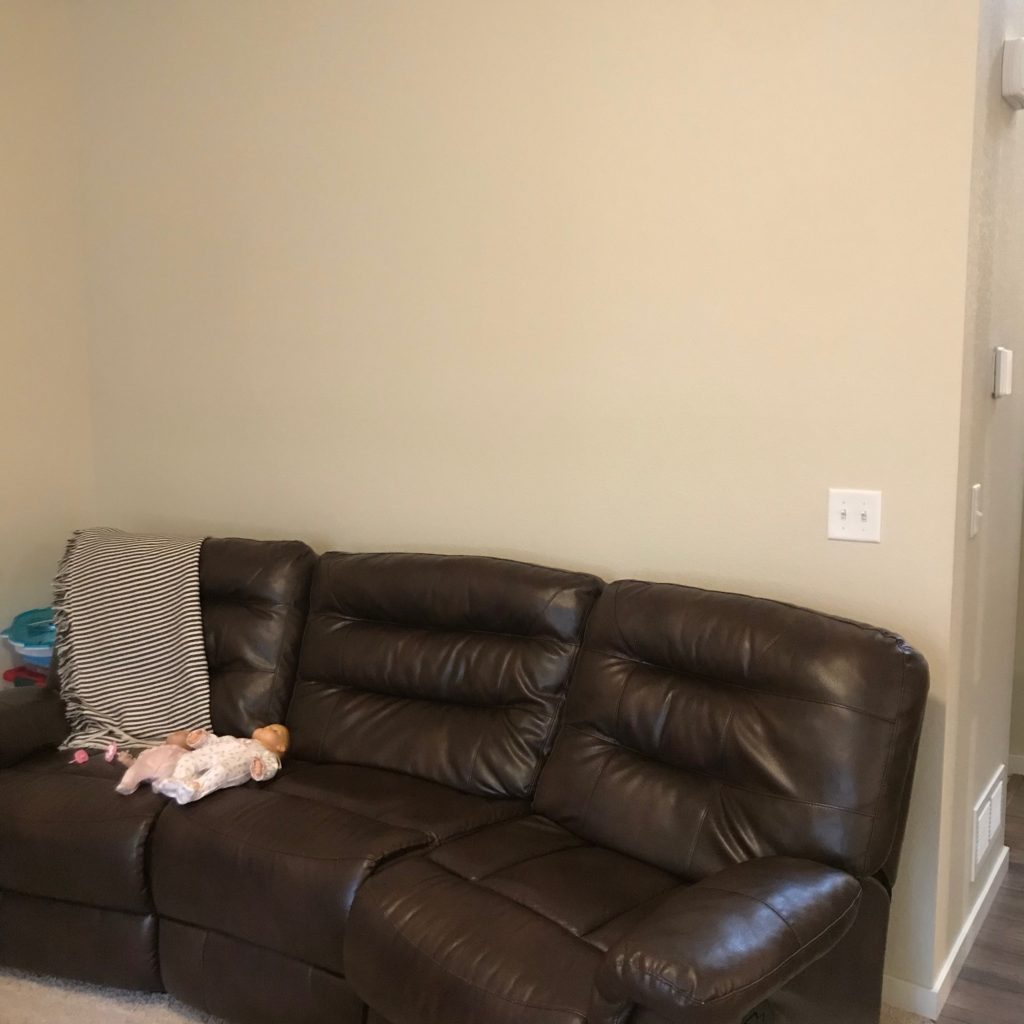
My friend already has such a beautiful home, but I think we were able to add a lot of character and charm to her space! Check out the before photos!


Planning everything out:
After an initial measure we were able to determine there was about 24 LF (lineal feet) of wall space. The beadboard panelling comes in 4’x8′ sheets. To utilize the material best we cut those in half to make 4’x4′ pieces. Having the beadboard go up higher on the wall is an option that was considered but that would double the cost of the project.
I opted for using finishing nails for securing the panels and trim. You can use liquid nails but we chose not too. Since we were only using nails I marked out the wood studs to ensure we nailed into those and not solely drywall.
Entryway Beadboard panelling installation
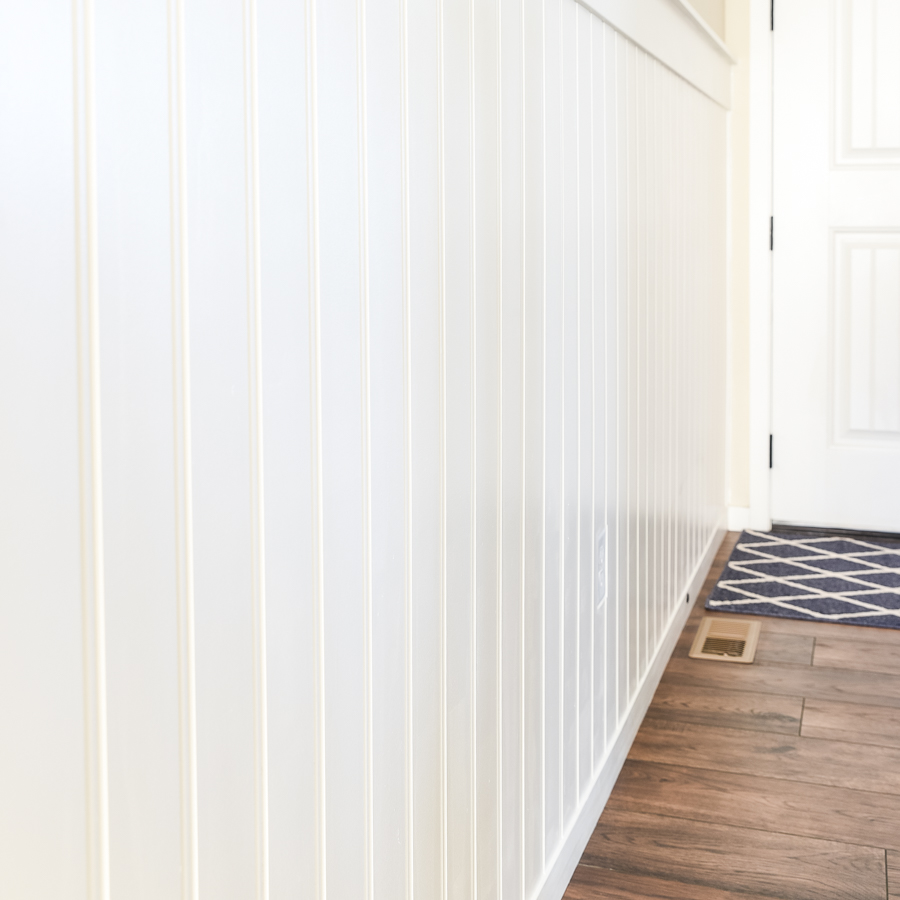
The panels go up pretty easy! Hold them up to the wall, check that they are level and nail in. The panels fit together pretty seamlessly, especially after caulk and paint.
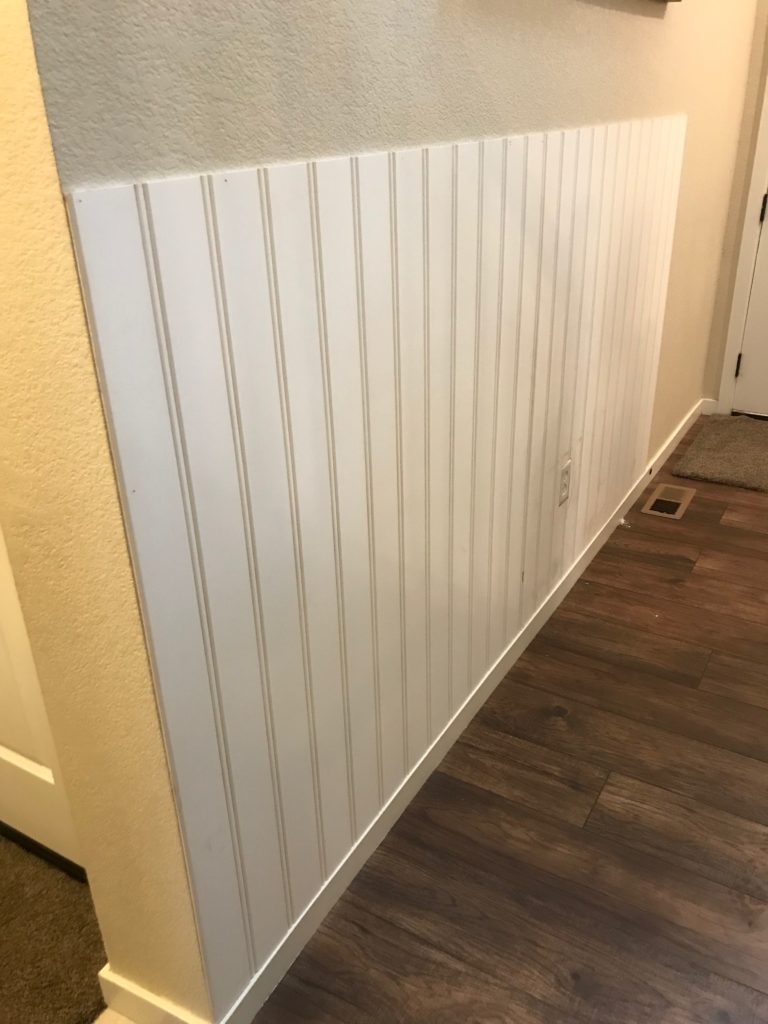
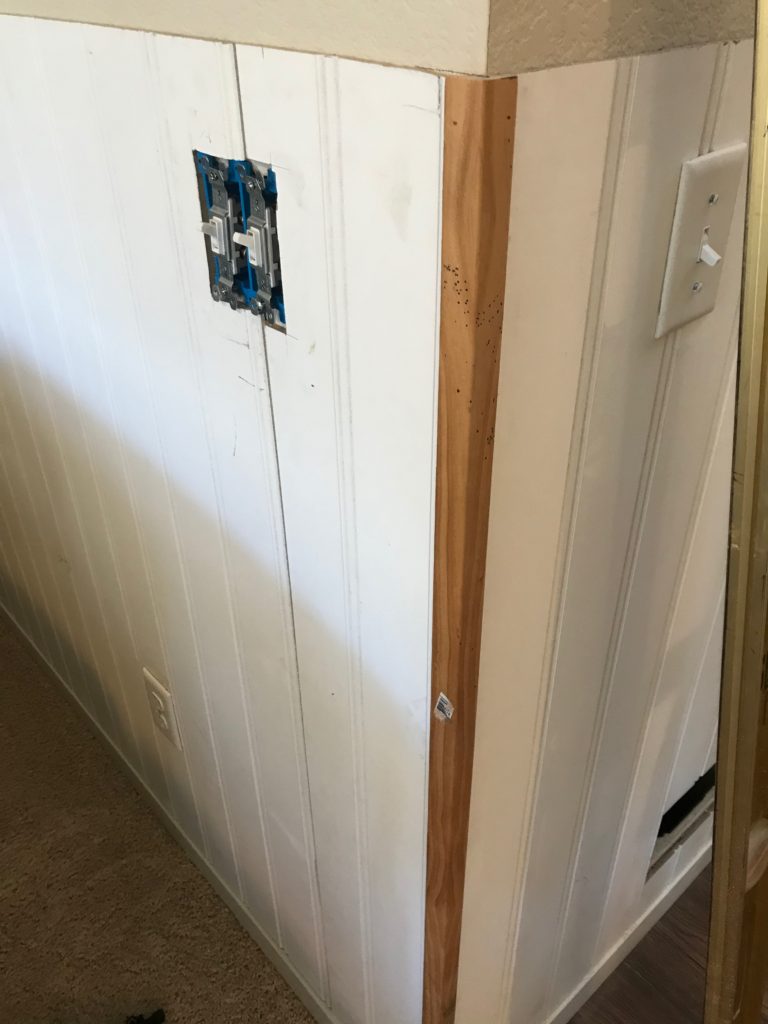
The most time consuming part of this project was cutting around outlets/switches and vents. Unfortunately, there was one of those on almost every section. Measure and mark the outlet location/vent, then use a jigsaw to cut that piece out of the panel.
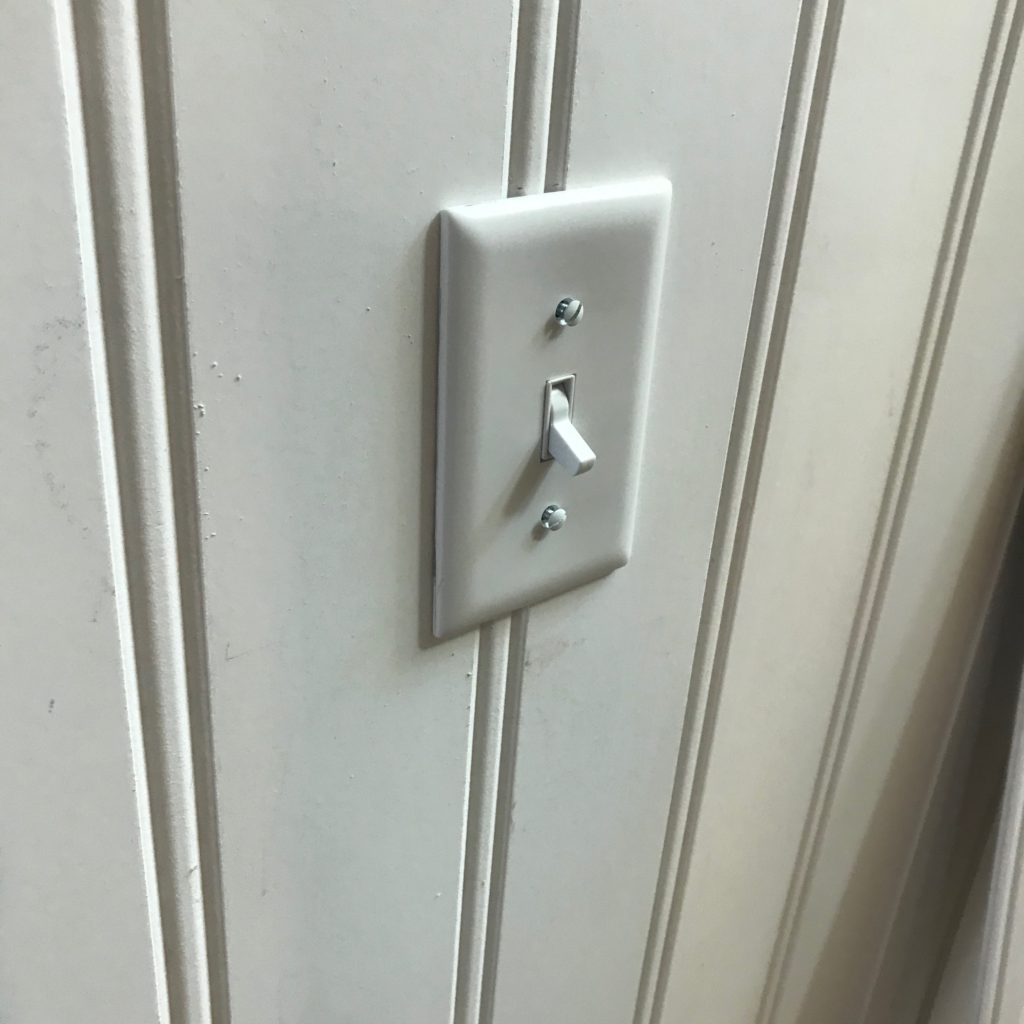
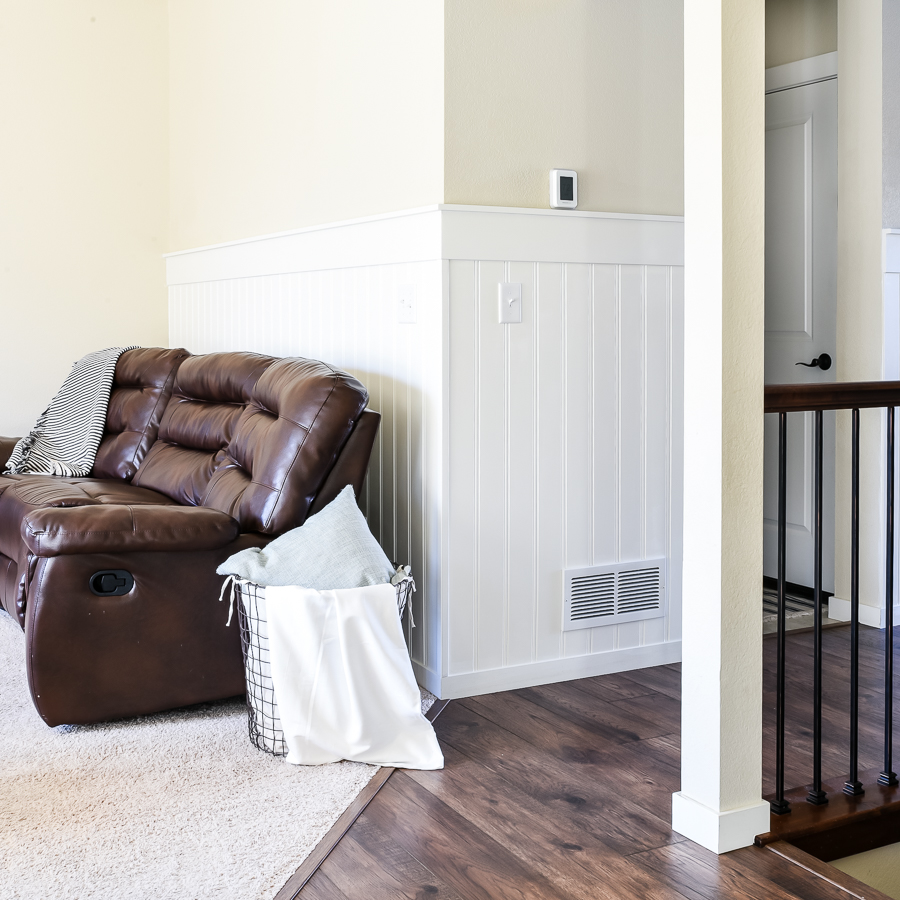
Note: We used electrical box extenders to extend the outlets past the thickness of the panelling, which creates a more professional look. If you go this route be sure to follow ALL safety instructions included in the package. (I am not a certified electrician and am only sharing what we did as a reference)

Install Trim Pieces
To finish out the top we used a 1×6 mdf piece and 1×2 mdf piece on top. It added the little extra height we were hoping for and really finished the look.
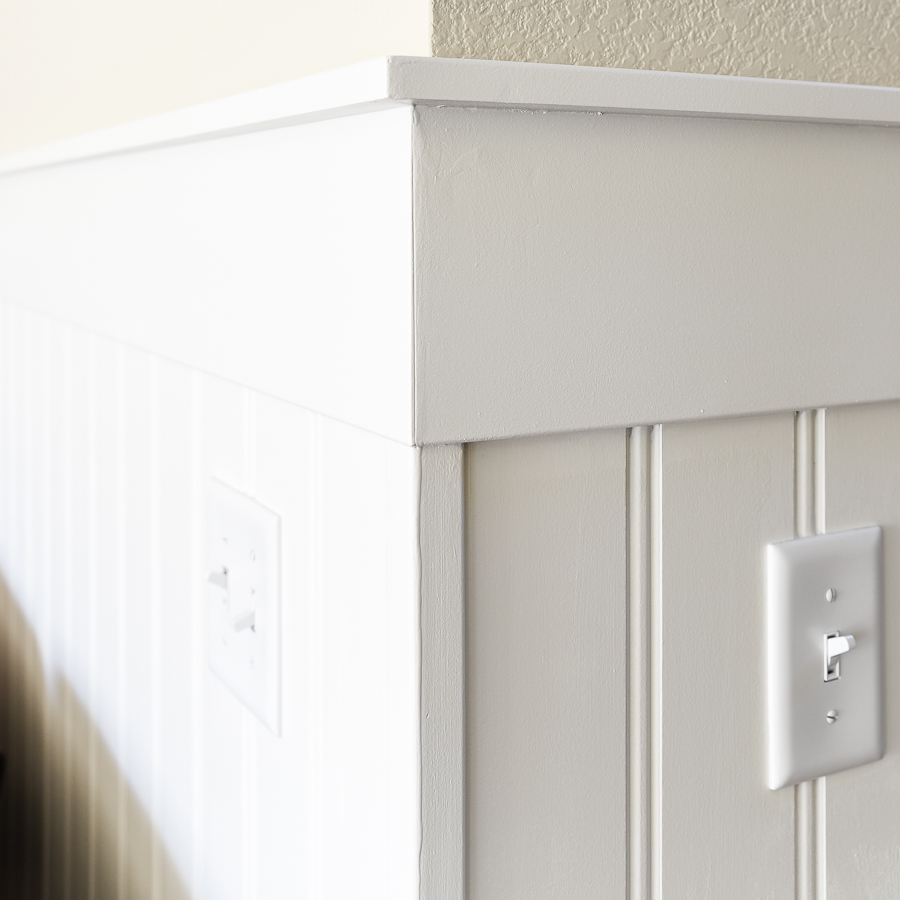
Added a small wood corner trim piece, on the outside corner where we wrapped the beadboard into the living room. It felt necessary to finish the corner.
Caulk and Paint
Probably the most significant and necessary step after installation is to caulk all seams and fill nail holes. This step is essential to making everything look smooth and professional. (Bonus: it hides all the imperfections and mistakes made!)
Lastly, paint! We used Sherwin Williams Alabaster.
Entryway Beadboard Wall
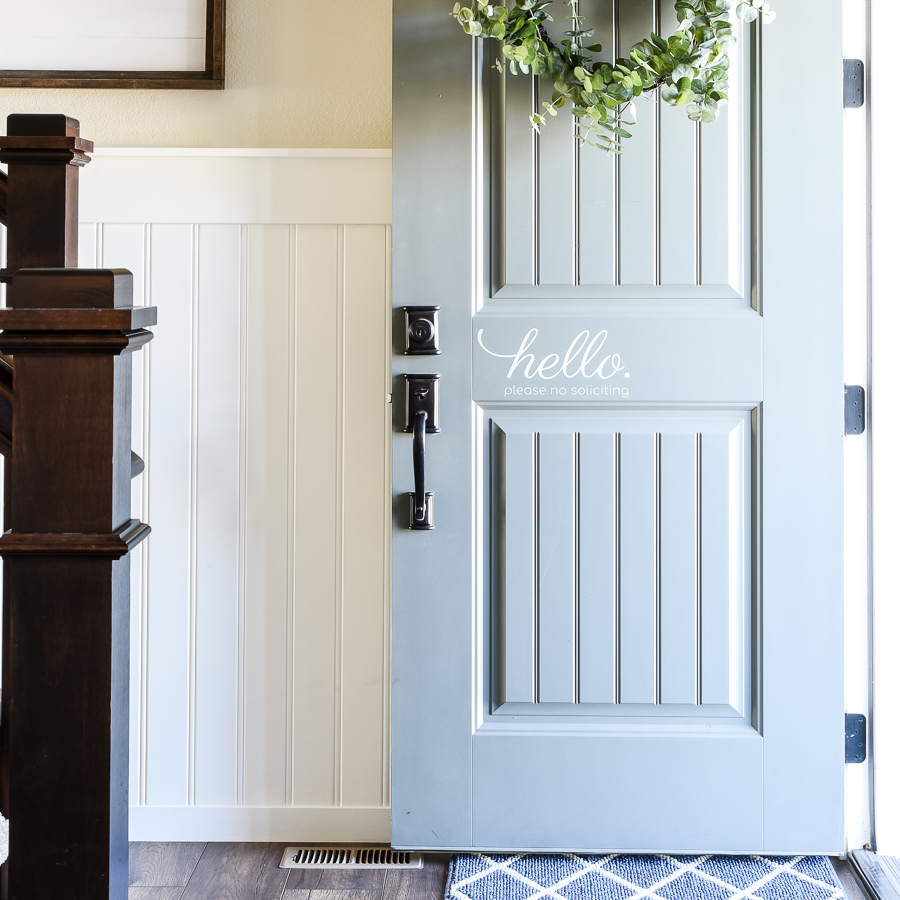
I am so glad she decided to wrap the beadboard around into her living room! Yes! And it really brightened up the entryway hall!

I love how well the beadboard ties in with her existing door panels! Also, her front door is gorgeous!
So happy I was able to work on this project and so pleased with how it turned out.
Emily
Beautiful job! I have been looking for wider beadboard too. I tried your link to the beadboard but it did not work. Can you tell where you purchased it from? Thank you!
I am so sorry I have also tried to track down the wider beadboard with no luck. At this point I don’t believe Home Depot is carrying it anymore. Hoping they bring it back at some point. Good luck!
Hi I love this look! Do you know what the color was used on the walls?