
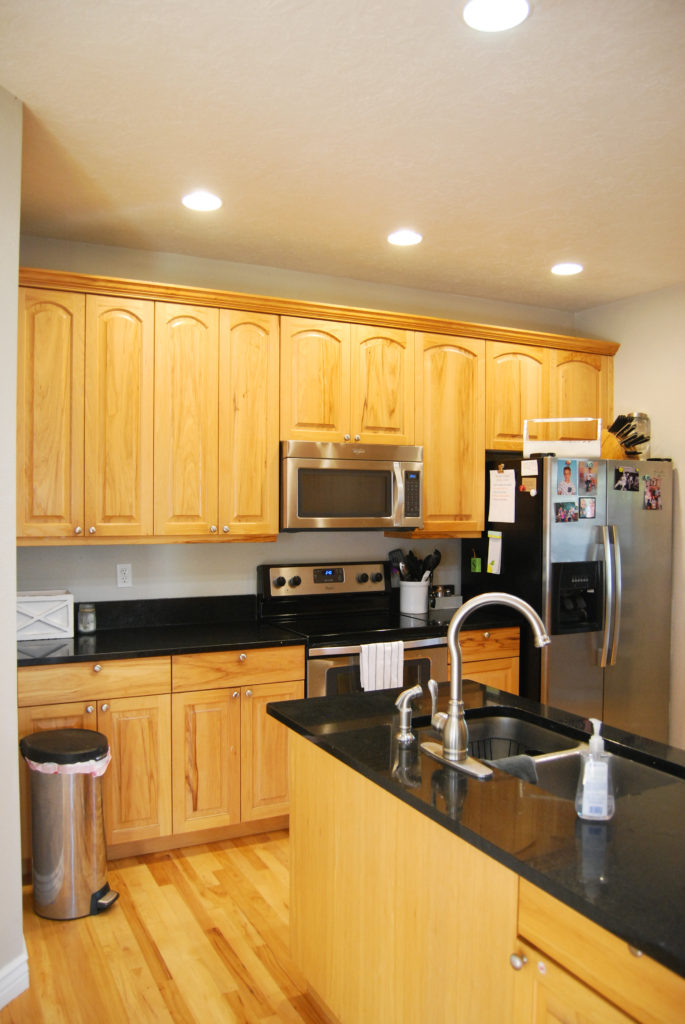
A little over a year ago I took on the big project of DIY painted kitchen cabinets. I read dozens and dozens of tutorials and always appreciated finding ones where they did an update of how they are holding up. No sense in putting in a lot of work to have less than stellar results in the future.
You can check out my originals post for painted kitchen cabinets here!

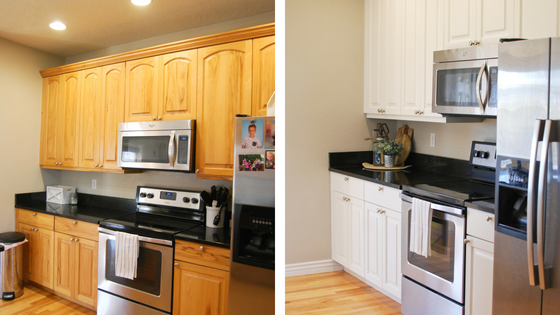
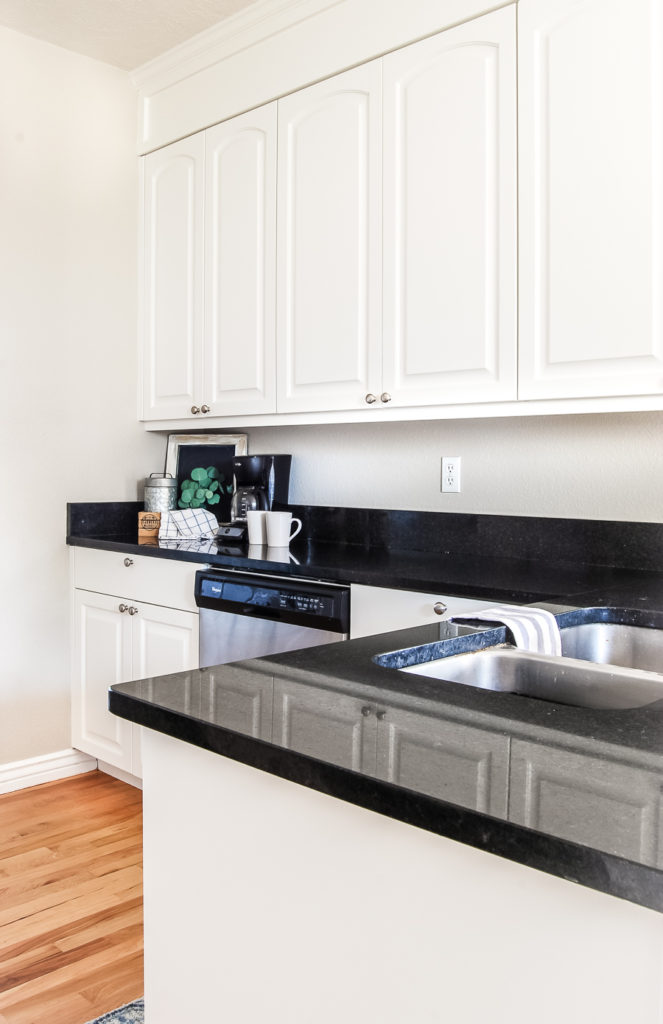
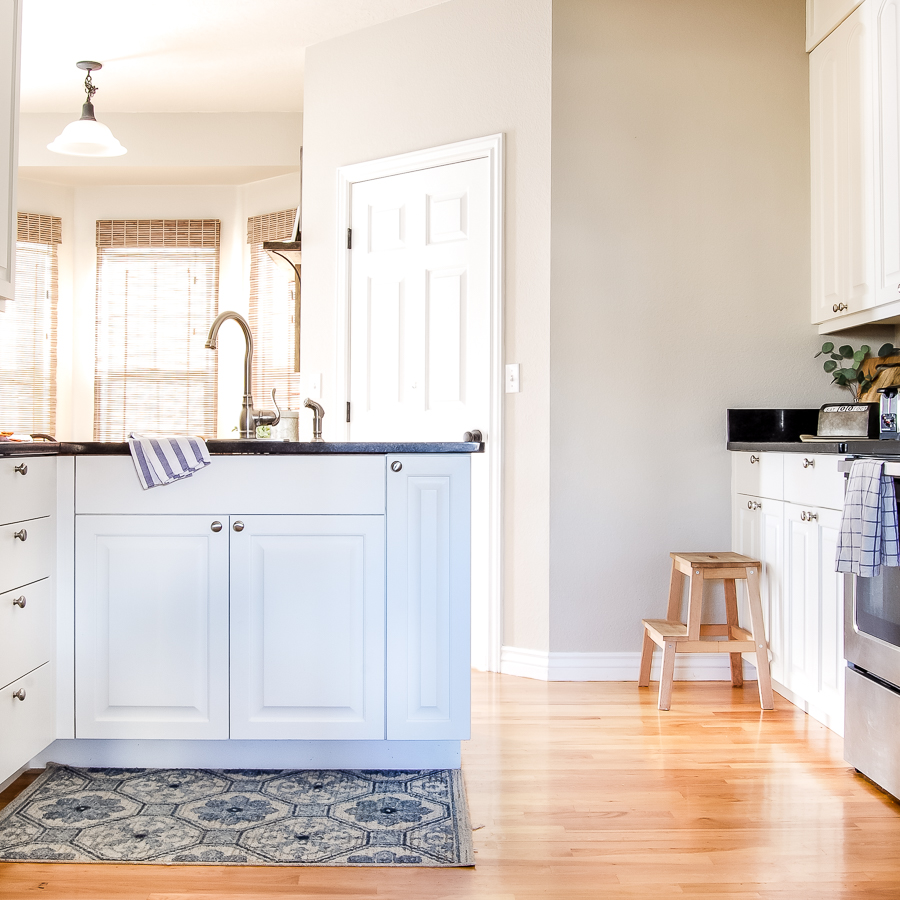
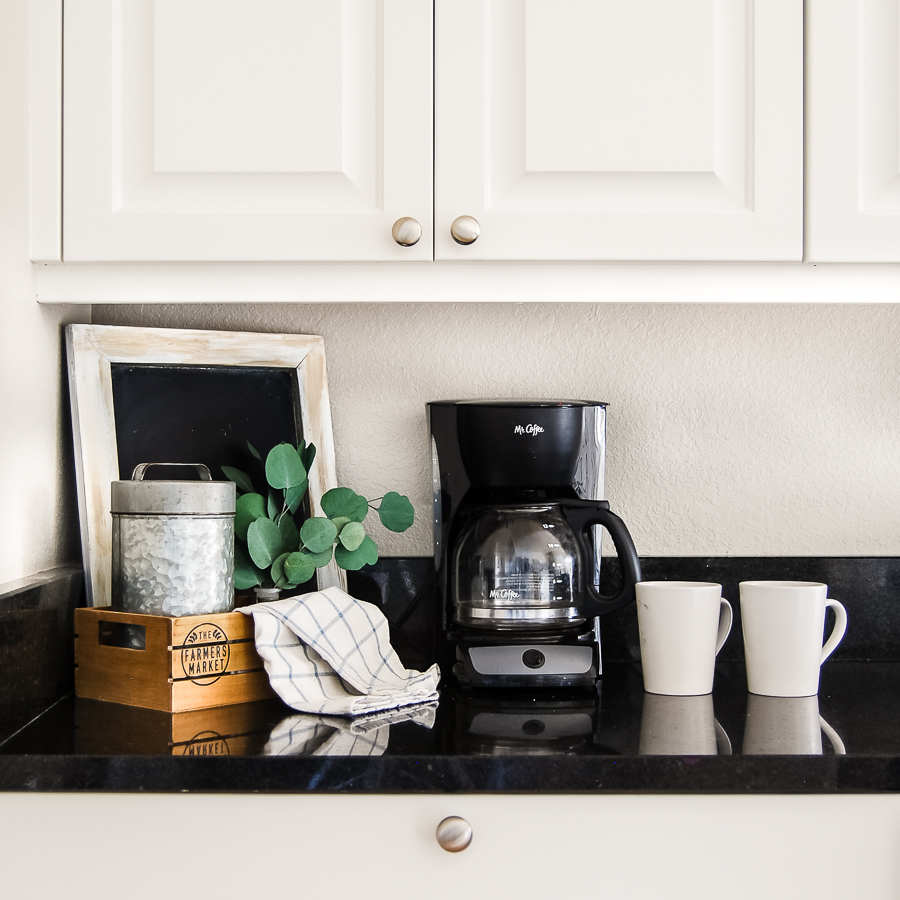
Little refresher of the before and after
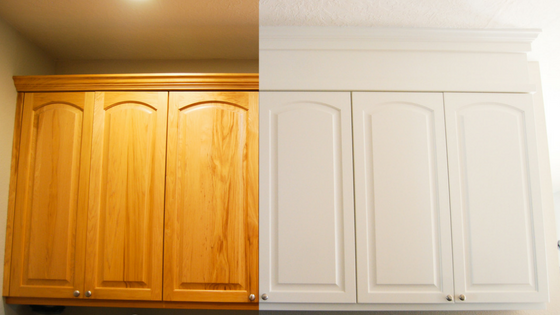
How have my painted kitchen cabinets held up?
Amazing! Honestly, I could not be happier with how well the cabinets still look! As a family, we are pretty darn hard on our furniture, our floors, our counters and especially our cabinets. With three young kiddos, who like to help me in the kitchen our cabinets and drawers take a daily beating. Imagine stools/chairs being pushed, slid and slammed into the front of the cabinets daily! Sticky fingers and hands, dried food, spills, etc for over a year.
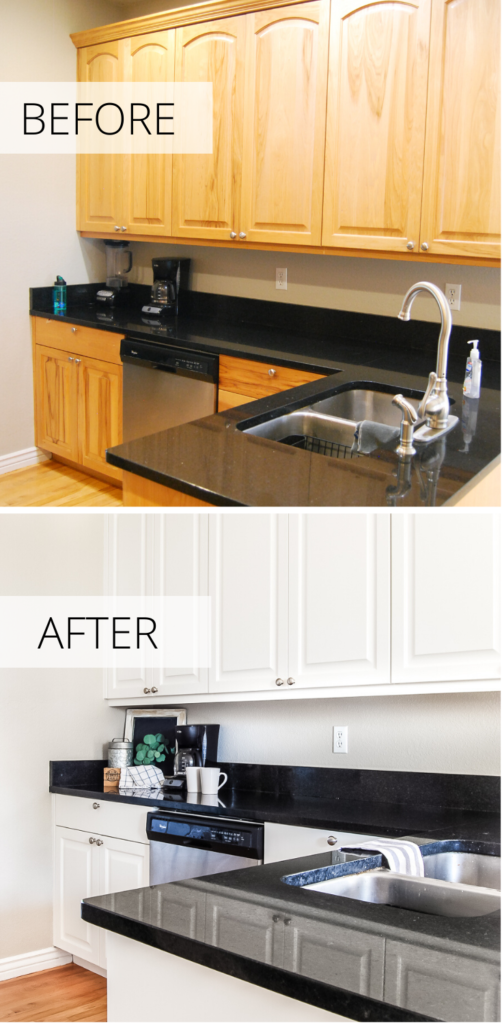
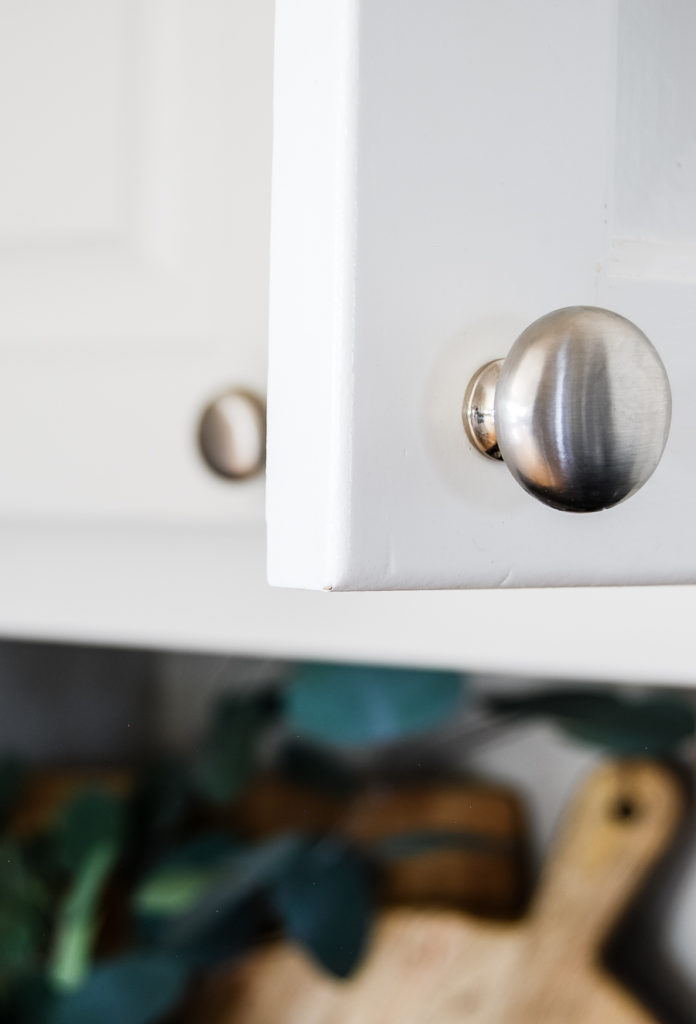
The paint still looks great! I still love the white! Totally worth every bit of effort and money to do this project. Below I will show you the couple areas where I have seen wear/imperfections and what I would do differently next time.
The couple areas I noticed some problems
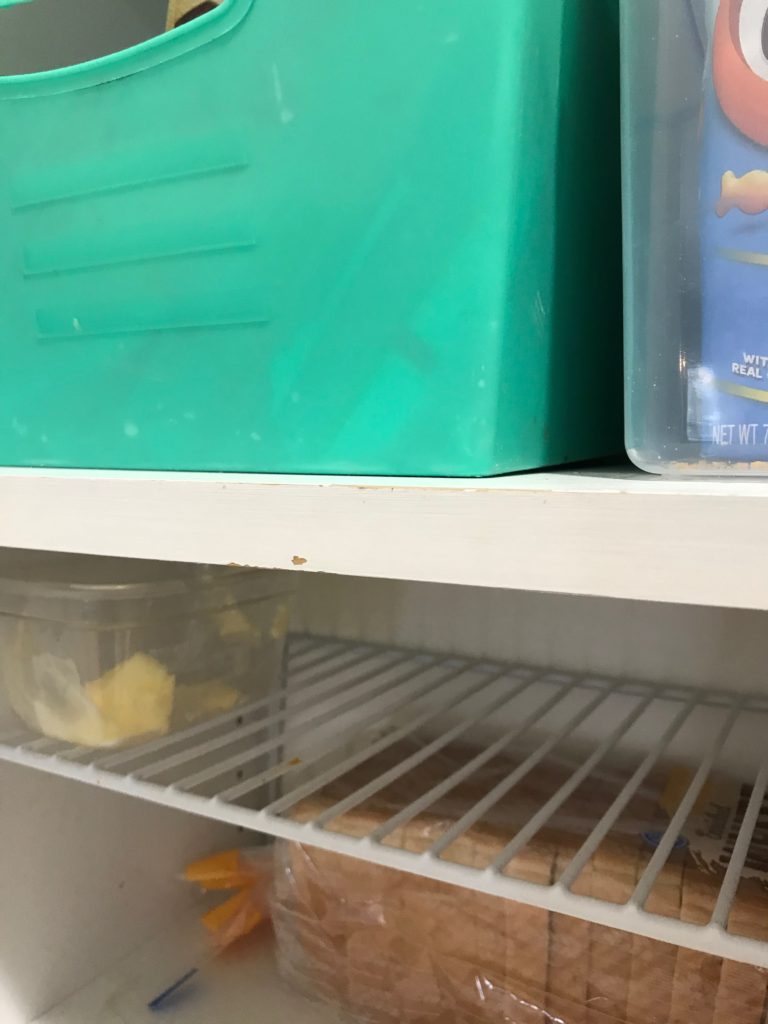
The last areas I have noticed some wear are the inside shelves. The shelves are not real wood, but a pressed wood with a laminated finish. The shelves were originally white with a fake wood edge. I painted the front “wood” edge and this is where I have noticed some wear and tear. Our most used shelves (dishes and snack cabinet show the most wear on the front of the shelves). I honestly did not noticed until I was inspecting for this painted kitchen cabinet update.
Two things I would have done differently
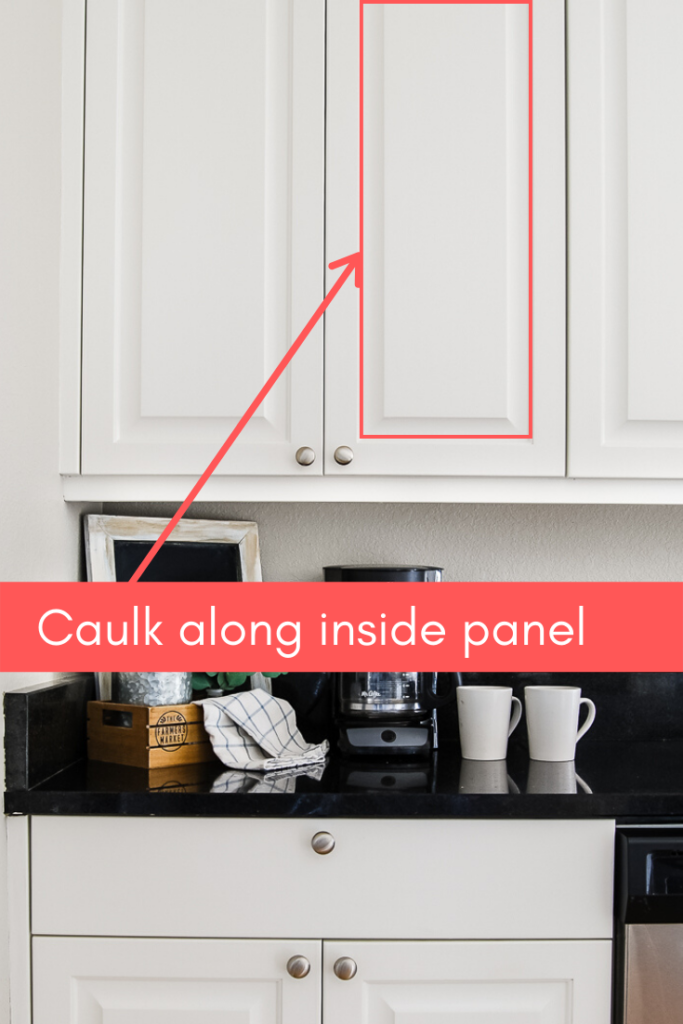
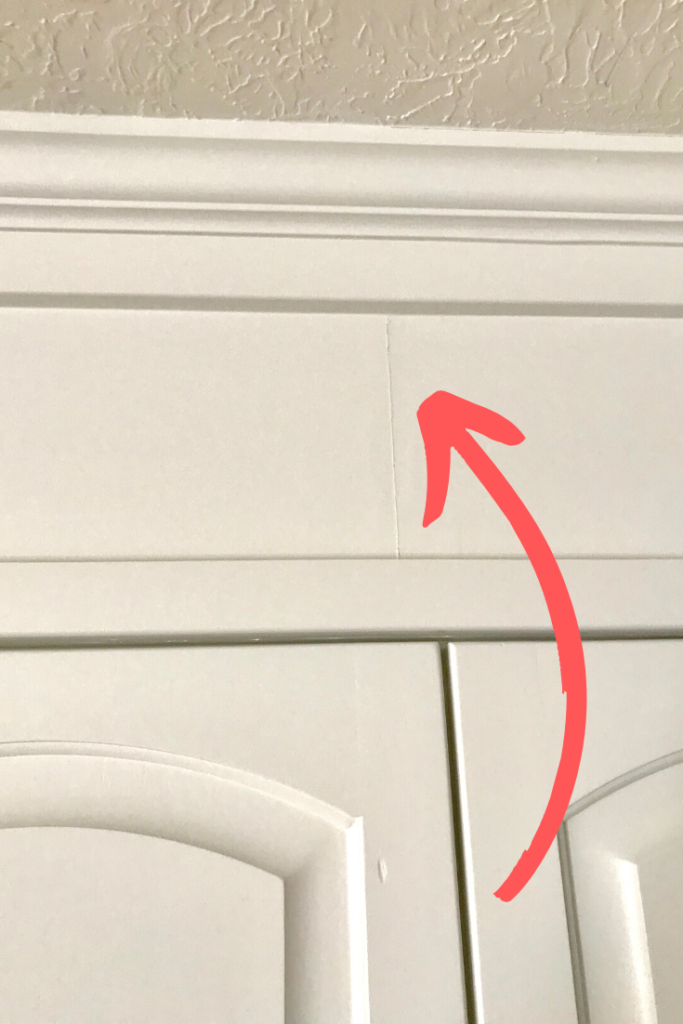
First thing I would have done differently, would have been to caulk along the inside of the cabinet panels before painting. After about 6 months a couple of the cabinet doors showed a few cracks along the inner panel section. I was able to run some caulk along the cracks and touch up with paint. If I did everything all over again I would do this step before painting.
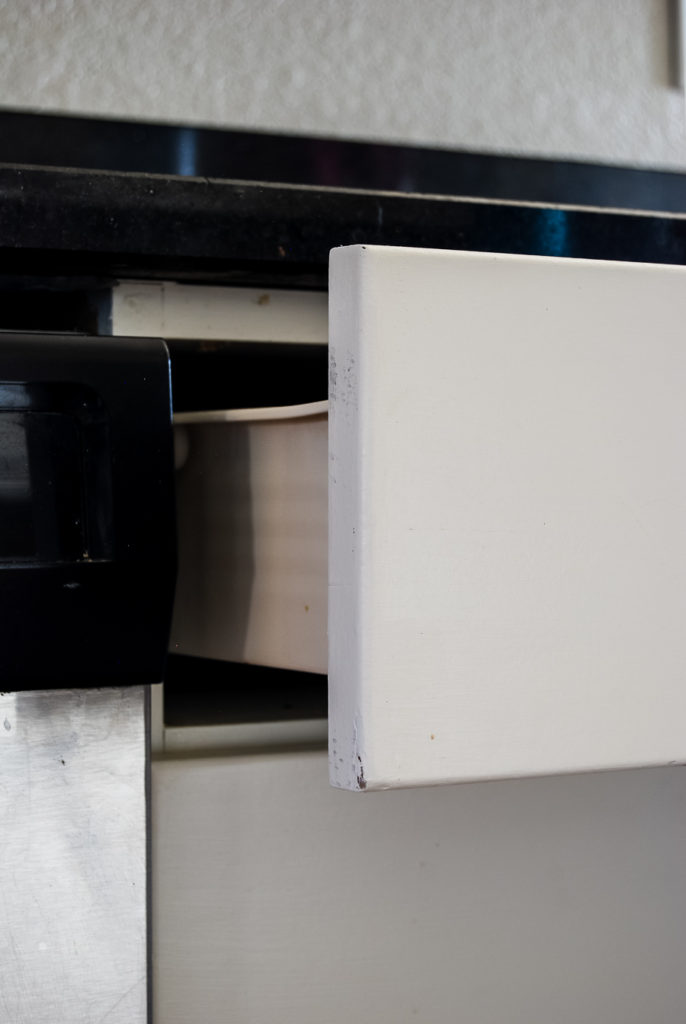
The second thing I would do differently is use a scarf joint for my cabinet extension install. Let me explain. The distance was over 8′ long so I needed to use 2 pieces together. I used a basic butt joint, when I should have done a scarf joint to hide the seam better.
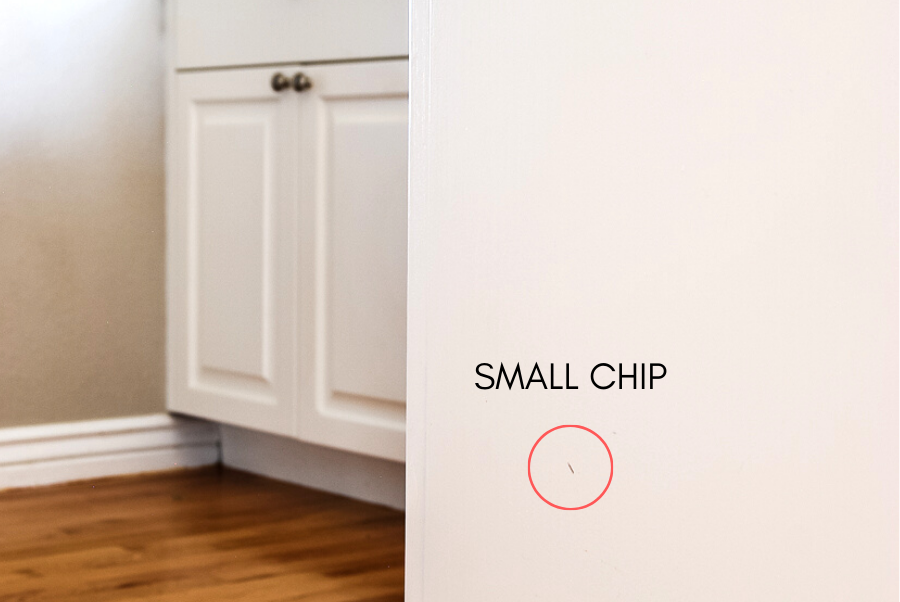
Other than the few chipped paint spots (which I will touch up with paint) the cabinets looks as good as they did a year ago. I am thrilled and will try to post an update in another year!
Hopefully this is an encouraging post if you have painted kitchen cabinets as an item on your project list!
Emily
Comments are closed.